Dec . 12, 2024 09:51 Back to list
how to replace rear brake drums
How to Replace Rear Brake Drums A Step-by-Step Guide
Replacing rear brake drums is an essential maintenance task that can enhance your vehicle's braking performance and safety. Over time, brake drums can wear out, which may lead to reduced braking efficiency and increased stopping distances. In this guide, we will walk you through the process of replacing your rear brake drums step-by-step.
Tools and Materials Needed
Before starting the replacement process, ensure you have the following tools and materials
- Jack and jack stands - Lug wrench - Brake drum puller (if necessary) - Socket set - Torque wrench - New brake drums - New brake shoes (recommended for replacement) - Brake cleaner - Shop towels - Protective gear (gloves, goggles)
Step 1 Safety First
Always prioritize safety when working on your vehicle. Park your car on a flat surface and engage the parking brake. Wear protective gear like gloves and goggles to safeguard against dust and debris.
Step 2 Loosen the Lug Nuts
Using the lug wrench, slightly loosen the lug nuts on the rear wheels while the vehicle is still on the ground. Do not remove them completely yet; this will make it easier to remove the wheels when the car is lifted.
Step 3 Lift the Vehicle
Using a jack, lift the rear of the vehicle and secure it with jack stands. This will provide a stable working environment and allow you to safely access the rear wheels.
Step 4 Remove the Wheels
Now that the vehicle is securely lifted, remove the lug nuts completely and take off the rear wheels. Set the wheels aside and take a moment to inspect the brake assembly before you proceed.
Step 5 Inspect the Brake Components
Before replacing the brake drums, it is wise to inspect the brake shoes, springs, and related hardware. Look for any signs of wear or damage. If the brake shoes appear worn, it is advisable to replace them at the same time as your brake drums.
how to replace rear brake drums

Step 6 Remove the Brake Drum
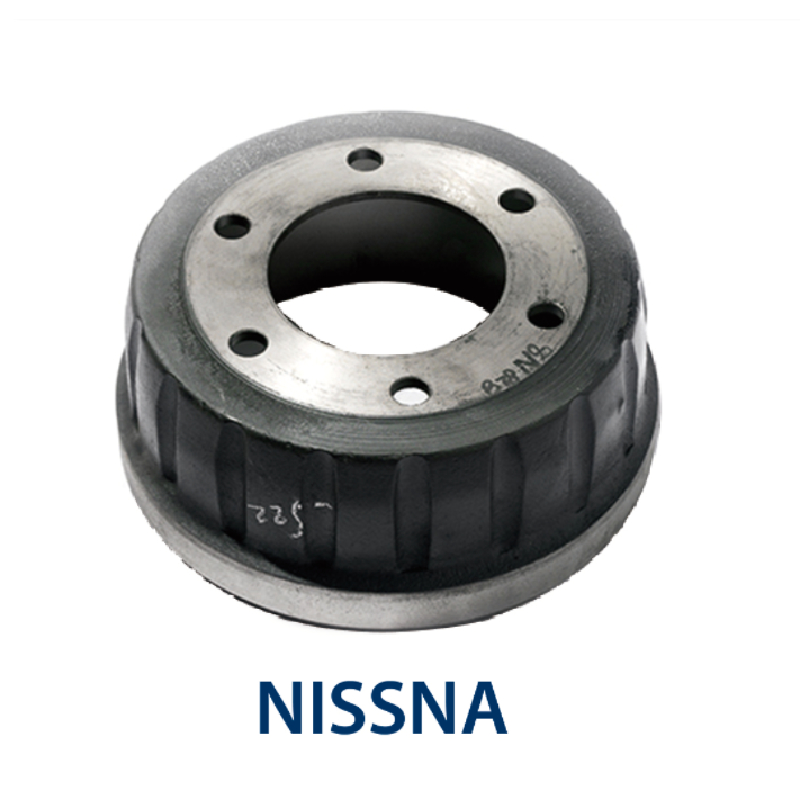
With the wheels removed, you should see the brake drum. If it is difficult to pull off, you may need to use a brake drum puller. Attach the puller and turn its handle gradually until the drum releases from the wheel hub. Be cautious, as the brake drum may come off with some force.
Step 7 Clean the Brake Assembly
Once the brake drum is removed, clean the brake assembly with brake cleaner. Remove any dust and debris that may have accumulated during the braking process. This is also a good opportunity to check the condition of the wheel cylinders and other associated parts.
Step 8 Install New Brake Drums
With the assembly cleaned, it’s time to install the new brake drums. Slide the new drum over the wheel hub, ensuring it fits snugly. If you are replacing the brake shoes, do so now, following the manufacturer's instructions.
Step 9 Replace the Wheels
After installing the new brake drums and any new components, carefully place the wheels back onto the wheel hubs. Hand-tighten the lug nuts to ensure they are secure.
Step 10 Lower the Vehicle
Using the jack, carefully lower the vehicle back to the ground. Once the vehicle is stable on the ground, use the torque wrench to tighten the lug nuts to the manufacturer’s specifications, usually found in your owner's manual.
Step 11 Test the Brakes
Before hitting the road, it is essential to test the brakes. Start the vehicle and press the brake pedal several times to ensure that the brake shoes are properly seated against the new drums. Make a short test drive to confirm that everything is functioning correctly.
Conclusion
Replacing your rear brake drums is a straightforward process that can significantly improve your vehicle's braking system. By following these steps and maintaining your brake components regularly, you can ensure a safer driving experience. If you ever feel uncertain about handling this task on your own, consult a professional mechanic for assistance. Safety should always come first!
-
Explore Japan: Ultimate Travel Guide & Authentic Experiences
NewsAug.19,2025
-
Your Brake Drum Man: Premium & Reliable Brake Drums for Sale
NewsAug.18,2025
-
ROR Web Development: Build Fast, Scalable, Secure Apps
NewsAug.17,2025
-
Scania Brake Drums: OEM Quality for Optimal Safety & Durability
NewsAug.16,2025
-
R.V.I: Advanced Remote Visual Inspection for Precision
NewsAug.15,2025
-
Discover HYUNDA: Innovative Vehicles, Equipment & Solutions
NewsAug.14,2025
