Nov . 03, 2024 00:41 Back to list
how to replace rear brake drums and shoes
How to Replace Rear Brake Drums and Shoes
Replacing rear brake drums and shoes is an important maintenance task that can enhance your vehicle's braking performance and extend the lifespan of your braking system. Here's a step-by-step guide to help you through the process.
Tools and Materials Needed
Before you start, ensure you have the proper tools and materials for the job
- Jack and jack stands - Lug wrench - Brake drum puller (if necessary) - Socket set - Screwdrivers (flathead and Phillips) - New brake drums - New brake shoes - Brake cleaner - Brake grease - Rags
Step 1 Safety First
Begin by ensuring your vehicle is parked on a flat, stable surface and the parking brake is engaged. If you’re working on a rear-wheel drive car, consider blocking the front wheels to prevent rolling. Wear safety goggles and gloves for protection.
Step 2 Loosen the Lug Nuts
Using a lug wrench, slightly loosen the lug nuts on the rear wheels, but do not remove them entirely.
Step 3 Lift the Vehicle
Use a jack to lift the rear of the vehicle, and then place jack stands for safety. Make sure the vehicle is secure before you proceed with any further steps.
Step 4 Remove the Rear Wheels
Now, remove the lug nuts completely and take off the rear wheels. Set them aside in a safe location.
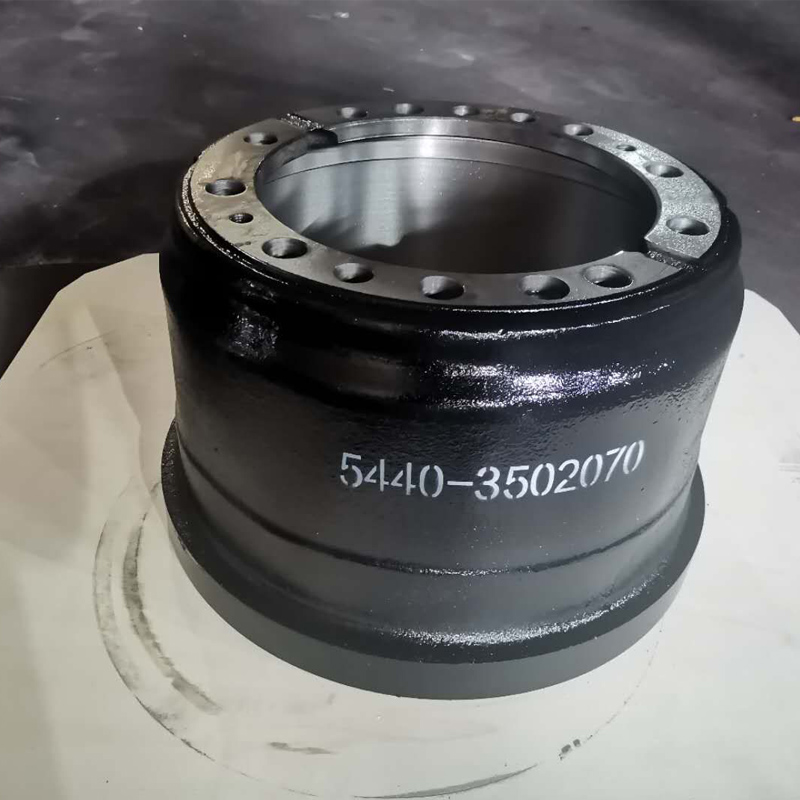
Step 5 Remove the Brake Drums
Inspect the brake drums for any retaining screws or clips. If there are screws, remove them. If the drums are stuck due to wear or rust, you might need to use a brake drum puller to easily detach them from the hub.
how to replace rear brake drums and shoes

Step 6 Inspect and Remove the Old Brake Shoes
With the drum removed, inspect the brake shoes for wear. They should have sufficient lining left; if they are worn down unevenly, it’s time to replace them. Remove the old brake shoes by disengaging the spring mechanisms and any additional fasteners holding them in place. Be sure to note the configuration for reassembly.
Step 7 Prepare for New Shoes
Clean the brake components using brake cleaner to remove any dust, debris, or residue. This will provide a fresh surface for the new shoes and drums. Apply a light layer of brake grease on points where the brake shoes make contact with the backing plate to ensure smooth operation.
Step 8 Install New Brake Shoes
Using your earlier notes, position the new brake shoes in the same configuration as the old ones. Reattach the springs and any hardware with care. Make sure everything is secure but avoid overtightening.
Step 9 Install New Brake Drums
Once the shoes are in place, place the new brake drum over them. Ensure that the drum rotates freely without any obstruction. If it does not fit easily, double-check the shoe adjustments.
Step 10 Reassemble the Wheel
After installing the brake drum, place the wheel back onto the hub. Hand-tighten the lug nuts and then lower the vehicle back to the ground. Use the lug wrench to securely tighten the lug nuts in a star pattern for even distribution.
Step 11 Test the Brakes
Before driving, pump the brake pedal to seat the shoes against the drum. Conduct a short test drive at low speeds in a safe area, ensuring everything functions properly.
Conclusion
Replacing rear brake drums and shoes is a crucial maintenance task that can help ensure your vehicle brakes efficiently. By following these steps, you can successfully complete the job yourself, saving money and gaining valuable experience in vehicle maintenance. Always remember, safety is your first priority, so take your time and do the job right!
-
Scania Brake Drums: OEM Quality for Optimal Safety & Durability
NewsAug.16,2025
-
R.V.I: Advanced Remote Visual Inspection for Precision
NewsAug.15,2025
-
Discover HYUNDA: Innovative Vehicles, Equipment & Solutions
NewsAug.14,2025
-
R.V.I: Unlock Advanced Insights & Real-time Performance
NewsAug.13,2025
-
Kamaz Brake Drum: Durable & Reliable for Heavy Duty Trucks
NewsAug.12,2025
-
Heavy Duty Iveco Brake Drum - Premium Quality & Safety
NewsAug.11,2025
