Oct . 10, 2024 14:03 Back to list
how to take a brake drum off
How to Take a Brake Drum Off A Comprehensive Guide
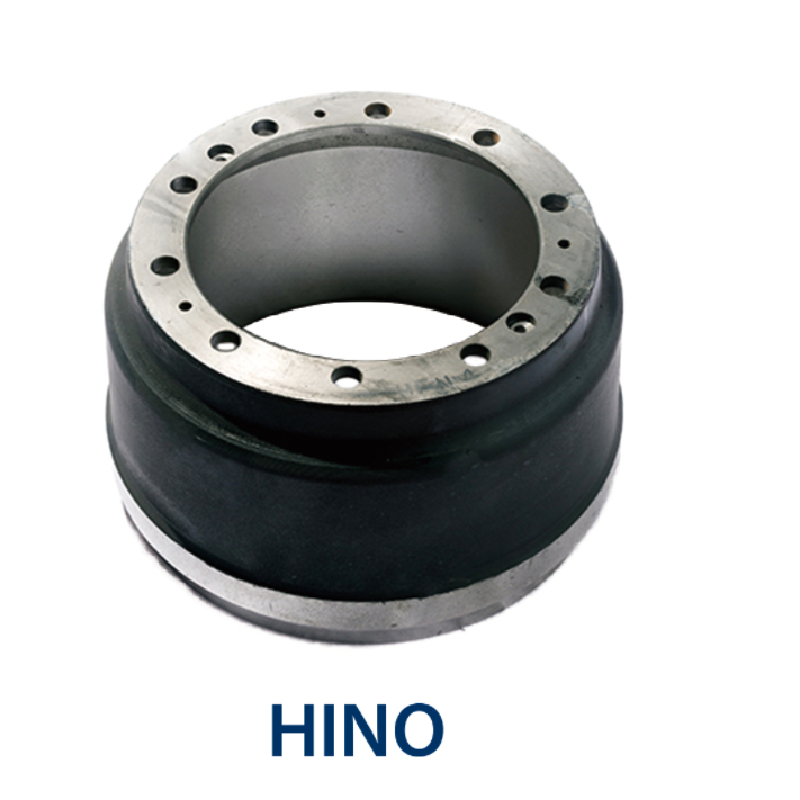
Brake drums are an essential component of the braking system in many vehicles, particularly older models and those with rear drum brakes. Over time, these components can wear down, become damaged, or require maintenance, necessitating their removal. If you're planning to take a brake drum off, it’s important to have the right tools and to follow proper procedures to ensure safety and efficiency. In this article, we'll walk you through the steps of removing a brake drum.
Tools and Materials Needed
Before you begin, gather the following tools and materials
- Jack and jack stands - Lug wrench - Brake drum puller (if necessary) - Screwdriver - Pliers - Clean rags - Brake cleaner - Safety goggles - Gloves
Having the right tools on hand will make the job easier and safer.
Step 1 Prepare the Vehicle
Safety is paramount when working on any vehicle. Begin by parking your vehicle on a flat, stable surface and engaging the parking brake. If you’re working on the front brakes, you may want to secure the rear wheels as well. Place wheel chocks behind the rear wheels to prevent any movement.
Step 2 Loosen the Lug Nuts
Using a lug wrench, loosen the lug nuts on the wheel covering the brake drum you intend to remove. Turn the wrench counterclockwise, but do not completely remove the nuts yet. Just break the initial tightness so they can be easily unscrewed later.
Step 3 Raise the Vehicle
Using a jack, lift the vehicle off the ground until the wheel is free from the surface. Once elevated, securely place jack stands under the vehicle to ensure it doesn't fall while you work. This is a critical safety step.
how to take a brake drum off

Step 4 Remove the Wheel
Now that the vehicle is safely elevated, proceed to fully remove the lug nuts and take off the wheel. Set the wheel aside in a safe location where it won’t be damaged.
Step 5 Inspect the Brake Assembly
Before removing the brake drum, take a moment to inspect the brake assembly. Look for signs of wear or damage on the brake shoes, springs, and any other connected components. This inspection can help identify any additional repairs you may need to make once the drum is off.
Step 6 Remove the Brake Drum
At this point, the brake drum is ready to come off. In many cases, the drum will slide off with a bit of wiggling. However, if it’s stuck due to corrosion or wear, you might need to utilize a brake drum puller. Attach the puller to the drum, ensuring it’s positioned correctly, and carefully tighten it until the drum begins to loosen. Once it’s free, gently remove the drum and set it aside.
Step 7 Clean and Inspect
With the brake drum removed, take the opportunity to clean the inside of the drum using brake cleaner and a clean rag. Look for any signs of scoring or wear inside the drum. Inspect the brake shoes and other components to ensure they are in good condition. If you notice any damage, you may need to replace these parts.
Step 8 Replace or Repair
If your inspection reveals the necessity for repairs or replacement, now is the time to take action. Whether you’re replacing the drum or the brake shoes, make sure to follow standard installation procedures for each component.
Conclusion
Removing a brake drum is a straightforward process, provided you follow the steps carefully and prioritize safety. Always remember to work on a stable surface, use appropriate tools, and inspect all components thoroughly. If you're unsure or uncomfortable at any stage, consult a professional mechanic for assistance. With practice, you can become proficient at maintaining your vehicle’s braking system, potentially saving both time and money in the long run.
-
Scania Brake Drums: OEM Quality for Optimal Safety & Durability
NewsAug.16,2025
-
R.V.I: Advanced Remote Visual Inspection for Precision
NewsAug.15,2025
-
Discover HYUNDA: Innovative Vehicles, Equipment & Solutions
NewsAug.14,2025
-
R.V.I: Unlock Advanced Insights & Real-time Performance
NewsAug.13,2025
-
Kamaz Brake Drum: Durable & Reliable for Heavy Duty Trucks
NewsAug.12,2025
-
Heavy Duty Iveco Brake Drum - Premium Quality & Safety
NewsAug.11,2025
