Nov . 05, 2024 05:01 Back to list
how to take a brake drum off
How to Take a Brake Drum Off A Step-by-Step Guide
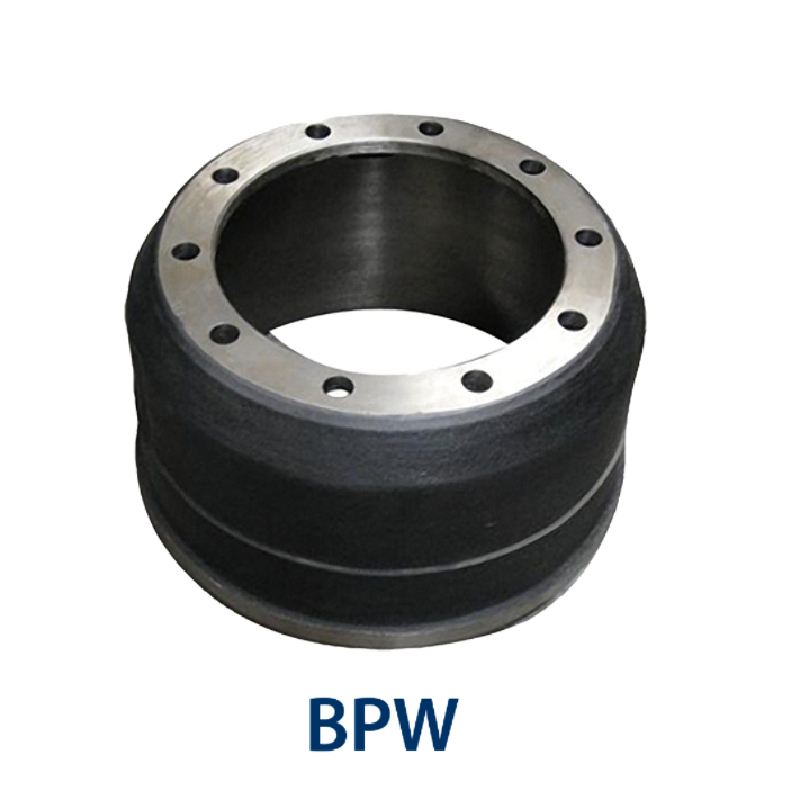
Maintaining your vehicle is crucial for safety and performance, and one essential part of this maintenance involves the brake system. The brake drum is a vital component of drum brake systems, and knowing how to remove it can allow you to inspect and replace brake shoes, perform repairs, or upgrade your brake components. This article provides a comprehensive guide on how to take a brake drum off your vehicle safely and effectively.
Tools and Materials Needed
Before you start, ensure you have the following tools and materials on hand
- Jack and jack stands - Lug wrench - Brake drum puller (if necessary) - Hammer (preferably rubber mallet) - Brake cleaner - Clean rags - Safety goggles - Gloves
Step-by-Step Guide to Removing a Brake Drum
Step 1 Prepare Your Vehicle
1. Park on a Level Surface Always work on a flat, stable surface to prevent any accidental movement of the vehicle. 2. Engage the Parking Brake This ensures that the vehicle doesn’t roll while you are working. 3. Loosen the Lug Nuts Using a lug wrench, slightly loosen the lug nuts on the wheel that has the brake drum you need to remove. Do not remove them completely yet.
Step 2 Lift the Vehicle
1. Jack Up the Vehicle Position the jack under the vehicle’s lifting point and raise it until the wheel is off the ground. 2. Secure with Jack Stands Place jack stands beneath the vehicle for added safety, then lower the jack slightly to secure the vehicle on the stands.
Step 3 Remove the Wheel
1. Take Off the Lug Nuts Now that the vehicle is lifted and stable, finish removing the lug nuts and take the wheel off. Set the wheel aside in a safe place.
Step 4 Inspect the Brake Drum
1. Examine the Brake Drum Before removing the drum, check the condition of the drum and surrounding components. Look for signs of wear, cracks, or other damage that may need your attention.
how to take a brake drum off

Step 5 Remove the Brake Drum
1. Inspect for Retaining Hardware Some brake drums have retaining screws or clips that must be removed before the drum can come off. If present, remove these with a screwdriver or appropriate tool. 2. Try Pulling the Drum Off Grip the brake drum and pull it straight off. If it’s stuck due to rust or dirt, you may need to tap it gently with a rubber mallet. Be careful not to damage the drum.
3. Use a Brake Drum Puller If the drum still will not come off, a brake drum puller tool can help. Position the puller according to the manufacturer’s instructions and tighten the center bolt to apply pressure evenly. This should help release any stubborn drums.
Step 6 Clean and Inspect
1. Clean the Components Use brake cleaner and a rag to clean the brake drum, backing plate, and surrounding areas. This helps prevent contamination during installation. 2. Inspect for Wear and Damage Look over the brake shoes, springs, and wheel cylinder for any excessive wear. Replace any worn parts as necessary.
Step 7 Reinstall or Replace
Once you have completed your inspection, you can either reinstall the same brake drum or replace it with a new one. When installing, simply reverse the removal steps, ensuring that everything is aligned correctly.
Final Steps
1. Replace the Wheel After the drum is securely in place, put the wheel back on and hand-tighten the lug nuts. 2. Lower the Vehicle Carefully remove the jack stands and lower the vehicle to the ground.
3. Tighten Lug Nuts Once on the ground, use a lug wrench to tighten the lug nuts in a star pattern to ensure even distribution.
4. Test Your Brakes Finally, before driving, press the brake pedal several times to ensure everything is functioning correctly.
Conclusion
Removing a brake drum is a manageable task for anyone with basic mechanical skills. By following these steps, you'll ensure that your brakes remain in top condition, enhancing your vehicle's safety and performance. Remember to always prioritize safety and if you feel uncertain at any point, consult a professional mechanic. Regular maintenance is key to a long-lasting vehicle, so don’t hesitate to check your brakes routinely!
-
Scania Brake Drums: OEM Quality for Optimal Safety & Durability
NewsAug.16,2025
-
R.V.I: Advanced Remote Visual Inspection for Precision
NewsAug.15,2025
-
Discover HYUNDA: Innovative Vehicles, Equipment & Solutions
NewsAug.14,2025
-
R.V.I: Unlock Advanced Insights & Real-time Performance
NewsAug.13,2025
-
Kamaz Brake Drum: Durable & Reliable for Heavy Duty Trucks
NewsAug.12,2025
-
Heavy Duty Iveco Brake Drum - Premium Quality & Safety
NewsAug.11,2025
