Nov . 12, 2024 00:59 Back to list
how to take brake drums off
How to Take Brake Drums Off A Comprehensive Guide
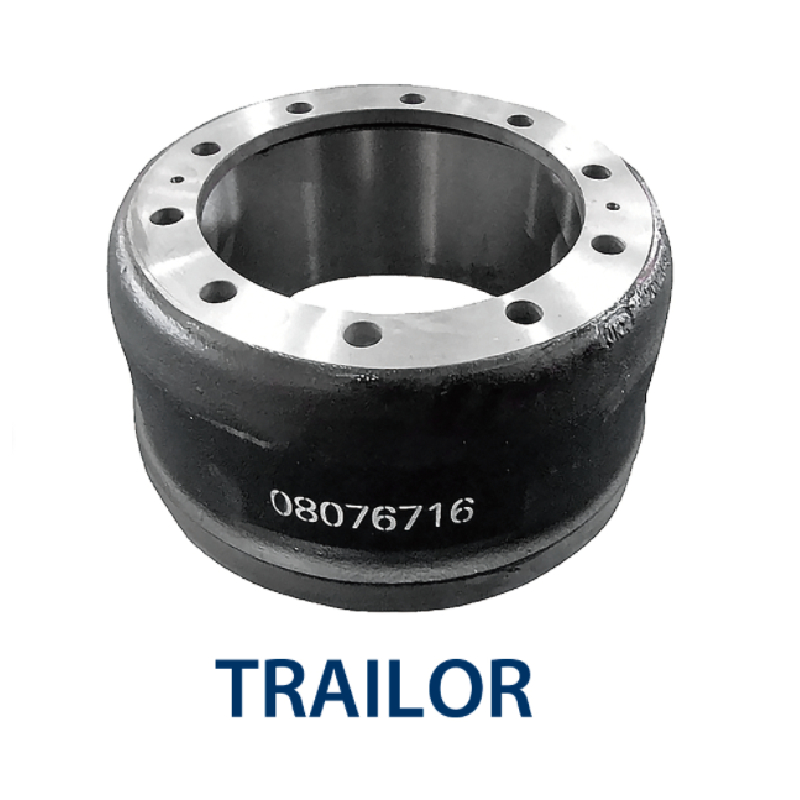
Maintaining your vehicle's brake system is crucial for safety and performance. Brake drums are an integral part of drum brake systems, and knowing how to take them off is essential for routine maintenance or repairs. In this guide, we will walk you through the step-by-step process of removing brake drums, ensuring you do it safely and effectively.
Tools and Materials Needed
Before you start, gather the necessary tools and materials
1. Jack and Jack Stands To lift the vehicle safely. 2. Lug Wrench For removing wheel nuts or bolts. 3. Brake Drum Puller An optional but helpful tool for stubborn drums. 4. Socket Set or Wrenches Depending on your vehicle's specifications. 5. Screwdrivers Both flathead and Phillips for removing securing components. 6. C-Clamp or Brake Tool To compress the brake shoes if necessary. 7. Grease or Anti-Seize Compound For assembly. 8. Brake Cleaner To clean the components.
Step-by-Step Procedure
Step 1 Prepare the Vehicle
1. Ensure Safety Park the vehicle on a flat, stable surface. Engage the parking brake. 2. Loosen the Lug Nuts Before lifting the car, slightly loosen the lug nuts with a lug wrench. Do not remove them completely yet.
Step 2 Lift the Vehicle
1. Jack Up the Vehicle Use the jack to lift the vehicle from the specified jacking points. Ensure it is high enough to remove the wheels. 2. Secure with Jack Stands Always place jack stands under the vehicle to prevent it from falling.
how to take brake drums off

Step 3 Remove the Wheel
1. Finish Loosening the Lug Nuts Now that the vehicle is safely elevated, remove the lug nuts completely. 2. Take off the Wheel Carefully pull the wheel straight off and set it aside.
Step 4 Access the Brake Drum
1. Inspect the Brake Components Look at the brake assembly to familiarize yourself with how everything is arranged. 2. Remove Brake Drum (if not stuck) For most vehicles, you can simply pull the brake drum straight off. If it doesn’t budge, you may have to proceed further.
Step 5 Address Stuck Brake Drums
1. Check for Adjusters Some drum brakes have an adjusting screw that can be accessed through a hole in the backing plate. Adjust it until the shoes are loosened enough to remove the drum. 2. Use a Brake Drum Puller If the drum is still stuck, use a brake drum puller. Attach the puller according to the manufacturer's instructions, ensuring it is securely in place. 3. Gently Tighten the Puller Gradually tighten the puller until the drum begins to separate from the hub. Apply steady pressure; avoid forcing it.
Step 6 Remove the Brake Drum
1. Inspect and Clean Once the drum is off, inspect it for wear and tear. Use brake cleaner to clean the inside surface before proceeding with repairs or replacements. 2. Check Brake Shoes and Components Take this opportunity to check the condition of the brake shoes, springs, and other components.
Conclusion
Removing brake drums is a task that can be done with the right tools and knowledge. By following this comprehensive guide, you can perform this maintenance task efficiently and safely. Remember to always prioritize safety use personal protective equipment and ensure the vehicle is securely lifted before starting any work. If at any point you feel uncertain or encounter issues, consider consulting a professional mechanic for assistance. Regular maintenance of your brake system will not only extend the life of the components but also keep you and others safe on the road. Happy repairing!
-
Scania Brake Drums: OEM Quality for Optimal Safety & Durability
NewsAug.16,2025
-
R.V.I: Advanced Remote Visual Inspection for Precision
NewsAug.15,2025
-
Discover HYUNDA: Innovative Vehicles, Equipment & Solutions
NewsAug.14,2025
-
R.V.I: Unlock Advanced Insights & Real-time Performance
NewsAug.13,2025
-
Kamaz Brake Drum: Durable & Reliable for Heavy Duty Trucks
NewsAug.12,2025
-
Heavy Duty Iveco Brake Drum - Premium Quality & Safety
NewsAug.11,2025
