
Feb . 16, 2025 10:34 Back to list
Isuzu Brake Drums
Removing the rear brake drum from an Isuzu NPR HD can be a challenging task if you're unfamiliar with the process. This robust commercial vehicle is built to endure heavy-duty work, and maintaining its braking system is crucial for safety and performance. Here’s a step-by-step guide, built on expertise and practical experience, to help you safely and efficiently complete the brake drum removal
Since Isuzu NPR HD brake drums can get tightly adhered due to rust or corrosion, applying a penetrating oil around the hub connection can be beneficial. Allow the oil to sit for a few minutes to break through the rust bonds. 5. Release the Brake Adjuster Locate the brake adjuster slot on the drum. Using a brake spoon or a flathead screwdriver, turn the adjuster gear to retract the brake shoes slightly. This step is crucial as it prevents the shoes from catching on the drum and facilitates easier removal. 6. Removing the Brake Drum Now comes the critical step removing the brake drum. In the absence of excess rust, a few taps with a rubber mallet can help dislodge the drum. Gently tap around the drum edge in a circular motion to evenly release it. If the drum feels stuck, employ a drum puller tool for assistance. Attach the puller securely and gradually increase the tension until the drum releases. 7. Inspecting Components With the drum off, inspect the brake shoes, springs, and adjusters for wear. Replace any components that show excessive wear or damage to ensure the effectiveness of the braking system. Final Notes Reinstallation of the rear brake drum follows the reverse order of these steps. Always make sure that upon reassembling, all components are tightened to manufacturer specifications and that no part is left loose or out of alignment. Once the wheels are back on and the vehicle is lowered to the ground, ensure the lug nuts are torqued correctly using a torque wrench. This thorough process not only underscores your expertise in handling heavy-duty vehicle maintenance but also ensures safety and reliability on the road. As a trusted authority in vehicle repair and maintenance, always recommend regular inspections and adherence to specified service intervals to your clients to extend the lifespan and efficiency of their Isuzu NPR HD.
Since Isuzu NPR HD brake drums can get tightly adhered due to rust or corrosion, applying a penetrating oil around the hub connection can be beneficial. Allow the oil to sit for a few minutes to break through the rust bonds. 5. Release the Brake Adjuster Locate the brake adjuster slot on the drum. Using a brake spoon or a flathead screwdriver, turn the adjuster gear to retract the brake shoes slightly. This step is crucial as it prevents the shoes from catching on the drum and facilitates easier removal. 6. Removing the Brake Drum Now comes the critical step removing the brake drum. In the absence of excess rust, a few taps with a rubber mallet can help dislodge the drum. Gently tap around the drum edge in a circular motion to evenly release it. If the drum feels stuck, employ a drum puller tool for assistance. Attach the puller securely and gradually increase the tension until the drum releases. 7. Inspecting Components With the drum off, inspect the brake shoes, springs, and adjusters for wear. Replace any components that show excessive wear or damage to ensure the effectiveness of the braking system. Final Notes Reinstallation of the rear brake drum follows the reverse order of these steps. Always make sure that upon reassembling, all components are tightened to manufacturer specifications and that no part is left loose or out of alignment. Once the wheels are back on and the vehicle is lowered to the ground, ensure the lug nuts are torqued correctly using a torque wrench. This thorough process not only underscores your expertise in handling heavy-duty vehicle maintenance but also ensures safety and reliability on the road. As a trusted authority in vehicle repair and maintenance, always recommend regular inspections and adherence to specified service intervals to your clients to extend the lifespan and efficiency of their Isuzu NPR HD.
Next:
Latest news
-
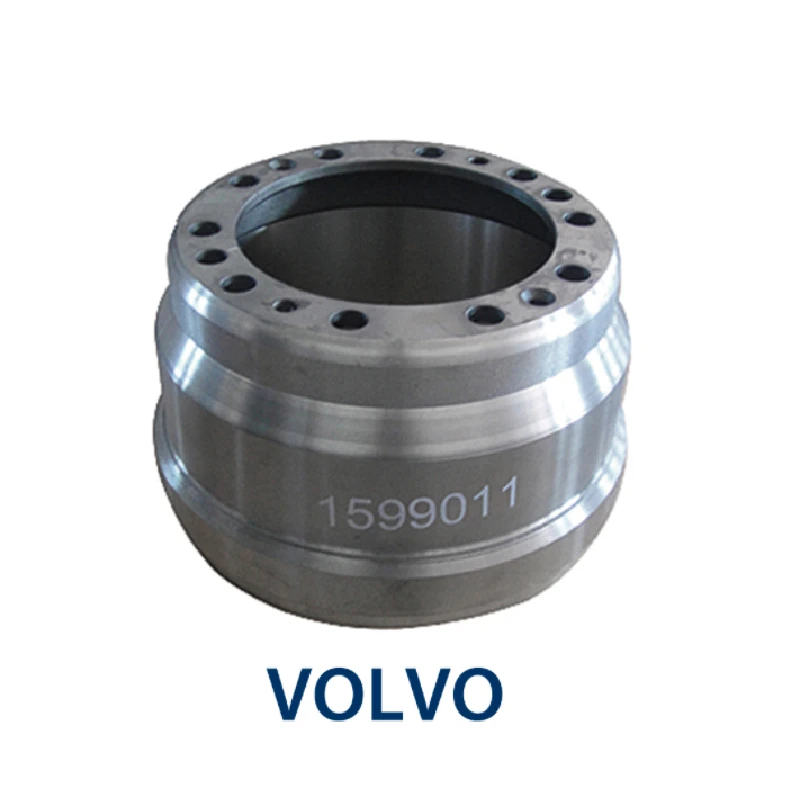
Volvo Brake Drum: OEM Quality, Optimal Safety
NewsAug.27,2025
-
Durable Brake Drum MAZ for Heavy Duty Trucks | High Performance
NewsAug.26,2025
-
FUWA: Premium Quality, Reliable Performance & Innovative Solutions
NewsAug.25,2025
-
Liza Brake Drum: Superior Quality & Performance for Safe Driving
NewsAug.24,2025
-
Iveco Brake Drum | Premium OE Quality for Daily & Eurocargo
NewsAug.22,2025
-
Your Brake Drum Man: Quality & Performance Parts
NewsAug.21,2025