Nov . 11, 2024 18:35 Back to list
isuzu truck rear brake drum removal
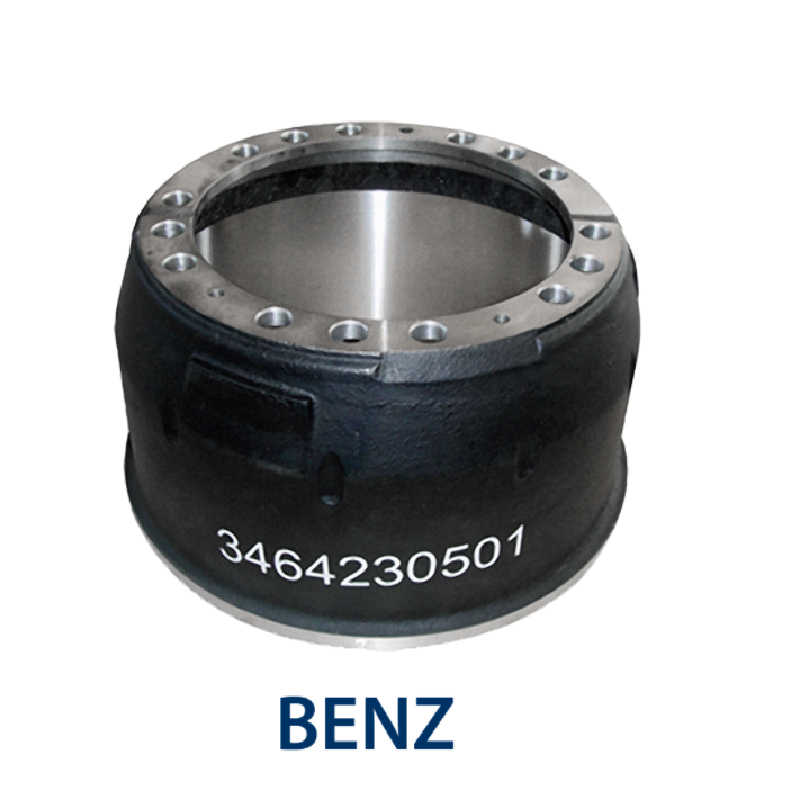
Removing the Rear Brake Drum on an Isuzu Truck A Comprehensive Guide
Maintaining your Isuzu truck's braking system is vital for safe driving, and one critical aspect of this maintenance involves the removal of the rear brake drums. Whether you’re performing a brake shoe replacement, inspecting the brakes, or servicing the wheel bearings, knowing how to properly remove the rear brake drum can save time and enhance your vehicle's performance. This article provides a step-by-step guide to assist you in this process.
Tools and Materials Needed
Before beginning, ensure you have the proper tools and materials at hand. The following items will be necessary
- Wrench set or socket set - Screwdriver (flathead and Phillips) - Brake drum puller (optional but helpful) - Clean rags - Brake cleaner - Safety glasses - Gloves - Torque wrench
Safety First
Safety is paramount when working on vehicles. Before you start, park your Isuzu truck on a level surface and engage the parking brake. Additionally, ensure you wear safety glasses and gloves to protect yourself from any debris or harmful substances.
Step 1 Prepare the Vehicle
1. Loosen the Lug Nuts Using a lug wrench, slightly loosen the lug nuts on the rear wheels but do not remove them yet. 2. Elevate the Vehicle Use a jack to lift the rear of the truck off the ground. Secure it with jack stands to prevent any accidents.
Step 2 Remove the Wheel
isuzu truck rear brake drum removal

1. Remove the Lug Nuts Finish removing the loosened lug nuts and take off the wheel. Set the wheel aside in a safe location. Step 3 Inspect the Brake Assembly
With the wheel removed, you can now see the brake drum assembly. Before removing the drum, take a moment to inspect the brake shoes, springs, and other components for wear or damage.
Step 4 Remove the Brake Drum
1. Check for Retaining Screws Some Isuzu models include retaining screws on the brake drum. If applicable, use the appropriate screwdriver to remove these screws. 2. Use a Brake Drum Puller If the drum is stuck due to rust or debris, a brake drum puller can help to loosen it. Attach the puller to the drum and apply even pressure until it pops off. If you don’t have a puller, you can lightly tap around the outer edge of the drum with a rubber mallet to help loosen it. 3. Remove the Drum Once loose, simply slide the drum off the wheel hub. Inspect the inside of the drum for scoring or excessive wear.
Step 5 Clean and Service
After removing the drum, take the opportunity to clean the brake components. Use brake cleaner and a clean rag to wipe away any dust, grime, or brake fluid. Inspect the brake shoes for wear, ensuring they have adequate material left. If necessary, replace them according to your vehicle’s specifications.
Step 6 Reinstallation
1. Replace Components If you have replaced any parts, install them according to the manufacturer’s guidelines. 2. Reinstall the Drum Slide the brake drum back onto the hub, ensuring it fits snugly. 3. Replace the Wheel Put the wheel back on, hand-tightening the lug nuts as you go. 4. Lower the Vehicle Safely lower the truck back to the ground and torque the lug nuts to the manufacturer’s specifications.
Conclusion
Removing the rear brake drum on an Isuzu truck is a manageable task that can greatly enhance the longevity and safety of your vehicle’s braking system. Regular maintenance checks, including brake inspections and drum replacements, help ensure optimal performance on the road. If you find any excessive wear or feel uncomfortable with any part of the process, don’t hesitate to consult with a professional mechanic. Keeping your brakes in good condition not only ensures your safety but can also save you from costly repairs down the line. Happy driving!
-
HINO Industrial Solutions - ¡Ң���ຽ��е��������˾ | Advanced Efficiency&Customization
NewsJul.13,2025
-
HINO Industrial Efficiency Solutions - ¡Ң���ຽ��е��������˾
NewsJul.13,2025
-
HINO Industrial Solutions - ¡Ң���ຽ��е��������˾ | Advanced Technology&Reliability
NewsJul.13,2025
-
HINO Industrial Efficiency-Jiangsu Hino Industrial|Productivity Optimization&Cost Reduction
NewsJul.12,2025
-
HINO-¡Ң���ຽ��е��������˾|Advanced Industrial Solutions&Energy Efficiency
NewsJul.12,2025
-
Premium Brake Drum Iveco – Durable Drum Brake Drum & Brake Shoe Solutions
NewsJul.08,2025
