Oct . 03, 2024 20:31 Back to list
mitsubishi canter rear brake drum removal
How to Remove the Rear Brake Drum on a Mitsubishi Canter
The Mitsubishi Canter is a reliable workhorse commonly used for various commercial purposes. Regular maintenance, including brake servicing, is essential for ensuring your vehicle’s safety and performance. One critical task that may be necessary is the removal of the rear brake drum. This guide will walk you through the process step by step, ensuring you can accomplish this task safely and effectively.
Safety First
Before starting any maintenance work, safety should be your top priority. Ensure that you have the following safety gear gloves, goggles, and steel-toed boots. Additionally, make sure your workspace is well-lit and free from any clutter.
Tools and Equipment Needed
To remove the rear brake drum, you will need the following tools
- Jack and jack stands - Lug wrench - Screwdrivers (flathead and Phillips) - Brake drum puller (if necessary) - Wrench set - Torque wrench
Step 1 Prepare the Vehicle
Begin by parking your Mitsubishi Canter on a level surface and engaging the parking brake. Loosen the lug nuts on the rear wheels slightly while the wheels are still on the ground. This step makes it easier to remove the wheel when the vehicle is elevated.
Step 2 Lift the Vehicle
Using a jack, raise the rear of the Canter. Ensure it's secure by placing jack stands beneath the vehicle for added stability. Once the vehicle is elevated, remove the lug nuts completely and take off the rear wheel to expose the brake drum.
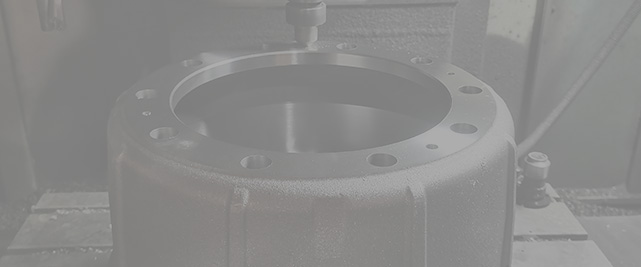
mitsubishi canter rear brake drum removal

Step 3 Inspect the Brake Assembly
With the wheel removed, take a moment to inspect the brake components. Check the condition of the brake shoes, springs, and any other visible parts for wear or damage. This inspection can help you identify if other maintenance is required.
Step 4 Remove the Brake Drum
In some cases, the brake drum may be stuck due to corrosion or wear. If this is the case, you can gently tap the drum using a rubber mallet to break it free. Alternatively, a brake drum puller may be necessary to safely remove it without damaging the surrounding components. Once loose, pull the drum off the hub carefully. If the drum does not come off easily, double-check that all retaining screws (if present) have been removed.
Step 5 Inspect and Replace If Necessary
With the brake drum removed, check its surface for any signs of scoring or excessive wear. Depending on its condition, you may need to machine it or replace it entirely. Also, examine the brake shoes for any wear—if they are worn down, they should be replaced at this time.
Step 6 Reassembly
If you're replacing the drum or simply reinstalling it, make sure everything is clean. Position the drum back onto the hub, ensuring it fits snugly. Reattach the wheel and tighten the lug nuts by hand. Lower the vehicle back to the ground, and use a torque wrench to tighten the lug nuts to the manufacturer’s specifications.
Conclusion
Removing the rear brake drum on a Mitsubishi Canter may seem daunting, but following these steps can make the process straightforward. Regular brake maintenance not only extends the life of your vehicle components but also ensures your safety on the road. If you encounter difficulties or feel uncertain at any point in the process, don't hesitate to reach out to a professional mechanic for assistance.
-
HINO Industrial Solutions - ¡Ң���ຽ��е��������˾ | Advanced Technology&Reliability
NewsJul.13,2025
-
HINO Industrial Efficiency-Jiangsu Hino Industrial|Productivity Optimization&Cost Reduction
NewsJul.12,2025
-
HINO-¡Ң���ຽ��е��������˾|Advanced Industrial Solutions&Energy Efficiency
NewsJul.12,2025
-
Premium Brake Drum Iveco – Durable Drum Brake Drum & Brake Shoe Solutions
NewsJul.08,2025
-
High-Performance Brake Drum Liza for Enhanced Safety Reliable Drum Brake Drum & Brake Shoe Solutions
NewsJul.08,2025
-
High-Quality Brake Drum MAZ – Durable Drum Brake Drum & Brake Drum and Brake Shoe for Optimal Performance
NewsJul.07,2025
