Sep . 10, 2024 17:27 Back to list
nissan drum brake adjustment
Nissan Drum Brake Adjustment A Comprehensive Guide
Drum brakes play a critical role in vehicle safety and performance. Properly adjusted drum brakes ensure effective stopping power, minimize wear on the braking system, and enhance overall driving experience. This guide will walk you through the process of adjusting Nissan drum brakes, focusing on the essential steps, tools required, and key tips for maintenance.
Understanding Drum Brakes
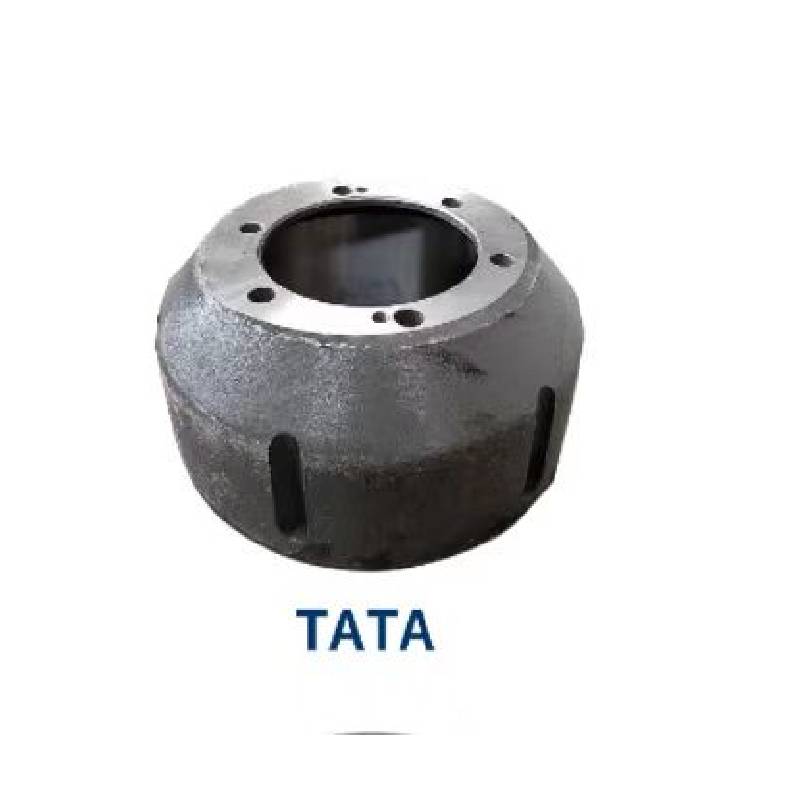
Before diving into the adjustment process, it’s essential to understand how drum brakes work. Drum brakes consist of a cylindrical drum that rotates with the wheel and brake shoes that press against the inner surface of the drum to create friction, thus slowing the vehicle down. Over time, the brake shoes wear out, and the drum can become misaligned, necessitating periodic adjustments to maintain optimal performance.
Tools Required
To adjust your Nissan drum brakes, you will need
1. A jack and jack stands 2. A lug wrench 3. A brake adjusting tool (or a flathead screwdriver can suffice) 4. A ruler or brake shoe adjustment gauge 5. Brake cleaner 6. Lubricant for moving parts
Adjustment Procedure
1. Safety First Ensure the vehicle is on a flat surface and turn off the ignition. Engage the parking brake and use wheel chocks to prevent any movement.
nissan drum brake adjustment

2. Raise the Vehicle Use the jack to lift the rear or front (depending on where the drum brakes are located) of the vehicle. Secure it with jack stands to ensure safety while working underneath.
3. Remove the Wheel Use the lug wrench to remove the lug nuts and take off the wheel, exposing the brake drum.
4. Inspect the Brake Components Before adjustment, inspect the brake shoes for wear and the drum for any signs of damage. If the shoes are excessively worn or the drum is scored, consider replacing these components.
5. Adjust the Brake Shoes Locate the brake adjuster, usually found at the bottom of the brake assembly. Using the brake adjusting tool or screwdriver, turn the adjuster to expand the brake shoes outward until they make slight contact with the drum. Rotate the drum by hand to ensure the shoes do not bind but create sufficient friction.
6. Check Clearance After adjustment, measure the clearance between the brake shoes and the drum. Ideally, there should be a small gap, typically around 0.010 inches. Adjust as necessary by repeating the previous step until the desired clearance is achieved.
7. Reassemble the Brake Assembly Once adjustments are complete, reattach the drum and the wheel. Ensure all nuts are tightened to the manufacturer’s specifications.
8. Test Drive After completing the adjustment, perform a test drive in a safe area to ensure the brakes are functioning effectively. Listen for any unusual noises and feel for even braking response.
Conclusion
Adjusting the drum brakes on your Nissan is a straightforward yet essential maintenance task that can significantly impact your vehicle's safety and performance. By following these steps, you can ensure optimal functioning of your brakes, prolonging their life while enhancing your driving experience. Regular checks and adjustments can prevent more severe issues down the line, providing peace of mind when you hit the road. Always refer to your vehicle's service manual for specific instructions tailored to your model.
-
Scania Brake Drums: OEM Quality for Optimal Safety & Durability
NewsAug.16,2025
-
R.V.I: Advanced Remote Visual Inspection for Precision
NewsAug.15,2025
-
Discover HYUNDA: Innovative Vehicles, Equipment & Solutions
NewsAug.14,2025
-
R.V.I: Unlock Advanced Insights & Real-time Performance
NewsAug.13,2025
-
Kamaz Brake Drum: Durable & Reliable for Heavy Duty Trucks
NewsAug.12,2025
-
Heavy Duty Iveco Brake Drum - Premium Quality & Safety
NewsAug.11,2025
