Sep . 01, 2024 13:29 Back to list
rear brake drum removal
Removing Rear Brake Drums A Step-by-Step Guide
Removing rear brake drums may seem like a challenging task, but with the right tools and a bit of patience, you can successfully handle this maintenance procedure on your vehicle. Whether you're changing shoes or inspecting them for wear, follow these steps to get the job done efficiently and safely.
Tools and Materials Needed
Before you start, gather the necessary tools a lug wrench, a jack and jack stands, a brake drum puller (if needed), and basic hand tools like screwdrivers and pliers. Additionally, having a clean workspace and some rags for cleanup will make the process smoother.
Safety First
Ensure your vehicle is parked on a flat surface. Activate the emergency brake to prevent any movement, and use wheel chocks on the front wheels. This is crucial for your safety during the procedure.
Step 1 Loosen the Lug Nuts
Start by loosening the lug nuts on the back wheels with a lug wrench. Do this while the wheel is still on the ground to prevent the wheel from spinning. Once loosened, lift the vehicle with a jack and secure it on jack stands. Remove the lug nuts completely and take off the rear wheels.
Step 2 Inspect the Brakes
Before removing the brake drum, take a moment to inspect the brake assembly for any visible wear or damage. Look for leaks in the brake cylinder and check the condition of the brake lines. This is an excellent opportunity to assess whether other components might need attention.
Step 3 Remove the Brake Drum
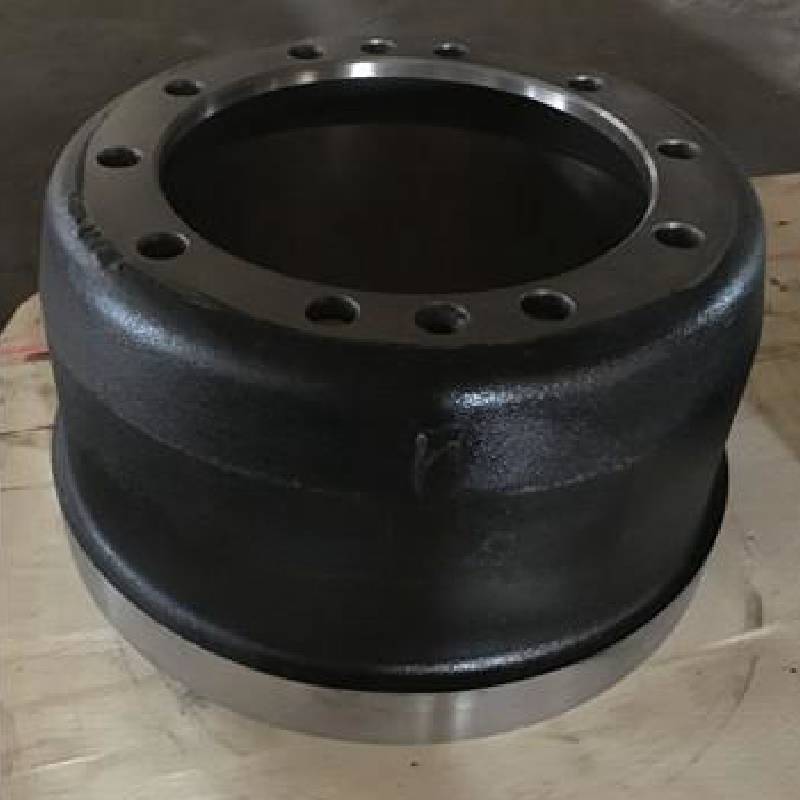
rear brake drum removal

Most rear brake drums are secured with two or three screws or held in place by friction. If the drums do not slide off easily, you may need to use a brake drum puller. Attach the puller to the drum and tighten it slowly until the drum releases from the hub. Be careful, as it can sometimes pop off with unexpected force.
Step 4 Inspect and Replace Brake Components
With the drum removed, inspect the brake shoes for wear. If they are less than 1/4 inch thick or show uneven wear, it's time to replace them. Also, check the condition of the brake hardware, including springs and retention clips. Replace any worn or damaged components to ensure optimal braking performance.
Step 5 Clean and Reassemble
Before reassembling, clean the inside of the brake drum and the brake shoes. A brake cleaner spray can help remove dust and debris that can affect braking efficiency. If you're reusing the drum, check its surface for scoring or excessive wear; if damaged, consider replacing it.
Once everything is inspected and cleaned, if needed, install the new brake shoes and reattach the drum. Make sure to tighten all screws or fasteners securely.
Step 6 Replace the Wheel and Test
Finally, put the wheel back on and hand-tighten the lug nuts. Lower the vehicle from the jack stands and then fully tighten the lug nuts in a crisscross pattern to ensure even pressure. Before hitting the road, press the brake pedal a few times to seat the brake shoes against the drum.
Conclusion
Removing rear brake drums is a straightforward process that can save you money on mechanic fees. By following these steps, you can ensure your vehicle's braking system is in good shape, culminating in a safer driving experience. Always remember, if you're unsure at any stage, consult a professional mechanic for assistance.
-
Scania Brake Drums: OEM Quality for Optimal Safety & Durability
NewsAug.16,2025
-
R.V.I: Advanced Remote Visual Inspection for Precision
NewsAug.15,2025
-
Discover HYUNDA: Innovative Vehicles, Equipment & Solutions
NewsAug.14,2025
-
R.V.I: Unlock Advanced Insights & Real-time Performance
NewsAug.13,2025
-
Kamaz Brake Drum: Durable & Reliable for Heavy Duty Trucks
NewsAug.12,2025
-
Heavy Duty Iveco Brake Drum - Premium Quality & Safety
NewsAug.11,2025
