Dec . 11, 2024 12:18 Back to list
Steps to Remove Rear Brake Drum from Your Vehicle
Rear Brake Drum Removal A Step-by-Step Guide
Removing the rear brake drum is an essential skill for any car owner or mechanic. Whether you’re replacing worn brake components, inspecting the drum for damage, or performing a brake overhaul, understanding the proper removal techniques can save you time and money. This article provides a detailed, step-by-step guide to safely and effectively remove the rear brake drum from your vehicle.
Tools and Materials Needed
Before starting, it’s crucial to gather the necessary tools and materials. Having everything ready will make the process smoother and more efficient. Here’s what you’ll need
- Jack and jack stands - Lug wrench - Brake drum removal tool (optional but recommended) - Screwdrivers (flathead and Phillips) - Pliers - Clean shop towels - Brake cleaner - Safety goggles and gloves
Step 1 Safety First
When working on your vehicle, safety is paramount. Begin by parking your car on a level surface and turning off the engine. If you’re working on a rear-wheel-drive vehicle, it’s advisable to place wheel chocks in front of the front wheels to prevent any movement. Always wear safety goggles and gloves to protect yourself from debris and harmful chemicals.
Step 2 Lift the Vehicle
Use a jack to raise the rear of the vehicle. Once it’s lifted, securely place the jack stands under the vehicle to ensure stability. Never rely solely on the jack for support. After securing the vehicle, remove the rear wheels with the lug wrench.
Step 3 Inspect the Drum and Shoes
Before removing the drum, it’s good practice to inspect it and the brake shoes. Look for any signs of wear or damage. If the drum appears warped or scored, it may need replacement. If the shoes are worn down, take note to replace them when you install the new drum.
Step 4 Remove the Brake Drum
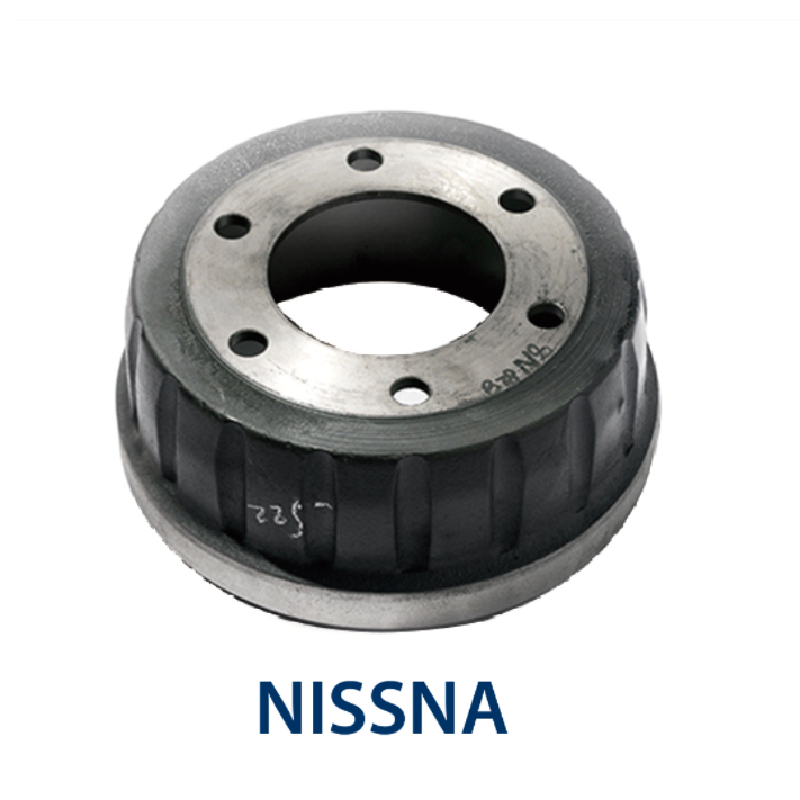
rear brake drum removal

Depending on your vehicle, you may encounter a few different setups for the rear brake drum. In some cases, there may be retaining screws securing the drum to the hub. If present, remove these screws using the appropriate screwdriver.
Next, try gently pulling the drum straight off the hub. If it’s stuck due to corrosion or buildup, you can tap it lightly with a rubber mallet to loosen it. Avoid using heavy force as this could damage the drum. If the drum still doesn’t budge, you may need to use a brake drum removal tool, which applies even pressure around the circumference of the drum to help free it from the hub.
Step 5 Inspect Components
Once the drum is removed, carefully inspect the inner surface for wear and any scoring. Additionally, examine the brake shoes, springs, and other related components for any signs of damage or degradation. Replace any parts as needed.
Step 6 Clean the Area
Before installing the new brake drum or reinstalling the existing one, it’s essential to clean the hub area. Use brake cleaner and shop towels to remove dust, grease, and debris. This helps ensure proper seating of the drum and prolongs the life of your brake components.
Step 7 Reinstall or Replace the Drum
If you’re installing a new drum, simply align it with the hub and push it on until it sits flush. If you’re reusing the old drum, make sure it’s in good condition and then reattach it in the same manner. If you removed any retaining screws, make sure to secure them properly.
Step 8 Reinstall the Wheel
Once the drum is securely in place, it’s time to put the wheel back on. Align it with the lug bolts and hand-tighten the lug nuts. Once the wheel is in place, lower the vehicle from the jack stands and securely fasten the lug nuts in a star pattern to ensure even tightening.
Conclusion
Removing the rear brake drum is a straightforward process that any DIY enthusiast can accomplish. By following the steps outlined above and taking the necessary precautions, you can successfully maintain your vehicle's braking system. Regular brake maintenance not only ensures safety but also enhances the performance and longevity of your vehicle. If you ever feel unsure during the process, don’t hesitate to consult a professional mechanic for guidance. Safe driving!
-
Scania Brake Drums: OEM Quality for Optimal Safety & Durability
NewsAug.16,2025
-
R.V.I: Advanced Remote Visual Inspection for Precision
NewsAug.15,2025
-
Discover HYUNDA: Innovative Vehicles, Equipment & Solutions
NewsAug.14,2025
-
R.V.I: Unlock Advanced Insights & Real-time Performance
NewsAug.13,2025
-
Kamaz Brake Drum: Durable & Reliable for Heavy Duty Trucks
NewsAug.12,2025
-
Heavy Duty Iveco Brake Drum - Premium Quality & Safety
NewsAug.11,2025
