
Feb . 14, 2025 19:33 Back to list
Mitsubishi Lancer Rear Drum Brakes
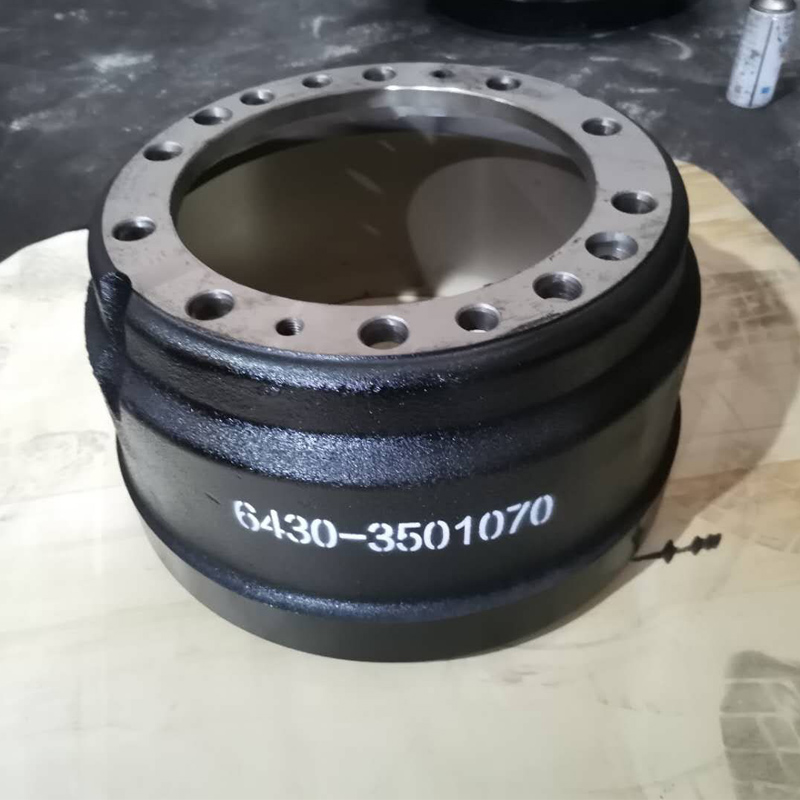
Rear Brake Drum Removal A Comprehensive Guide for Car Enthusiasts
In certain situations, brake drums may be challenging to remove due to excessive wear or rust. A brake drum puller can be employed to facilitate removal. This tool allows you to exert controlled force, pulling the drum away from the hub. Exercise patience and caution to prevent unnecessary strain or damage. Expertise in this process isn’t simply about removing the drum but recognizing what to look for once it’s off. Inspect the condition of the brake shoes, springs, and cylinder for wear or leaks. Worn or damaged components should be replaced promptly to maintain optimal braking performance. Reinstallation follows a similar path but in reverse. Secure the drum by aligning it with the wheel studs and pressing it into position. If there were retaining screws, reattach them firmly. Realign the wheel to the hub, fastening it lightly with the lug nuts. Lower the car and then tighten the lug nuts fully in a criss-cross pattern to ensure the wheel is balanced. Regular maintenance and inspections of rear brake drums contribute significantly to the vehicle's overall safety. Being well-versed in this procedure not only enhances personal expertise but also establishes your credibility in understanding and addressing vehicle maintenance challenges. As with any automotive task, maintaining a thorough, careful approach rooted in professional expertise ensures that the work done is of the highest quality. It fosters trustworthiness not only in your skills but in the vehicle's performance, ensuring every drive is safe and reliable. By demystifying the complexities of rear brake drum removal, you empower yourself to manage your vehicle with authority, enhancing both its longevity and safety.

In certain situations, brake drums may be challenging to remove due to excessive wear or rust. A brake drum puller can be employed to facilitate removal. This tool allows you to exert controlled force, pulling the drum away from the hub. Exercise patience and caution to prevent unnecessary strain or damage. Expertise in this process isn’t simply about removing the drum but recognizing what to look for once it’s off. Inspect the condition of the brake shoes, springs, and cylinder for wear or leaks. Worn or damaged components should be replaced promptly to maintain optimal braking performance. Reinstallation follows a similar path but in reverse. Secure the drum by aligning it with the wheel studs and pressing it into position. If there were retaining screws, reattach them firmly. Realign the wheel to the hub, fastening it lightly with the lug nuts. Lower the car and then tighten the lug nuts fully in a criss-cross pattern to ensure the wheel is balanced. Regular maintenance and inspections of rear brake drums contribute significantly to the vehicle's overall safety. Being well-versed in this procedure not only enhances personal expertise but also establishes your credibility in understanding and addressing vehicle maintenance challenges. As with any automotive task, maintaining a thorough, careful approach rooted in professional expertise ensures that the work done is of the highest quality. It fosters trustworthiness not only in your skills but in the vehicle's performance, ensuring every drive is safe and reliable. By demystifying the complexities of rear brake drum removal, you empower yourself to manage your vehicle with authority, enhancing both its longevity and safety.
Latest news
-
Volvo Brake Drum: OEM Quality, Optimal Safety
NewsAug.27,2025
-
Durable Brake Drum MAZ for Heavy Duty Trucks | High Performance
NewsAug.26,2025
-
FUWA: Premium Quality, Reliable Performance & Innovative Solutions
NewsAug.25,2025
-
Liza Brake Drum: Superior Quality & Performance for Safe Driving
NewsAug.24,2025
-
Iveco Brake Drum | Premium OE Quality for Daily & Eurocargo
NewsAug.22,2025
-
Your Brake Drum Man: Quality & Performance Parts
NewsAug.21,2025