Sep . 24, 2024 20:32 Back to list
Guide to Replacing Rear Drum Brakes for Improved Vehicle Safety and Performance
Replacing Rear Drum Brakes A Comprehensive Guide
When it comes to vehicle maintenance, ensuring that your braking system is in peak condition is crucial for safety. One common component that may require servicing is the rear drum brake system. Replacing rear drum brakes can seem daunting, but with the right tools and knowledge, it can be a manageable task. This article will guide you through the process of replacing rear drum brakes effectively.
Understanding Rear Drum Brakes
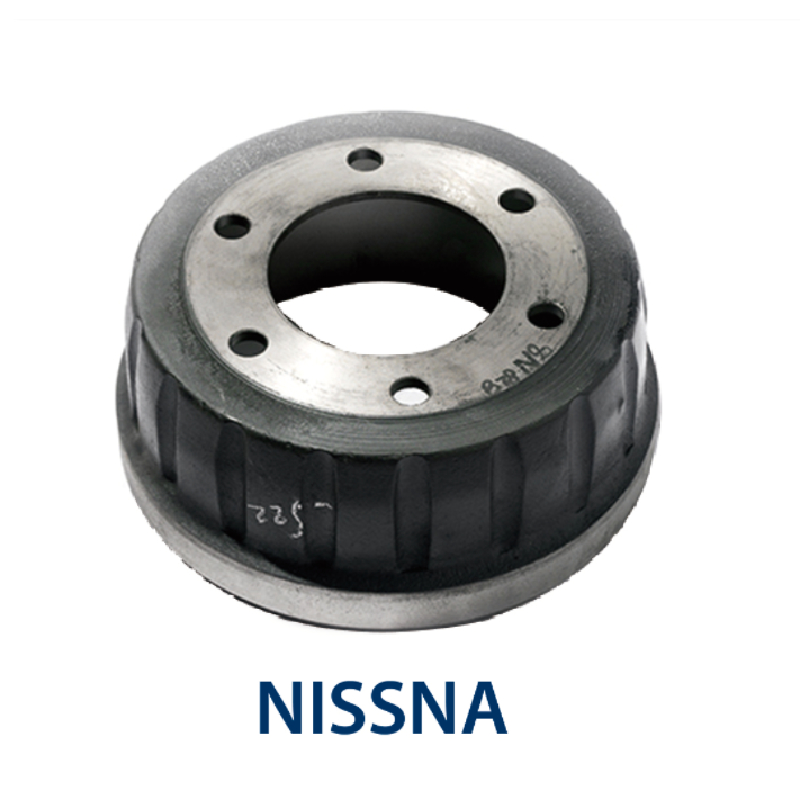
Rear drum brakes work differently from disc brakes. They utilize a cylindrical drum that rotates with the wheel, and their friction material (brake shoes) expands against the inner surface of the drum to create stopping power. Over time, wear and tear can lead to decreased performance. Signs that it's time for a replacement include squeaking noises, reduced braking efficiency, or vibrations during braking.
Tools and Materials Needed
Before starting your brake job, gather the following tools and materials - Jack and jack stands - Lug wrench - Brake cleaner - Brake shoes - Drum brake hardware kit (springs and retainers) - Torque wrench - Screwdrivers and pliers
Step-by-Step Replacement Process
1. Preparation Ensure the vehicle is parked on a flat surface and the engine is off. Loosen the lug nuts on the rear wheels before jacking up the vehicle.
2. Lifting the Vehicle Use the jack to raise the rear of the vehicle, then secure it with jack stands. Remove the lug nuts and take off the rear wheels.
rear drum brakes replacement

3. Remove the Brake Drum Locate the retaining screws (if any) holding the drum in place. If the drum is stuck due to rust or debris, tap it carefully with a hammer to loosen it. Once loose, slide it off.
4. Inspecting the Components Check the brake shoes for wear, the drum for scoring, and the hardware for any signs of damage. Replace any worn or damaged components.
5. Install New Brake Shoes Remove the old brake shoes by disconnecting the springs and clips. Follow the instructions provided with your new brake shoe kit to install the new shoes, ensuring they are correctly aligned.
6. Replace the Drum After installing the new shoes, clean the inside of the drum with brake cleaner. Then, carefully slide the drum back onto the hub.
7. Reassembly Reattach any retaining screws and ensure everything is secure. Replace the wheels and lower the vehicle.
8. Final Checks Once the vehicle is on the ground, torque the lug nuts to the manufacturer’s specifications. Before hitting the road, pump the brake pedal a few times to ensure proper engagement of the new brakes.
Conclusion
Replacing rear drum brakes is a job that many DIYers can tackle with the right tools and precautions. Regular maintenance not only enhances your safety but also prolongs the life of your vehicle's braking system. If you're ever unsure during the process, don't hesitate to consult a professional mechanic. Safe driving!
-
Iveco Brake Drum | Premium OE Quality for Daily & Eurocargo
NewsAug.22,2025
-
Your Brake Drum Man: Quality & Performance Parts
NewsAug.21,2025
-
Explore Japan: Ultimate Travel Guide & Authentic Experiences
NewsAug.19,2025
-
Your Brake Drum Man: Premium & Reliable Brake Drums for Sale
NewsAug.18,2025
-
ROR Web Development: Build Fast, Scalable, Secure Apps
NewsAug.17,2025
-
Scania Brake Drums: OEM Quality for Optimal Safety & Durability
NewsAug.16,2025
