Sep . 07, 2024 09:33 Back to list
Remove Brake Drum - Step-by-Step Guide
Understanding the Process of Removing a Brake Drum
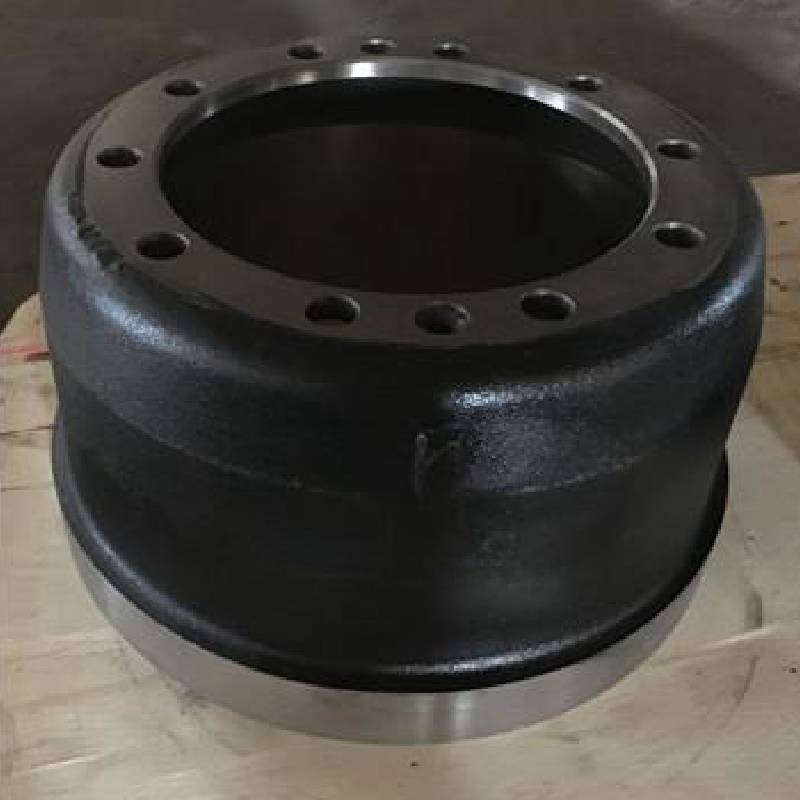
Removing a brake drum is an essential skill for those who wish to maintain their vehicle’s brake system or replace worn components. The brake drum plays a critical role in the braking process, housing the brake shoes and facilitating the effective stopping of your vehicle. Whether you are a DIY enthusiast or a professional mechanic, understanding the correct procedure for removing a brake drum is crucial for ensuring safety and efficiency.
Tools and Preparation
Before starting, ensure you have the necessary tools on hand. Typically, you will need a jack, jack stands, a lug wrench, a brake drum puller, and basic hand tools. It's advisable to wear gloves and safety goggles to protect yourself from dust and debris during the process.
Step-by-Step Process
1. Secure the Vehicle Park your vehicle on a flat, stable surface and engage the parking brake. Loosen the lug nuts slightly but do not remove them yet.
2. Lift the Vehicle Use the jack to lift the vehicle and place it securely on jack stands. This provides a stable base while you work.
3. Remove the Wheel Now, fully remove the wheel by unscrewing the lug nuts. Keep them safe as you will need them to reattach the wheel later.
remove brake drum

4. Inspect the Brake Assembly Once the wheel is off, take a moment to inspect the brake assembly for any obvious signs of wear or damage.
5. Loosen the Brake Drum In some cases, the brake drum may be held in place by retaining screws or may be stuck due to corrosion or wear. If it feels stuck, you can carefully tap around the edge with a rubber mallet to loosen it.
6. Remove the Brake Drum If the drum is still firmly attached, a brake drum puller may be needed. Attach the puller according to the manufacturer's instructions, and gradually tighten it until the drum releases.
7. Check Components Once the drum is removed, take a closer look at the brake shoes, springs, and other components. Look for wear and replace any damaged parts as necessary.
8. Reinstallation When you are done inspecting or replacing parts, reassemble the brake system in the reverse order. Ensure everything is tightened correctly before lowering the vehicle.
Safety Check
Before taking your vehicle back on the road, double-check all connections and ensure that the brake system is functioning correctly. Safe driving starts with properly maintained brakes, so neglecting this process could lead to severe consequences.
Understanding how to remove a brake drum not only saves time and money but empowers you to take charge of your vehicle’s maintenance. With the right tools and knowledge, this task can be accomplished efficiently and safely.
-
ROR Web Development: Build Fast, Scalable, Secure Apps
NewsAug.17,2025
-
Scania Brake Drums: OEM Quality for Optimal Safety & Durability
NewsAug.16,2025
-
R.V.I: Advanced Remote Visual Inspection for Precision
NewsAug.15,2025
-
Discover HYUNDA: Innovative Vehicles, Equipment & Solutions
NewsAug.14,2025
-
R.V.I: Unlock Advanced Insights & Real-time Performance
NewsAug.13,2025
-
Kamaz Brake Drum: Durable & Reliable for Heavy Duty Trucks
NewsAug.12,2025
