Oct . 07, 2024 01:49 Back to list
remove brake drum
Understanding the Process of Removing a Brake Drum
When it comes to maintaining a vehicle's braking system, one of the essential tasks is the removal of the brake drum. This process might seem daunting for a beginner, but with the right tools and knowledge, it can be completed effectively. This article will guide you through the steps and precautions necessary for removing a brake drum safely and efficiently.
What is a Brake Drum?
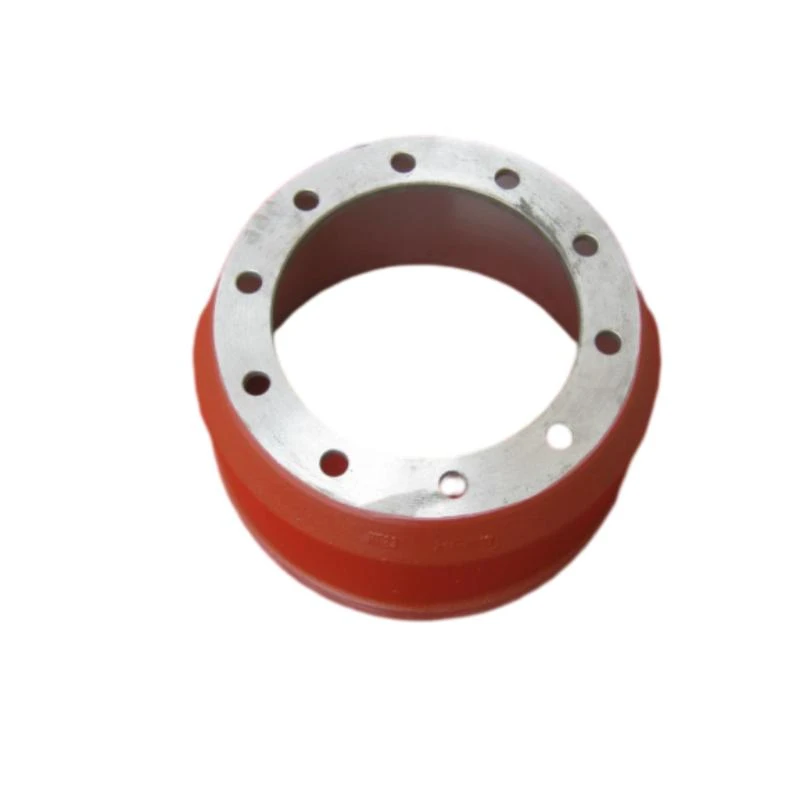
A brake drum is a crucial component of the drum brake system, which uses friction to slow down or stop the wheels of a vehicle. It consists of a cylindrical metal drum that rotates with the wheel, and inside it, brake shoes press against the drum surface to create the braking force. Over time, brake drums can wear down, become warped, or collect dirt and debris, necessitating their removal for inspection or replacement.
Tools You Will Need
Before you begin the process of removing a brake drum, it is essential to gather the necessary tools. Here’s a list of commonly required tools
1. Jack and Jack Stands To lift and safely support the vehicle. 2. Lug Wrench For removing the wheel. 3. Brake Drum Puller In cases where the drum is stuck. 4. Basic Hand Tools Such as a socket set and screwdrivers. 5. Cleaning Supplies Brake cleaner, rags, and possibly sandpaper for cleaning the drum surface.
Step-by-Step Guide
1. Preparation Ensure your vehicle is parked on a flat surface. Engage the parking brake and wear safety gloves and goggles for protection.
2. Lifting the Vehicle Use a jack to lift the vehicle off the ground and secure it with jack stands. This step is crucial to prevent the vehicle from rolling or falling.
remove brake drum

3. Removing the Wheel Take the lug wrench and loosen the lug nuts on the wheel that covers the brake drum. Once loosened, completely remove the lug nuts and take off the wheel.
4. Inspecting the Brake Drum Before removing the drum, check for any obvious signs of wear or damage. If the drum is cracked or significantly scored, replacement will be necessary.
5. Removing the Brake Drum In many cases, the brake drum can be slid off the hub. However, if it is stuck due to rust or dirt build-up, use a brake drum puller to remove it safely. Attach the puller to the drum, tighten it gradually, and the drum should pop off.
6. Cleaning and Inspecting Once removed, clean the inside of the drum using brake cleaner. Inspect the brake shoes and the drum for wear. If the shoes are worn down or the drum is damaged, consider replacing them.
7. Reinstallation After your inspection and any necessary replacements, reassemble the brake system. Slide the brake drum back onto the hub, reinstall the wheel, and tighten the lug nuts in a star pattern to ensure even distribution.
8. Lowering the Vehicle Once everything is reattached, carefully lower the vehicle back to the ground and remove the jack stands.
9. Test the Brakes Before driving, pump the brake pedal a few times to make sure the shoes are re-seated properly against the drum.
Conclusion
Removing a brake drum may seem challenging, but it’s a manageable task for anyone willing to take the time to understand the process. Regular maintenance of braking components is essential for vehicle safety. If you ever feel unsure or unsafe, don't hesitate to consult a professional mechanic. Remember, when it comes to brakes, safety should always be your top priority.
-
Scania Brake Drums: OEM Quality for Optimal Safety & Durability
NewsAug.16,2025
-
R.V.I: Advanced Remote Visual Inspection for Precision
NewsAug.15,2025
-
Discover HYUNDA: Innovative Vehicles, Equipment & Solutions
NewsAug.14,2025
-
R.V.I: Unlock Advanced Insights & Real-time Performance
NewsAug.13,2025
-
Kamaz Brake Drum: Durable & Reliable for Heavy Duty Trucks
NewsAug.12,2025
-
Heavy Duty Iveco Brake Drum - Premium Quality & Safety
NewsAug.11,2025
