Oct . 31, 2024 08:46 Back to list
remove brake drum
Removing a Brake Drum A Step-by-Step Guide
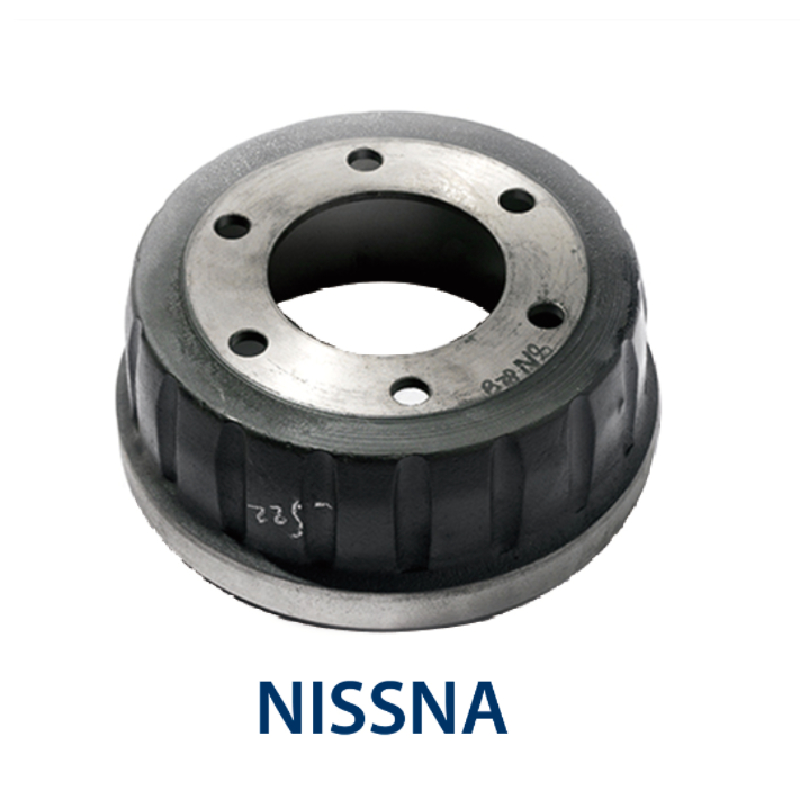
Removing a brake drum may seem daunting if you're not familiar with automotive repairs, but with the right tools and guidance, it can be a straightforward process. Brake drums are an essential component of a vehicle’s braking system, especially in older vehicles or those equipped with rear drum brakes. Here’s a detailed guide on how to remove a brake drum safely and efficiently.
Tools and Materials Needed
Before you start, gather the necessary tools a lug wrench, brake cleaner, a jack and jack stands, a rubber mallet, and possibly a brake drum puller. Make sure to have safety goggles and gloves to protect yourself during the process.
Step 1 Prepare Your Vehicle
Start by parking your vehicle on a level surface. Engage the parking brake to prevent any rolling. Loosen the lug nuts on the rear tire using the lug wrench, but do not remove them completely yet.
Step 2 Lift the Vehicle
Using a jack, lift the rear of the vehicle, and securely place jack stands under the appropriate jacking points to ensure stability. Once the vehicle is elevated, remove the lug nuts and take off the wheel to expose the brake drum.
Step 3 Inspect the Brake Drum
remove brake drum

Before removing the drum, take a moment to inspect it. Look for any visible cracks, wear, or debris. Cleaning the drum with brake cleaner can help you better assess its condition.
Step 4 Remove the Brake Drum
Typically, brake drums are held in place by the wheel studs and may also be secured with retaining screws. If there are screws, remove them first. If the drum doesn’t come off easily, tap around the edges using a rubber mallet to loosen any rust or debris. If you’re having difficulty, using a brake drum puller can provide additional leverage.
Step 5 Check the Brake Components
Once the brake drum is off, take the opportunity to inspect the brake shoes, springs, and hardware for wear or damage. This is the perfect time to replace any worn components before reassembling.
Step 6 Reinstallation
When you’re ready to reassemble, place the brake drum back onto the hub. Tighten any retaining screws securely, and then put the wheel back on. Lower the vehicle and tighten the lug nuts in a star pattern to ensure even pressure.
Conclusion
Removing a brake drum can be a simple task with the right approach. Regular maintenance of your braking system is crucial for your safety on the road. If you feel uncertain about performing this task yourself, don’t hesitate to consult a professional mechanic. Remember, a functioning braking system is vital for your vehicle’s performance and your safety. Always prioritize safety and double-check your work before hitting the road!
-
ROR Web Development: Build Fast, Scalable, Secure Apps
NewsAug.17,2025
-
Scania Brake Drums: OEM Quality for Optimal Safety & Durability
NewsAug.16,2025
-
R.V.I: Advanced Remote Visual Inspection for Precision
NewsAug.15,2025
-
Discover HYUNDA: Innovative Vehicles, Equipment & Solutions
NewsAug.14,2025
-
R.V.I: Unlock Advanced Insights & Real-time Performance
NewsAug.13,2025
-
Kamaz Brake Drum: Durable & Reliable for Heavy Duty Trucks
NewsAug.12,2025
