Nov . 23, 2024 04:00 Back to list
remove brake drum
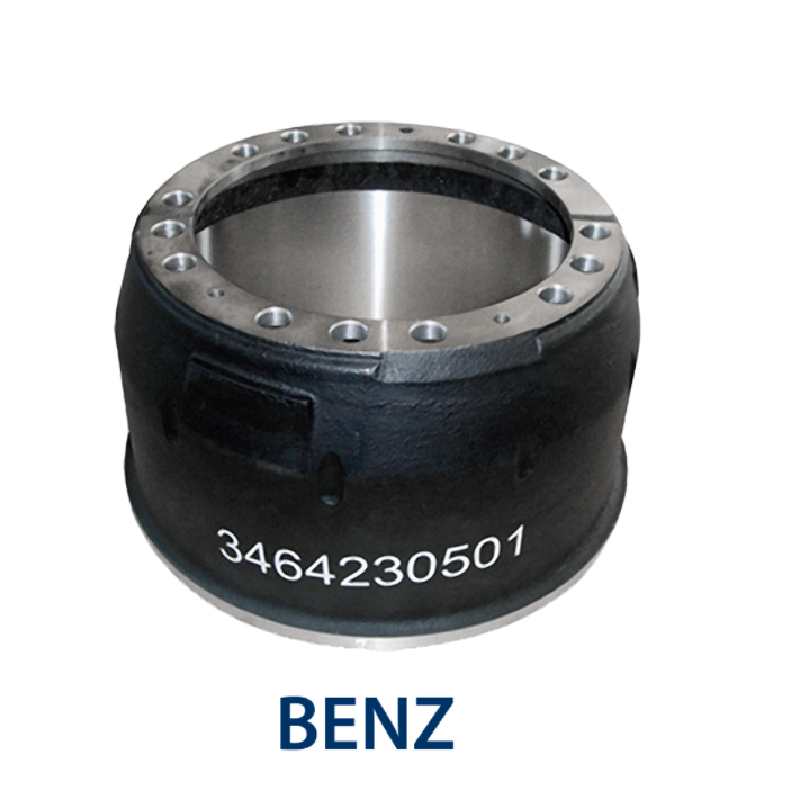
Removing Brake Drums A Step-by-Step Guide
Removing a brake drum might seem daunting, especially for those who are not mechanical enthusiasts. However, with the right tools, a bit of patience, and this step-by-step guide, you can successfully remove your vehicle's brake drums and perform necessary maintenance or repairs. This task is essential for ensuring that your braking system operates effectively and safely.
Safety First
Before starting any brake work, prioritize safety. Ensure that your vehicle is parked on a flat surface and the ignition is turned off. You’ll need to wear safety glasses and gloves to protect yourself from any debris or sharp edges. Make sure you have the proper tools a jack, jack stands, a lug wrench, and possibly a brake drum puller.
Step 1 Lift the Vehicle
Begin by loosening the lug nuts on the wheel you’ll be working on while the vehicle is still on the ground. Once they are loosened, use a jack to lift the vehicle off the ground and secure it with jack stands. This step is crucial to ensure that the vehicle does not fall while you’re working under it.
Step 2 Remove the Wheel
With the vehicle safely elevated, remove the lug nuts completely and take off the wheel. This will expose the brake drum, making it accessible for removal.
Step 3 Inspect for Maintenance
remove brake drum

Before removing the brake drum, take a moment to inspect your brake shoes and related components for any obvious signs of wear or damage. If these components show excessive wear, it’s a good idea to replace them as well while you’re at it.
Step 4 Remove the Brake Drum
The brake drum may be secured by a retaining screw or held in place by rust or debris. If it is stuck, gently tap it with a rubber mallet to break the seal. Be cautious not to damage the drum or brake assembly. If the drum refuses to budge, you might need a brake drum puller, which is designed to provide the extra force needed for removal.
Step 5 Clean and Inspect
Once the brake drum is off, clean it thoroughly using brake cleaner. Inspect the inside of the drum for grooves, scoring, or cracks. If the drum appears to be worn out or damaged, it may need to be replaced or resurfaced.
Step 6 Reinstallation
After inspecting or replacing your brake components, reinstall the drum by sliding it back over the brake shoes. Secure it with any screws or hardware that you removed earlier. Replace the wheel, tighten the lug nuts, lower the vehicle, and finally, tighten the lug nuts fully while the vehicle is on the ground.
Conclusion
Removing brake drums is not just about replacing parts; it's also about understanding your vehicle's braking system. With proper tools and the right approach, maintaining your brakes can be a straightforward task that enhances your vehicle's performance and safety on the road. Always remember to consult your vehicle’s service manual for specific instructions related to your make and model. Happy wrenching!
-
Scania Brake Drums: OEM Quality for Optimal Safety & Durability
NewsAug.16,2025
-
R.V.I: Advanced Remote Visual Inspection for Precision
NewsAug.15,2025
-
Discover HYUNDA: Innovative Vehicles, Equipment & Solutions
NewsAug.14,2025
-
R.V.I: Unlock Advanced Insights & Real-time Performance
NewsAug.13,2025
-
Kamaz Brake Drum: Durable & Reliable for Heavy Duty Trucks
NewsAug.12,2025
-
Heavy Duty Iveco Brake Drum - Premium Quality & Safety
NewsAug.11,2025
