Dec . 11, 2024 10:12 Back to list
Steps to Take Off the Rear Brake Drum Easily and Safely
How to Remove Rear Brake Drum A Comprehensive Guide
Removing a rear brake drum can seem like an intimidating task, especially if you're new to automotive maintenance. However, with the right tools and a little bit of guidance, you can successfully accomplish this task and ensure your vehicle's braking system functions correctly. This article walks you through the steps needed to remove a rear brake drum safely and efficiently.
Understanding the Brake Drum System
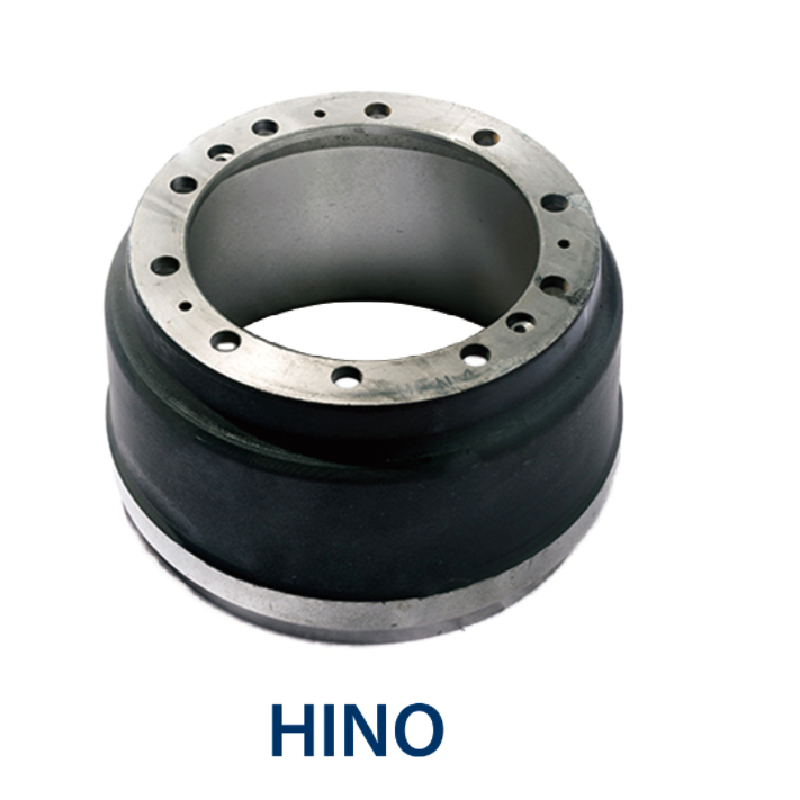
Before we dive into the removal process, it's essential to understand what a brake drum is and its role in your vehicle's braking system. The brake drum is a cylindrical component that houses the brake shoes, which press against the inner surface of the drum to create friction and slow down your vehicle. Like all mechanical parts, brake drums can wear over time, leading to decreased braking performance or even brake failure. Regular maintenance, including inspection and replacement when necessary, is crucial for your vehicle's safety.
Tools and Safety Gear
Before starting the removal process, gather the necessary tools and safety gear
1. Jack and jack stands 2. Lug wrench 3. Brake drum puller (optional, but helpful) 4. Screwdriver 5. Needle-nose pliers 6. Safety goggles 7. Gloves
Step-by-Step Guide to Remove Rear Brake Drum
1. Safety First Begin by parking the vehicle on a level surface. Engage the parking brake and place wheel chocks behind the front wheels to prevent any movement while you work.
2. Loosen the Lug Nuts Using a lug wrench, loosen the lug nuts on the rear wheel where you will be removing the brake drum. Do not remove them entirely yet.
remove rear brake drum

3. Lift the Vehicle Use the jack to lift the rear of the vehicle and then place the jack stands securely beneath the vehicle frame to ensure stability. Once the vehicle is safely elevated, remove the lug nuts completely and take off the wheel.
4. Inspect the Brake Components Before removing the drum, take a moment to inspect the brake assembly. Look for any obvious signs of wear or damage that might indicate other issues.
5. Remove the Brake Drum At this point, you may encounter some resistance when trying to pull the drum off. If there is rust or grime buildup, you can try tapping around the edges of the drum with a rubber mallet to loosen it. If it still doesn’t budge, a brake drum puller can help to apply even pressure to free the drum from the hub.
6. Check for Hardware Once the drum is removed, take note of the brake shoes, springs, and adjusters. This is the time to inspect these components for wear. If they are worn or damaged, consider replacing them along with the drum.
7. Clean the Area Before reinstalling a new or refurbished brake drum, clean the brake assembly and remove any dust or debris. This step is critical to ensure proper function and longevity of the new components.
8. Reinstallation If you're replacing the drum, follow the reverse order of removal. Slide the new drum onto the hub, replace the wheel, and ensure that the lug nuts are tightened securely.
9. Final Checks Lower the vehicle back to the ground, remove the jack stands, and tighten the lug nuts completely. Test the brakes by pressing the pedal before driving to ensure everything is functioning correctly.
Conclusion
Removing a rear brake drum can be a straightforward process if done carefully. By following these steps and ensuring safety at every stage, you can maintain your vehicle's braking system effectively. Regular inspections and timely replacements can help you avoid costly repairs down the road and keep your vehicle running safely. Whether you're a seasoned DIY enthusiast or a newcomer to automotive maintenance, this task can be a valuable addition to your skillset.
-
Durable Brake Drum MAZ for Heavy Duty Trucks | High Performance
NewsAug.26,2025
-
FUWA: Premium Quality, Reliable Performance & Innovative Solutions
NewsAug.25,2025
-
Liza Brake Drum: Superior Quality & Performance for Safe Driving
NewsAug.24,2025
-
Iveco Brake Drum | Premium OE Quality for Daily & Eurocargo
NewsAug.22,2025
-
Your Brake Drum Man: Quality & Performance Parts
NewsAug.21,2025
-
Explore Japan: Ultimate Travel Guide & Authentic Experiences
NewsAug.19,2025
