Oct . 09, 2024 02:37 Back to list
remove rear brake drum
A Step-by-Step Guide to Removing the Rear Brake Drum
When it comes to vehicle maintenance, one of the critical tasks that car owners may need to perform is the removal of the rear brake drum. Whether you're looking to replace worn-out brakes, perform a brake inspection, or simply clean the brake components, knowing how to safely and effectively remove the rear brake drum is essential. This article will guide you through the process.
Tools and Materials Needed
Before you begin, gather the following tools and materials
1. Jack and Jack Stands To safely lift the vehicle. 2. Lug Wrench For removing the wheel nuts. 3. Brake Drum Puller This tool can help in cases where the brake drum is stuck. 4. Socket Set and Ratchet For any screws or bolts. 5. Safety Glasses and Gloves To protect yourself. 6. Brake Cleaner To clean components as needed.
Safety First
Safety should always be your top priority. Ensure the vehicle is parked on a flat surface and engage the parking brake. Wearing safety glasses and gloves will prevent debris from injuring you during the process.
Step-by-Step Process
1. Loosen the Wheel Nuts Start by slightly loosening the wheel nuts on the rear wheels. Do this while the vehicle is still on the ground to prevent the wheel from spinning.
2. Lift the Vehicle Use the car jack to lift the vehicle and then secure it with jack stands. Ensure that the vehicle is stable before proceeding.
remove rear brake drum

3. Remove the Wheel Once the vehicle is secure, take off the wheel by removing the nuts completely. Set the wheel aside in a safe location.
4. Inspect the Brake Assembly Before removing the brake drum, take a moment to inspect the brake assembly. Look for signs of wear, damage, or leaks.
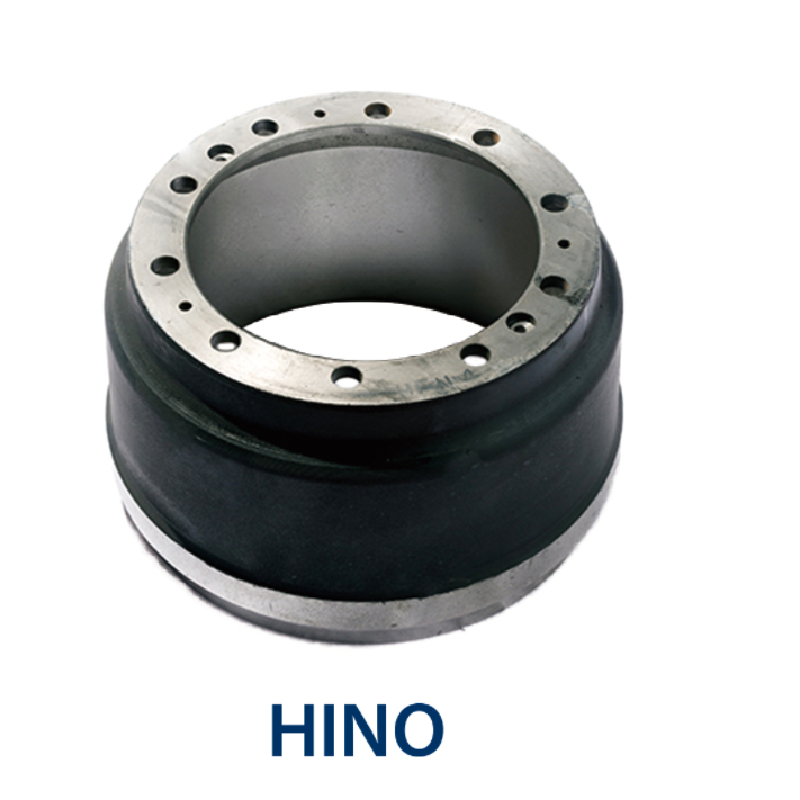
5. Remove the Brake Drum In most cases, the drum will slide off easily. If it appears stuck, look for any retaining screws and remove them. If there’s rust or debris, you might need to tap it gently with a rubber mallet or use a brake drum puller for additional leverage.
6. Clean and Inspect Once the drum is off, clean it with brake cleaner to remove any dust and debris. Inspect the inside of the drum for grooves or scoring, which may indicate it needs to be machined or replaced.
7. Reassemble or Replace If you’re replacing components, now is the time to install new brake shoes and any other necessary parts. Follow the reverse order for reassembly, ensuring all parts are secure.
Tips for Success
- Consult Your Vehicle’s Manual Different vehicles have specific procedures for brake drum removal. Always refer to your vehicle's service manual for any specific instructions. - Keep Everything Organized As you remove parts, keep them in an organized manner to make reassembly easier. - Seek Help if Needed If you're unsure about any step or if the drum is particularly stubborn, don’t hesitate to seek help from a professional mechanic.
Conclusion
Removing the rear brake drum is a valuable skill for any vehicle owner. With the right tools, safety precautions, and a step-by-step approach, you can successfully remove and inspect the brake drum on your vehicle. Regular maintenance of your brakes is vital for safety and performance, so take the time to ensure they are in good working condition. Remember, when in doubt, always consult a professional to avoid any mishaps. Happy wrenching!
-
ROR Web Development: Build Fast, Scalable, Secure Apps
NewsAug.17,2025
-
Scania Brake Drums: OEM Quality for Optimal Safety & Durability
NewsAug.16,2025
-
R.V.I: Advanced Remote Visual Inspection for Precision
NewsAug.15,2025
-
Discover HYUNDA: Innovative Vehicles, Equipment & Solutions
NewsAug.14,2025
-
R.V.I: Unlock Advanced Insights & Real-time Performance
NewsAug.13,2025
-
Kamaz Brake Drum: Durable & Reliable for Heavy Duty Trucks
NewsAug.12,2025
