Dec . 02, 2024 07:59 Back to list
How to Free a Stuck Rear Brake Drum for Easy Removal
How to Remove a Stuck Rear Brake Drum A Step-by-Step Guide
Removing a stuck rear brake drum can be a daunting task for many car owners and mechanics alike. Brake drums are essential components of your vehicle's braking system, and over time, corrosion, rust, or incorrect installation can cause them to become stuck. If you're facing this frustrating situation, don’t worry. This article will guide you through the steps to safely and effectively remove a stuck rear brake drum.
Tools and Materials Needed
Before you begin, gather the following tools and materials
1. Safety Gear Gloves, safety goggles, and a dust mask 2. Basic Hand Tools Wrenches, ratchet and sockets, and screwdrivers 3. Brake Drum Puller A specialized tool designed for this purpose 4. Hammer To help dislodge stubborn components 5. Penetrating Oil Such as WD-40 or PB Blaster 6. Brake Cleaner To clean components after removal 7. Wire Brush For cleaning rust and debris
Step-by-Step Guide for Removing a Stuck Rear Brake Drum
1. Secure the Vehicle
Before starting any work, ensure the vehicle is parked on a flat surface. Engage the parking brake and place wheel chocks behind the front wheels to prevent movement.
2. Remove the Wheel
Using a lug wrench, remove the lug nuts from the wheel that covers the stuck brake drum. Once the nuts are removed, take the wheel off and set it aside.
3. Inspect the Brake Components
With the wheel off, inspect the drum and the brake assembly
. Look for any visible signs of damage, rust, or debris that might be contributing to the drum being stuck.4. Apply Penetrating Oil
Spray penetrating oil around the edge of the brake drum where it meets the hub. Allow it to soak in for at least 10–15 minutes. This will help to loosen any rust or corrosion that may be holding the drum in place.
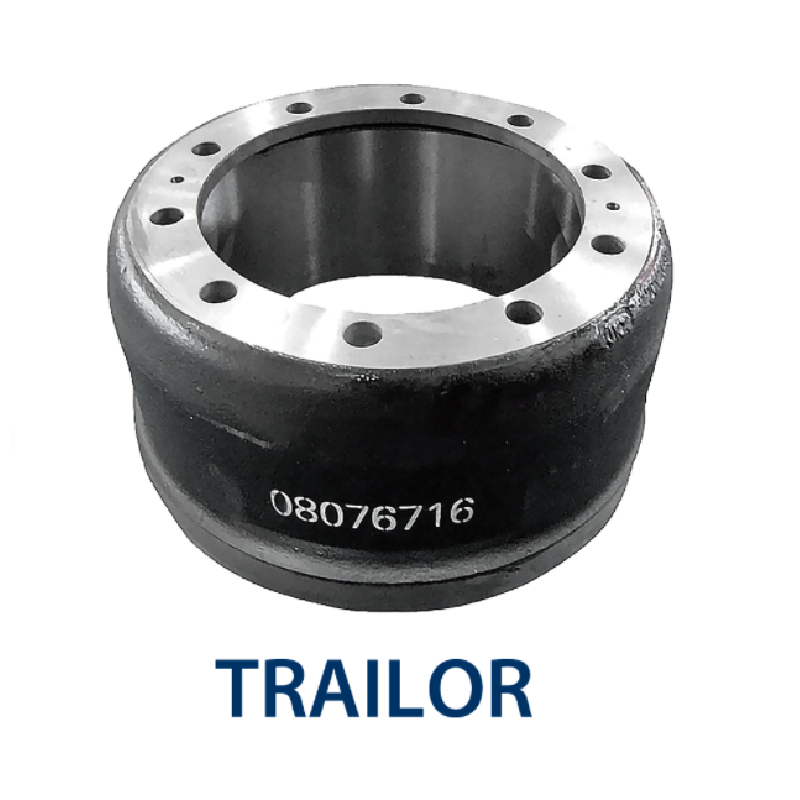
remove rear brake drum stuck

5. Tap the Drum Gently
Using a hammer, lightly tap around the perimeter of the brake drum. Be careful not to hit too hard, as this could damage the drum. The purpose of this step is to break any bonds created by rust or grime.
6. Use a Brake Drum Puller
If the drum remains stuck, it’s time to employ a brake drum puller. This tool is designed specifically for pulling brake drums off the hub. Follow the manufacturer's instructions for proper use. Tighten the puller evenly to avoid warping the drum.
7. Inspect for Other Issues
If the drum still won't budge, there may be issues with the brake shoes being expanded or a retained spring that keeps them in place. At this point, you may need to remove or adjust the brake shoes. Look for the adjuster mechanism and turn it to retract the shoes slightly.
8. Try Again
After adjusting the shoes, try using the puller again. Remember to keep the penetrating oil moist. In many cases, adjusting the shoes will free up the drum if it was previously stuck due to shoe pressure.
9. Remove the Drum
Once the drum is free, gently pull it off. Inspect both the brake drum and brake shoes for wear and tear. Clean any rust or debris with a wire brush and apply brake cleaner when finished.
10. Reinstallation or Replacement
If the drum is still in good condition, you may reinstall it. However, if the drum is damaged, it’s advisable to replace it with a new one. Make sure to reassemble any components in the reverse order of removal.
Conclusion
Removing a stuck rear brake drum can be challenging, but with the right tools and techniques, it can be accomplished effectively. Always prioritize safety during the process and take your time to ensure that every step is performed correctly. If you are uncomfortable or unsure about any part of this procedure, consider seeking assistance from a qualified mechanic. By following the steps outlined above, you can overcome the frustration of a stuck brake drum and keep your brakes in optimal condition.
-
Scania Brake Drums: OEM Quality for Optimal Safety & Durability
NewsAug.16,2025
-
R.V.I: Advanced Remote Visual Inspection for Precision
NewsAug.15,2025
-
Discover HYUNDA: Innovative Vehicles, Equipment & Solutions
NewsAug.14,2025
-
R.V.I: Unlock Advanced Insights & Real-time Performance
NewsAug.13,2025
-
Kamaz Brake Drum: Durable & Reliable for Heavy Duty Trucks
NewsAug.12,2025
-
Heavy Duty Iveco Brake Drum - Premium Quality & Safety
NewsAug.11,2025
