Nov . 27, 2024 11:48 Back to list
How to Safely Remove a Stuck Brake Drum from Your Vehicle
How to Remove a Stuck Brake Drum A Step-by-Step Guide
Removing a stuck brake drum can be a daunting task for many vehicle owners and DIY enthusiasts. However, with the right tools and a systematic approach, it can be accomplished successfully. In this article, we will provide a comprehensive guide on how to safely and effectively remove a stuck brake drum.
Understanding the Brake Drum
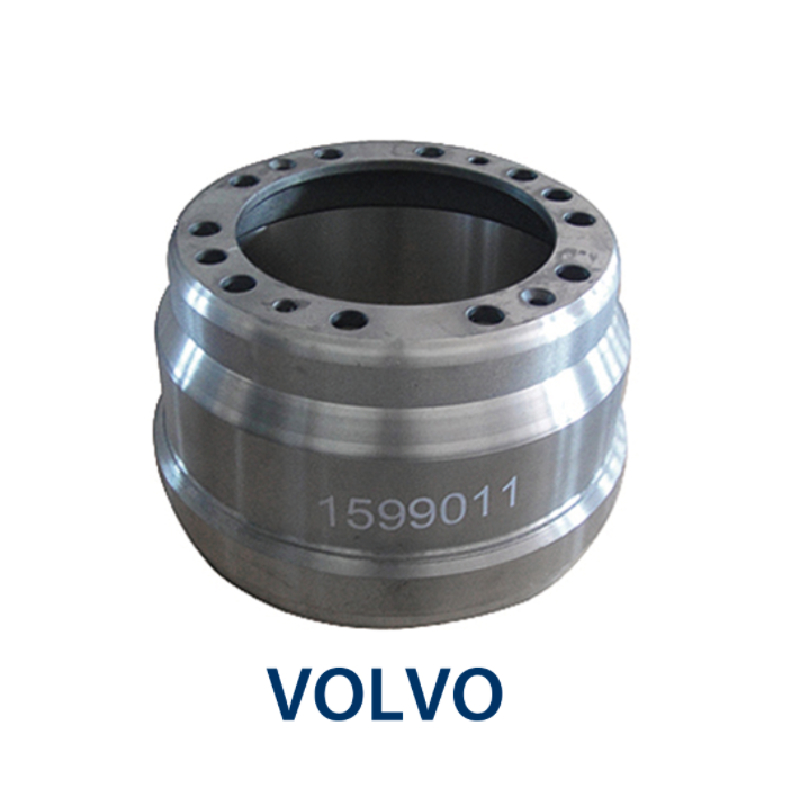
Before diving into the removal process, it’s essential to understand the brake drum's function. The brake drum is a crucial component of drum brake systems, commonly found in older vehicles and some light trucks. When the brake pedal is pressed, brake shoes expand against the inner surface of the drum, creating friction that slows the vehicle down. Over time, rust, dirt, or corrosion can cause the drum to become stuck, making it difficult to remove during maintenance or repair.
Tools and Materials Needed
To successfully remove a stuck brake drum, you will need the following tools
- A jack and jack stands - A lug wrench - A brake drum puller - A rubber mallet - Penetrating oil (like WD-40) - Screwdriver - Safety glasses and gloves
Step-by-Step Removal Process
1. Preparation and Safety First Before starting, ensure that the vehicle is parked on a flat surface, and engage the parking brake. Wear safety glasses and gloves to protect yourself during the process.
remove stuck brake drum

2. Lifting the Vehicle Using a jack, lift the vehicle until the wheels are off the ground. Secure the vehicle with jack stands to prevent any movement while you work.
3. Removing the Wheel Use the lug wrench to loosen and remove the lug nuts securing the wheel to the hub. After removing the wheel, inspect the brake drum and ensure there are no visible obstructions blocking its removal.
4. Applying Penetrating Oil Spray some penetrating oil around the edge of the drum and the hub area. This will help loosen any rust or corrosion that may be causing the drum to stick. Allow the oil to sit for a few minutes to penetrate effectively.
5. Using a Rubber Mallet Gently tap the drum with a rubber mallet around its outer edge. This can help break loose any corrosion and assist in loosening the drum. Avoid using excessive force, as it can damage the drum.
6. Using a Brake Drum Puller If the drum remains stuck, you may need to use a brake drum puller. Position the puller over the drum, ensuring that the hooks grip the drum securely. Gradually tighten the puller’s screw, which will apply even pressure to the drum and help facilitate its removal.
7. Final Attempts If the drum still does not budge, reapply penetrating oil, and allow it to soak again. In some cases, using a standard screwdriver to pry between the drum and the backing plate can help, but be cautious not to damage any components.
8. Inspect and Clean Once the drum is removed, inspect the brake assembly for wear or damage. Clean the hub and the contact area of the drum to ensure smooth reinstallation.
Conclusion
Removing a stuck brake drum may require patience and persistence, but with the right tools and techniques, it is a manageable task. Always prioritize safety when working on your vehicle, and if you find yourself unable to remove the drum, do not hesitate to consult a professional mechanic for assistance. Regular maintenance and inspection of your braking system are crucial for vehicle safety and performance, ensuring you can drive confidently on the road.
-
Premium Brake Drum Iveco – Durable Drum Brake Drum & Brake Shoe Solutions
NewsJul.08,2025
-
High-Performance Brake Drum Liza for Enhanced Safety Reliable Drum Brake Drum & Brake Shoe Solutions
NewsJul.08,2025
-
High-Quality Brake Drum MAZ – Durable Drum Brake Drum & Brake Drum and Brake Shoe for Optimal Performance
NewsJul.07,2025
-
High-Quality Brake Drum Kamaz for Reliable Performance Durable Drum Brake Drum & Brake Shoes
NewsJul.07,2025
-
High-Quality Brake Drum Kamaz for Reliable Performance Durable Drum Brake Drum & Brake Shoe Replacement
NewsJul.07,2025
-
Brake Drum Man - High-Quality Drum Brake Drum & Brake Drum and Brake Shoe Solutions
NewsJul.06,2025
