Nov . 12, 2024 15:56 Back to list
removing a stuck brake drum
How to Remove a Stuck Brake Drum A Step-by-Step Guide
Removing a stuck brake drum can be a challenging task, especially for those not familiar with automotive repairs. Whether you are a seasoned mechanic or a DIY enthusiast, understanding the process can save you time, frustration, and potentially money. In this article, we’ll walk you through the steps necessary to safely and effectively remove a stuck brake drum.
Understanding the Brake System
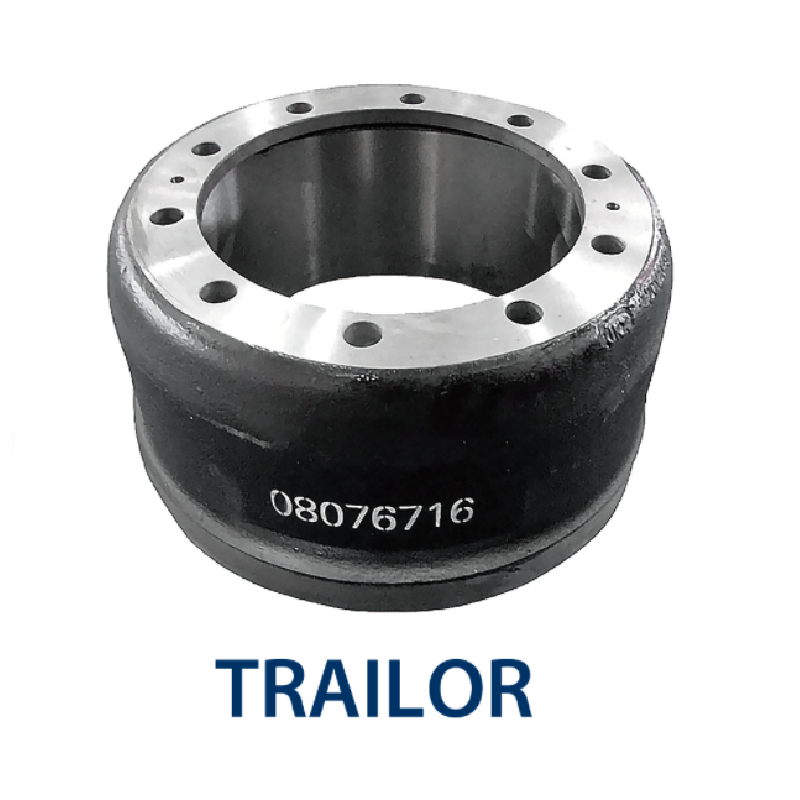
Before diving into the removal process, it's important to understand the role of the brake drum in your vehicle's braking system. The brake drum is part of a drum brake system, which uses friction to slow down or halt the rotation of the wheels. Over time, various factors—such as rust, debris, or wear and tear on the brake components—can cause the drum to become stuck.
Tools You Will Need
Before you begin, gather the necessary tools
1. Jack and jack stands 2. Lug wrench 3. Brake drum puller or a suitable hammer 4. Penetrating oil 5. Screwdriver 6. Safety goggles and gloves
Step-by-Step Process
1. Safety First Before starting any automotive repair, ensure that you are working in a safe environment. Park your vehicle on a flat surface, engage the parking brake, and wear safety goggles and gloves to protect yourself from debris and sharp edges.
2. Lift the Vehicle Using your jack, lift the vehicle and secure it with jack stands. This ensures that the car doesn’t move while you are working under it. Once secure, remove the lug nuts using the lug wrench and take off the wheel to access the brake drum.
removing a stuck brake drum

3. Inspect the Brake Drum Look for any visible damage or signs of rust. If the drum is rusted in place, a penetrating oil can be applied to the edges where the drum meets the axle. Let it sit for a few minutes to penetrate the rust and loosen any debris.
4. Remove the Adjuster If your vehicle has a self-adjusting brake system, locate the adjuster and turn it to loosen the brake shoes. This will create additional space between the shoes and the drum, making it easier to remove the drum.
5. Try to Remove the Drum Gently pull on the drum. If it doesn't budge, do not force it, as this could damage the drum or other components. Instead, proceed to use a brake drum puller, which can be attached to the drum to provide the necessary leverage. Follow the manufacturer’s instructions for securing the puller and apply even pressure to remove the drum.
6. Utilize a Hammer If a brake drum puller is not available, you can use a suitable hammer. Carefully tap around the drum edge to break the rust bond. Be cautious not to strike too hard, as this might damage the drum or related components.
7. Check for Obstructions If the drum still doesn’t come off, check for any parts that may be obstructing its removal, such as dirt, debris, or rust buildup. Use a screwdriver or a wire brush to clean the area around the drum.
8. Final Removal Once the drum is loose, gently wiggle and pull it away from the hub. Be cautious as the brake shoes may still be attached to the drum.
Reinstallation
Once you’ve successfully removed the stuck brake drum, inspect both the drum and brake shoes for wear. If necessary, replace the components before reinstalling the drum. Make sure everything is cleaned and lubricated appropriately. When reinstalling, ensure that the drum fits snugly against the brake assembly.
Conclusion
Removing a stuck brake drum is a straightforward process that requires some patience and the right tools. By following these steps carefully, you can successfully remove the drum and maintain your vehicle’s braking system. Always prioritize safety and, if unsure about any step, consult the vehicle’s manual or a professional mechanic to prevent any damage or injury. Regular maintenance can help prevent future issues, ensuring your brakes function efficiently.
-
ROR Web Development: Build Fast, Scalable, Secure Apps
NewsAug.17,2025
-
Scania Brake Drums: OEM Quality for Optimal Safety & Durability
NewsAug.16,2025
-
R.V.I: Advanced Remote Visual Inspection for Precision
NewsAug.15,2025
-
Discover HYUNDA: Innovative Vehicles, Equipment & Solutions
NewsAug.14,2025
-
R.V.I: Unlock Advanced Insights & Real-time Performance
NewsAug.13,2025
-
Kamaz Brake Drum: Durable & Reliable for Heavy Duty Trucks
NewsAug.12,2025
