Dec . 10, 2024 07:26 Back to list
removing brake drum
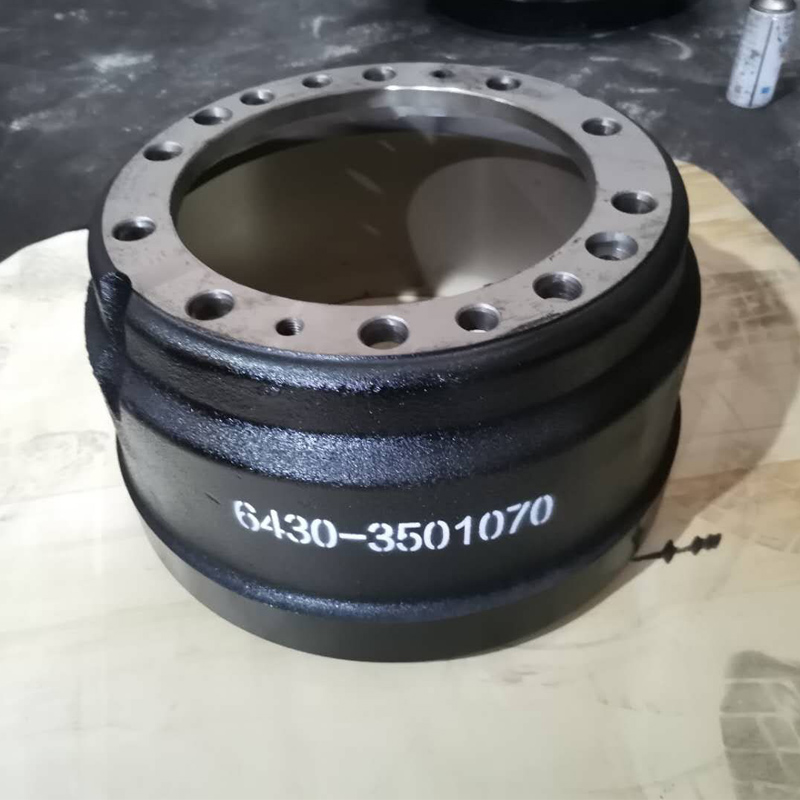
Removing Brake Drum A Step-by-Step Guide
Brake drums are an integral part of the braking system in many vehicles, especially those equipped with drum brakes on the rear wheels. Over time, brake drums can become worn or damaged, necessitating removal for inspection, cleaning, or replacement. Understanding how to safely and effectively remove a brake drum is essential for maintaining your vehicle's braking performance. This guide will walk you through the process of removing a brake drum, highlighting key steps and safety precautions.
Tools and Materials Needed
Before you start, gather the necessary tools and materials. Here’s what you’ll need
1. Jack and Jack Stands To safely lift and support the vehicle. 2. Lug Wrench To remove the wheel nuts. 3. Brake Drum Puller A specialized tool that simplifies drum removal. 4. Hammer For tapping the drum if needed. 5. Screwdriver Flathead, for adjusting the brake shoes if required. 6. Brake Cleaner To clean the components after removal. 7. Gloves and Safety Glasses For personal safety.
Safety First
Before you start working on your vehicle, it’s essential to prioritize safety. Ensure the car is parked on a flat surface, engage the parking brake, and wear safety glasses and gloves. This not only protects your eyes and hands but also minimizes the risk of injury during the removal process.
Step-by-Step Removal Process
1. Lift the Vehicle Using the jack, lift the vehicle until the rear tire is off the ground. Secure it with jack stands to ensure stability. Never rely solely on the jack for support.
2. Remove the Wheel Use the lug wrench to loosen and remove the nuts from the wheel. Once the nuts are off, take off the wheel to expose the brake drum.
removing brake drum

3. Inspect the Brake Drum Before proceeding, take a moment to inspect the brake drum for any obvious signs of damage or wear. This can be an indicator of whether you need to replace it.
4. Locate the Adjuster Most brake systems have an adjustable mechanism that keeps the brake shoes in contact with the drum. Look for a slot or hole on the backing plate where you can reach the adjuster. Use the flathead screwdriver to turn the adjuster, which will retract the brake shoes away from the drum.
5. Remove the Brake Drum Once the shoes are properly retracted, you should be able to pull the brake drum off the hub. In some cases, it may require a bit of force. If the drum is stuck, gently tap it with a hammer around the edges to loosen it. If it still won’t budge, use a brake drum puller for a more controlled removal.
6. Inspect the Brake Shoes and Components After removing the drum, inspect the brake shoes, springs, and other components for wear or damage. This is a good time to clean the area with brake cleaner to remove any dust or debris.
7. Reinstallation If you are replacing or servicing the brake shoes, follow the reverse steps to reinstall the new components. If you are simply reattaching the drum, ensure everything is back in place before putting the wheel back on.
8. Lower the Vehicle Carefully lower the vehicle back to the ground and remove the jack stands.
9. Test the Brakes Once everything is back together, pump the brake pedal a few times to ensure proper contact between the brake shoes and drum before driving.
Conclusion
Removing a brake drum may seem daunting, but with the right tools and careful attention to detail, it can be done effectively. Regular maintenance of your vehicle's braking system is crucial for safety and performance. Always consult your vehicle’s service manual for specific instructions related to your make and model. If you're ever in doubt, don’t hesitate to seek professional help to ensure the job is done correctly and safely.
-
Scania Brake Drums: OEM Quality for Optimal Safety & Durability
NewsAug.16,2025
-
R.V.I: Advanced Remote Visual Inspection for Precision
NewsAug.15,2025
-
Discover HYUNDA: Innovative Vehicles, Equipment & Solutions
NewsAug.14,2025
-
R.V.I: Unlock Advanced Insights & Real-time Performance
NewsAug.13,2025
-
Kamaz Brake Drum: Durable & Reliable for Heavy Duty Trucks
NewsAug.12,2025
-
Heavy Duty Iveco Brake Drum - Premium Quality & Safety
NewsAug.11,2025
