Nov . 07, 2024 06:42 Back to list
Steps to Detach Brake Drum from a Trailer for Maintenance and Repair
How to Remove Brake Drum from a Trailer A Step-by-Step Guide
Removing the brake drum from a trailer can seem daunting, but with the right tools and a bit of patience, it can be a straightforward process. Whether you're performing routine maintenance, replacing worn-out parts, or addressing brake issues, understanding how to safely and effectively remove the brake drum is essential. This article will guide you through the step-by-step process of removing a brake drum from a trailer.
Tools You'll Need
Before getting started, gather the following tools and materials
- Socket wrench - Ratchet set - Screwdrivers (flathead and Phillips) - Hammer - Brake cleaner - Jack and jack stands or a trailer lift - Safety goggles - Gloves
Step 1 Ensure Safety First
Safety should always be your top priority. Before starting, make sure the trailer is parked on a level surface. Engage the parking brake and chock the wheels to prevent any movement. Wear safety goggles and gloves to protect your eyes and hands from dust and debris.
Step 2 Lift the Trailer
Using a jack and jack stands, lift the trailer to a comfortable working height. Make sure it is securely supported by the jack stands before proceeding with the removal of the brake drum. Never work under a trailer supported only by a jack.
Step 3 Remove the Wheel
To access the brake drum, the wheel must first be removed. Use a socket wrench to loosen the lug nuts in a star pattern, which helps to evenly distribute the pressure. Once all the nuts are loosened, remove them completely and take off the wheel. Set the wheel aside in a safe location.
Step 4 Inspect the Brake Assembly
With the wheel removed, you’ll have a clear view of the brake assembly. Before proceeding with the drum removal, take a moment to inspect the brake shoes, springs, and other components for any visible signs of wear or damage. If anything seems out of order, it may be a good time to replace those parts as well.
Step 5 Remove the Brake Drum
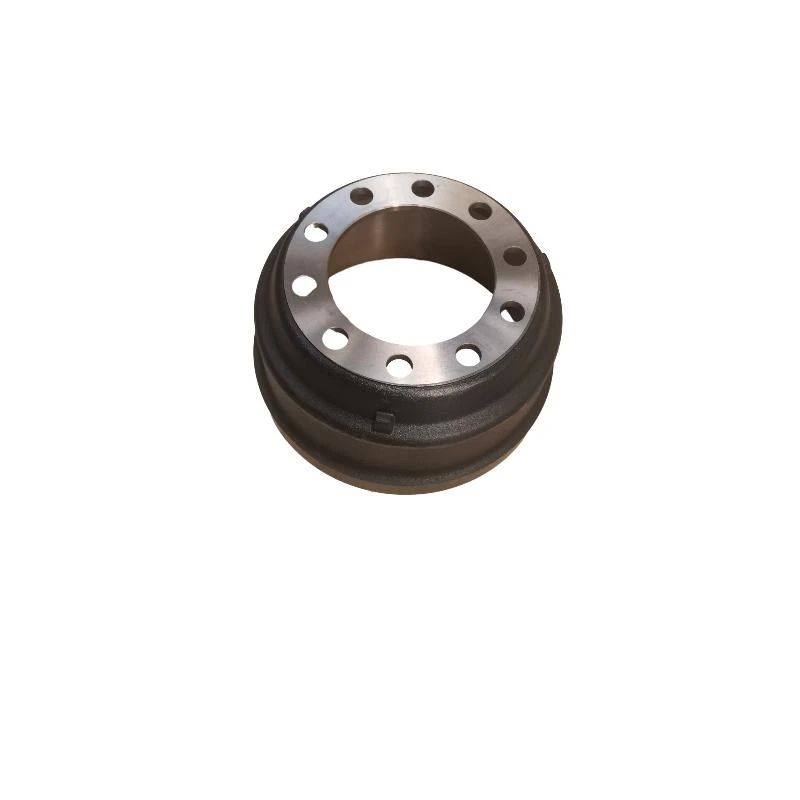
removing brake drum from trailer

The brake drum is typically held in place by a few retaining screws or can sometimes be a friction fit. First, examine the drum for any screws that need to be removed. If present, use a screwdriver to take them out. If the drum seems stuck, gently tap the drum with a hammer to loosen it. Be careful not to apply too much force; you only want to break the bond.
If the drum still does not budge, check for any adjusting mechanisms. Many drum brakes have a star wheel adjuster, which can be found on the rear of the brake assembly. Adjusting this mechanism by turning it can relieve pressure on the brake shoes, making it easier to remove the drum.
Step 6 Clean the Area
Before installing the new drum or servicing the brakes, take a moment to clean the area around the brake assembly. Use brake cleaner to remove any dust, grease, or debris. This not only ensures a clean working environment but also helps maintain the efficiency of the brake system.
Step 7 Install New Parts if Necessary
If you're replacing the brake drum or any other components, now is the time to do it. Ensure that all new parts are compatible with your trailer’s brake system. Follow the manufacturer's specifications for installation, and make sure everything is aligned properly.
Step 8 Reassemble the Trailer
Once you’ve completed any repairs or replacements, it’s time to reassemble everything. Carefully place the brake drum back in position if it was removed. Reinstall any screws you took off earlier and tighten them securely.
Next, place the wheel back onto the hub and hand-tighten the lug nuts. Use the socket wrench to tighten them in a star pattern again to ensure an even fit.
Step 9 Lower the Trailer and Test
Once everything is reassembled, carefully lower the trailer back to the ground. Before taking your trailer on the road, test the brakes to ensure everything is working properly. It’s crucial for safety that you confirm the functionality of your brake system.
Conclusion
Removing the brake drum from a trailer may seem like a complex task, but by following these steps diligently, you can perform the job safely and effectively. Regular maintenance of your trailer’s brake system is essential for safety on the road, so don’t hesitate to address any issues promptly. Remember, when in doubt, consult with a professional mechanic for assistance. Safe travels!
-
HINO Industrial Efficiency-Jiangsu Hino Industrial|Productivity Optimization&Cost Reduction
NewsJul.12,2025
-
HINO-¡Ң���ຽ��е��������˾|Advanced Industrial Solutions&Energy Efficiency
NewsJul.12,2025
-
Premium Brake Drum Iveco – Durable Drum Brake Drum & Brake Shoe Solutions
NewsJul.08,2025
-
High-Performance Brake Drum Liza for Enhanced Safety Reliable Drum Brake Drum & Brake Shoe Solutions
NewsJul.08,2025
-
High-Quality Brake Drum MAZ – Durable Drum Brake Drum & Brake Drum and Brake Shoe for Optimal Performance
NewsJul.07,2025
-
High-Quality Brake Drum Kamaz for Reliable Performance Durable Drum Brake Drum & Brake Shoes
NewsJul.07,2025
