Sep . 28, 2024 21:02 Back to list
Steps to Safely Remove a Trailer Brake Drum for Maintenance and Inspection
Removing a Trailer Brake Drum A Step-by-Step Guide
Removing a trailer brake drum can be a daunting task for those who are not familiar with automotive repairs. However, with the right tools and a bit of patience, it can be a straightforward process. Whether you're replacing worn-out components, inspecting the brakes, or performing routine maintenance, following a systematic approach will make the job manageable. Here's a step-by-step guide to help you through the process of removing a trailer brake drum.
Tools Required
Before you begin, gather the necessary tools. You will typically need the following
- Jack and jack stands - Lug wrench - Adjustable wrench or socket set - Screwdriver - Brake cleaner - Pliers - Safety goggles and gloves
Step 1 Safety First
Begin by ensuring your workspace is safe. Park your trailer on a flat, stable surface and engage the parking brake. Place wheel chocks behind the wheels to prevent any movement. Put on your safety goggles and gloves to protect yourself from debris.
Step 2 Remove the Wheel
Using the lug wrench, loosen the lug nuts on the wheel corresponding to the brake drum you intend to remove. Do not fully remove the nuts yet; just break their tightness. Once this is done, use the jack to lift the trailer off the ground. Secure it with jack stands for added safety. Now, finish removing the lug nuts and take off the wheel.
Step 3 Inspect the Brake Assembly
With the wheel removed, you will have access to the brake assembly. Take this opportunity to inspect the brake components look for wear on the brake shoes, corrosion, or any leaking brake fluid. If the brake shoes show excessive wear, it’s advisable to replace them.
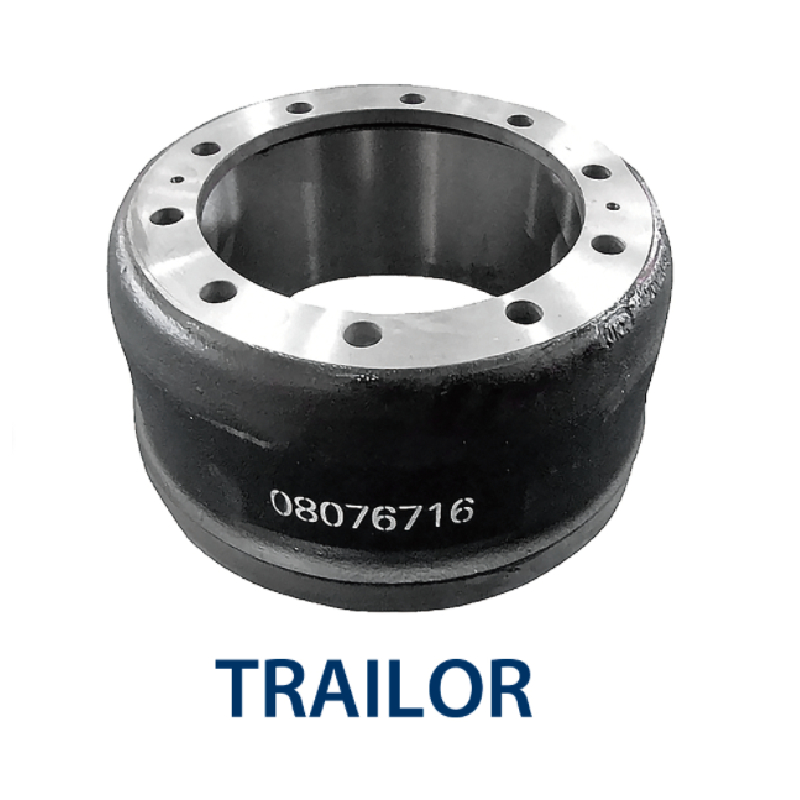
removing trailer brake drum

Step 4 Remove the Brake Drum
The brake drum is typically held in place by the wheel hub. Sometimes, it might be necessary to remove the hub to access the drum fully. Look for any retaining screws or clips and remove them. If the drum is stuck, gently tap it with a rubber mallet to loosen it. Avoid using excessive force, as this could cause damage. If there is still resistance, check for any debris or rust around the drum that may be preventing it from coming off.
Step 5 Clean the Components
Once you have successfully removed the brake drum, clean it and the surrounding components with brake cleaner. This will help to remove any dust, grease, or old brake material that might affect performance. Be sure to allow everything to dry before proceeding with any further installation or inspections.
Step 6 Replacing or Inspecting Parts
You now have the opportunity to replace any worn components, such as brake shoes or seals. If you're only inspecting, ensure that everything looks good before reassembling. If replacements are needed, follow the manufacturer’s specifications for parts to ensure compatibility.
Step 7 Reassemble and Test
After any replacements, position the brake drum back onto the axle. Reattach any clips or screws you removed. Next, gently slide the wheel back onto the hub, hand-tightening the lug nuts. Lower the trailer back to the ground, and finally, use the lug wrench to securely tighten the lug nuts in a crisscross pattern to ensure even pressure.
Conclusion
Removing a trailer brake drum may seem complicated at first, but by following these steps, you can accomplish the task safely and effectively. Regular maintenance of your trailer’s braking system is essential for ensuring safe operation on the road. If you ever feel unsure or encounter major issues, do not hesitate to consult a professional. Taking care of your trailer's brakes ensures not only your safety but also the longevity of the trailer itself.
-
High-Quality Brake Drum MAZ – Durable Drum Brake Drum & Brake Drum and Brake Shoe Solutions
NewsJul.04,2025
-
Brake Drum Man - High-Quality Drum Brake Drums & Brake Shoes for Reliable Performance
NewsJun.24,2025
-
High-Quality Brake Drum Kamaz – Durable Drum Brake Drum & Brake Shoe Replacement
NewsJun.10,2025
-
High-Quality Brake Drum Liza for Drum Brake Systems - Superior Durability and Performance
NewsJun.10,2025
-
High-Quality Brake Drum Kamaz – Durable Drum Brake Drum & Brake Shoe Solutions
NewsJun.10,2025
-
Durable Kamaz Brake Drums High-Performance Truck Parts
NewsJun.09,2025
