Nov . 05, 2024 19:02 Back to list
semi truck brake drum removal
A Guide to Semi Truck Brake Drum Removal
Removing the brake drum from a semi truck is a crucial skill for any truck maintenance technician. It can be challenging, but understanding the correct procedures and safety measures is essential for a successful removal. This article will outline the steps involved in the process and provide tips for ensuring safety and efficiency.
Tools Needed
Before you begin the removal process, gather all necessary tools. These typically include
- A lug wrench or impact wrench - A brake drum puller - A hammer and punch - A rubber mallet - Brake cleaner - Safety glasses and gloves - A torque wrench - Rags and shop towels
Safety First
Always prioritize safety when working on heavy machinery like semi trucks. Before starting any repairs, ensure that the truck is parked on a level surface and the wheels are chocked. Wear safety glasses to protect your eyes, and gloves to safeguard your hands from sharp edges and brake dust.
Step-by-Step Guide
1. Loosen the Lug Nuts Begin by using a lug wrench to slightly loosen the lug nuts on the wheel where you need to remove the brake drum. It’s advisable to do this while the truck is still on the ground to prevent the wheel from spinning.
2. Lift the Truck Once the lug nuts are loosened, use a jack to raise the truck. Ensure that it is securely supported with jack stands before proceeding.
3. Remove the Wheel After the truck is elevated securely, remove the lug nuts completely and take off the wheel. This will give you access to the brake drum.
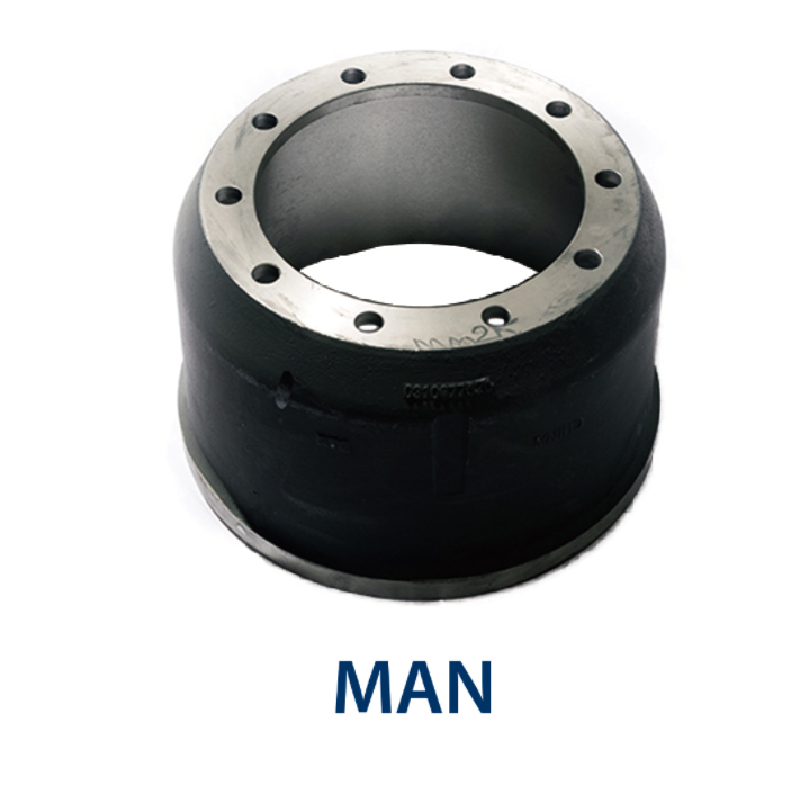
semi truck brake drum removal

4. Inspect the Brake Assembly Before removing the brake drum, take a moment to inspect the brake assembly for any visible issues. Look for signs of wear or damage to the brake shoes and other components.
5. Detach the Brake Drum The brake drum might be held in place by retaining screws or clips. If there are any, carefully remove them before attempting to pull the drum off.
6. Use a Brake Drum Puller If the drum is stuck, use a brake drum puller. Position the puller so that the arms grip the drum, and then turn the bolt in the center, applying steady pressure until the drum loosens and comes off.
7. Check for Additional Obstacles Sometimes, the brake drum may not come off easily because of rust or corrosion. If this is the case, use a rubber mallet to tap around the circumference of the drum gently. Be cautious not to damage any components.
8. Clean the Area Once the drum is removed, take the opportunity to clean the brake components. Use brake cleaner and rags to remove old grease and debris, ensuring a clean surface for the new parts.
9. Inspect the Brake Drum Assess the condition of the brake drum. Check for scoring, cracks, or excessive wear. If it does not meet the specifications outlined in your vehicle’s maintenance manual, it should be replaced.
10. Install New Parts If you’re replacing the brake drum, align the new drum with the hub, secure any clips or screws, and then reinstall the wheel. Make sure to tighten the lug nuts securely in a crisscross pattern to ensure even pressure.
11. Lower the Truck After securing the wheel and ensuring everything is in place, lower the truck carefully.
12. Test Finally, it is crucial to test the brakes after any maintenance or repair. Start the truck and gently apply the brakes to ensure that everything is functioning correctly.
Conclusion
Removing the brake drum from a semi truck is a complex task that requires careful attention to detail and safety measures. By following these steps and using the right tools, you can effectively perform this important maintenance procedure. Regular upkeep will ensure that your truck remains in optimal working condition, providing a safer driving experience on the road.
-
HINO Industrial Solutions - ¡Ң���ຽ��е��������˾ | Advanced Efficiency&Customization
NewsJul.13,2025
-
HINO Industrial Efficiency Solutions - ¡Ң���ຽ��е��������˾
NewsJul.13,2025
-
HINO Industrial Solutions - ¡Ң���ຽ��е��������˾ | Advanced Technology&Reliability
NewsJul.13,2025
-
HINO Industrial Efficiency-Jiangsu Hino Industrial|Productivity Optimization&Cost Reduction
NewsJul.12,2025
-
HINO-¡Ң���ຽ��е��������˾|Advanced Industrial Solutions&Energy Efficiency
NewsJul.12,2025
-
Premium Brake Drum Iveco – Durable Drum Brake Drum & Brake Shoe Solutions
NewsJul.08,2025
