Nov . 14, 2024 11:12 Back to list
semi truck brake drum removal
How to Remove a Semi Truck Brake Drum A Step-by-Step Guide
Removing a brake drum on a semi truck is a critical maintenance task that ensures the safety and efficiency of the vehicle. Whether you're a seasoned mechanic or a truck owner looking to perform your own maintenance, understanding the proper procedure for brake drum removal is essential. This guide will walk you through the process step-by-step.
Tools Required
Before you begin, make sure you have the necessary tools at hand. You will need
- Heavy-duty jack or jack stands - Lug wrench - Brake drum puller (if needed) - Socket and wrench set - Screwdrivers - Safety goggles and gloves
Safety First
Before starting any work, remember that safety is paramount. Make sure the truck is parked on a level surface, engage the parking brake, and wear safety goggles and gloves to protect yourself from falling debris or sharp edges.
Step 1 Loosen the Wheel
Begin by loosening the lug nuts on the wheel while the tire is still on the ground. Turn the lug wrench counterclockwise until all lug nuts are loose but not completely removed.
Step 2 Raise the Truck
Using a heavy-duty jack, carefully lift the truck until the wheel is off the ground. Make sure to use jack stands for added safety, as this will help secure the vehicle while you work.
Step 3 Remove the Wheel
Once the truck is securely elevated, remove the lug nuts completely and take off the wheel
. This will expose the brake drum, making it easier to work on.Step 4 Inspect the Brake Components
semi truck brake drum removal

Before removing the brake drum, take a moment to inspect the brake shoes, springs, and any other visible components. Look for wear or damage, as this may inform your decisions regarding replacements.
Step 5 Remove the Brake Drum
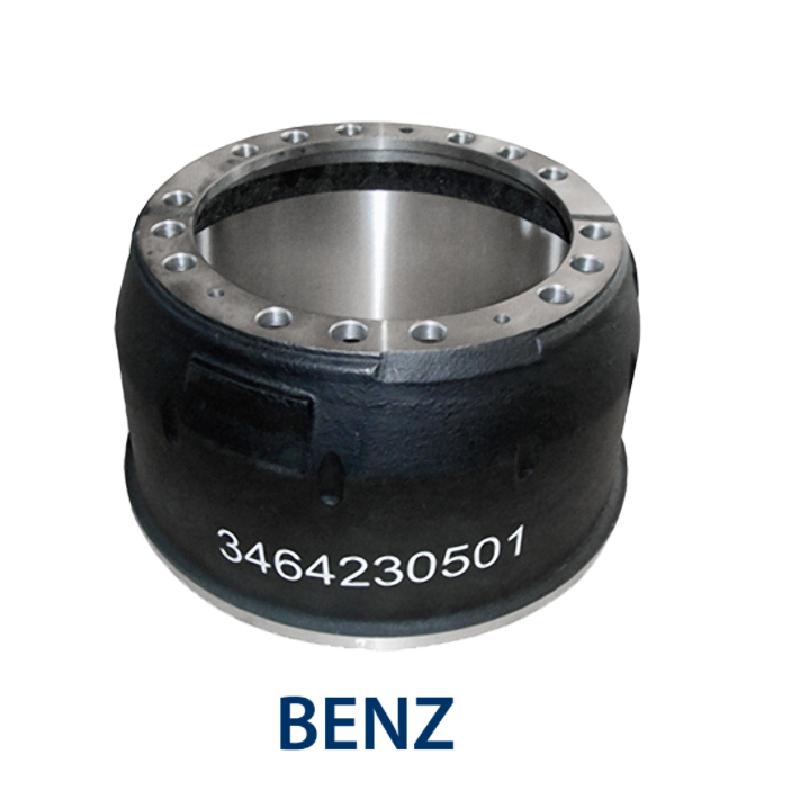
Now it's time to remove the brake drum. In many cases, it will slide off easily. If it's stuck due to rust or debris, you will need to use a brake drum puller. Attach the puller to the drum according to the manufacturer's instructions and gradually tighten it until the drum comes loose.
Step 6 Clean the Area
Once the brake drum is off, take this opportunity to clean the surrounding area. Use a wire brush or air compressor to remove dust and debris. A clean work area will make installations and future adjustments much easier.
Step 7 Install New Brake Components (if necessary)
If you determined that the brake shoes or other components need replacing, now is the time to do so. Follow the manufacturer's specifications for the correct installation procedures.
Step 8 Reinstall the Brake Drum and Wheel
After the necessary replacements have been made, slide the brake drum back onto the axle. Ensure that it’s seated properly. Put the wheel back on, tighten the lug nuts by hand, and lower the truck back to the ground.
Step 9 Final Checks
Once the truck is on the ground, use the lug wrench to tighten the lug nuts in a crisscross pattern to ensure even pressure. Double-check that all components are secure and perform a final inspection to ensure your work was done correctly.
Conclusion
Removing a semi truck brake drum may seem daunting, but with the right tools and a systematic approach, it can be accomplished efficiently. Regular maintenance of your brake system is crucial for the safety and reliability of your vehicle on the road. Always consult the owner’s manual for specific instructions related to your truck’s make and model.
-
Scania Brake Drums: OEM Quality for Optimal Safety & Durability
NewsAug.16,2025
-
R.V.I: Advanced Remote Visual Inspection for Precision
NewsAug.15,2025
-
Discover HYUNDA: Innovative Vehicles, Equipment & Solutions
NewsAug.14,2025
-
R.V.I: Unlock Advanced Insights & Real-time Performance
NewsAug.13,2025
-
Kamaz Brake Drum: Durable & Reliable for Heavy Duty Trucks
NewsAug.12,2025
-
Heavy Duty Iveco Brake Drum - Premium Quality & Safety
NewsAug.11,2025
