Aug . 13, 2024 03:06 Back to list
Step-by-step guide to changing brake drums and shoes for improved vehicle safety and performance
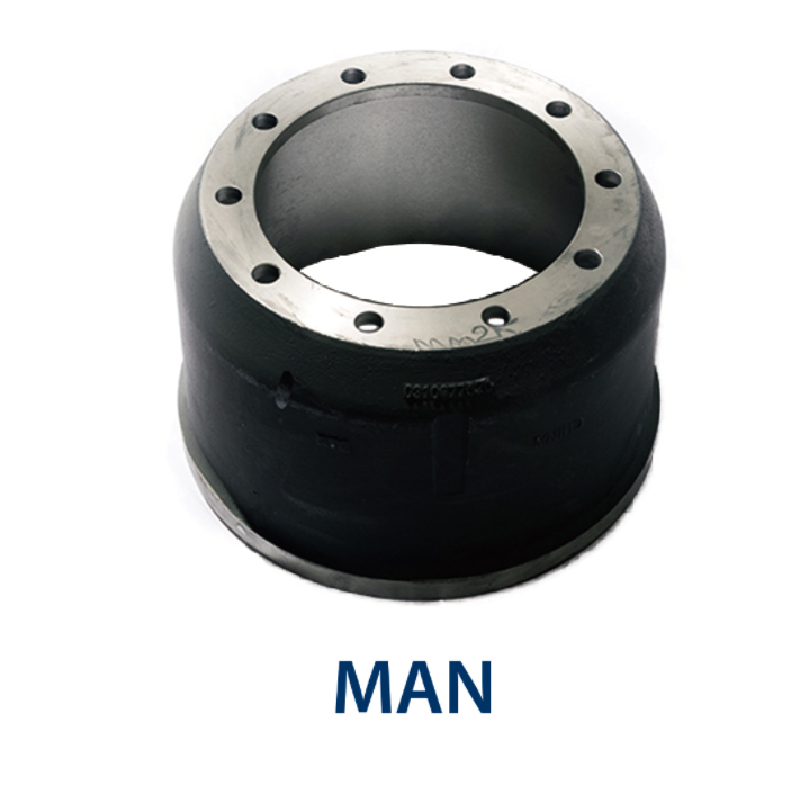
How to Replace Brake Drums and Shoes A Step-by-Step Guide
Replacing brake drums and shoes is a critical aspect of vehicle maintenance that ensures your safety on the road. Over time, brake components wear down, leading to diminished stopping power, which can be dangerous. This guide will provide you with step-by-step instructions to replace your brake drums and shoes effectively.
Tools and Materials Needed
Before you start, gather the necessary tools and materials
- New brake shoes and drums - Brake cleaner - Drum brake tool kit (including a spring tool, pliers, and a screwdriver) - Socket set and ratchet - Torque wrench - Jack and jack stands - Wheel chocks - Clean rags - Safety glasses and gloves
Step 1 Preparation
Start by ensuring your vehicle is parked on a level surface. Engage the parking brake and place wheel chocks behind the rear wheels to prevent any movement. You'll need to lift the vehicle, so make sure you have your jack and jack stands ready.
Step 2 Removing the Wheels
Using a lug wrench, loosen and remove the lug nuts on the wheel corresponding to the brake drums you intend to replace. Once the nuts are removed, lift the vehicle using the jack and secure it with jack stands. Remove the wheel completely to access the brake assembly.
Step 3 Inspect the Brake Assembly
Before removing the old components, take a moment to inspect the brake assembly for any visible damage or excessive wear. This includes checking the brake lines for leaks and ensuring that the backing plate is in good condition.
Step 4 Removing the Brake Drums
Locate the retaining springs that hold the brake drums in place. Use your drum brake tool kit to carefully remove these springs. Once the springs are off, you should be able to pull the drum straight off the wheel hub. If the drum is stuck due to rust or debris, tapping it gently with a rubber mallet can help loosen it.
how to replace brake drums and shoes

Step 5 Removing the Old Brake Shoes
With the drum removed, you will see the brake shoes. Take note of how the shoes and any associated hardware are arranged. This will be helpful for reassembly. Remove the shoes by detaching the springs and any retaining clips using the appropriate tools from your kit. Keep track of any hardware, as you may need to reuse some of it.
Step 6 Preparing the New Brake Drums and Shoes
Before installing the new components, clean the drum’s interior with brake cleaner to remove any dust or debris. Inspect the new brake shoes and drums to ensure they are the correct size and in good condition. It’s also advisable to apply a thin layer of grease to the backing plate where the shoes will contact.
Step 7 Installing the New Brake Shoes
Begin by positioning the new brake shoes into place, ensuring they line up correctly with the backing plate and the wheel cylinder. Reattach any springs and clips carefully, taking care not to damage the new shoes in the process.
Step 8 Installing the New Brake Drums
Once the shoes are securely in place, slide the new brake drum over the brake shoes and onto the wheel hub. You may need to rotate the drum to ensure it fits snugly. Reattach any retaining springs as necessary.
Step 9 Reassemble and Test
Replace the wheel and tighten the lug nuts loosely. Carefully lower the vehicle to the ground and then use a torque wrench to tighten the lug nuts to the manufacturer’s specifications. Before driving, pump the brake pedal a few times to ensure that the brake shoes seat correctly against the drum.
Conclusion
Replacing brake drums and shoes is an essential skill for vehicle owners that promotes safety and extends vehicle life. Always consult your vehicle’s manual for specific instructions and torque specifications. If at any point you feel uncomfortable with the process, it’s best to seek the help of a professional mechanic. Remember, your brakes are your first line of defense on the road, so keep them in top condition!
-
ROR Web Development: Build Fast, Scalable, Secure Apps
NewsAug.17,2025
-
Scania Brake Drums: OEM Quality for Optimal Safety & Durability
NewsAug.16,2025
-
R.V.I: Advanced Remote Visual Inspection for Precision
NewsAug.15,2025
-
Discover HYUNDA: Innovative Vehicles, Equipment & Solutions
NewsAug.14,2025
-
R.V.I: Unlock Advanced Insights & Real-time Performance
NewsAug.13,2025
-
Kamaz Brake Drum: Durable & Reliable for Heavy Duty Trucks
NewsAug.12,2025
