Aug . 14, 2024 16:45 Back to list
Step-by-step guide to safely detach brake drum from your trailer for maintenance or repair
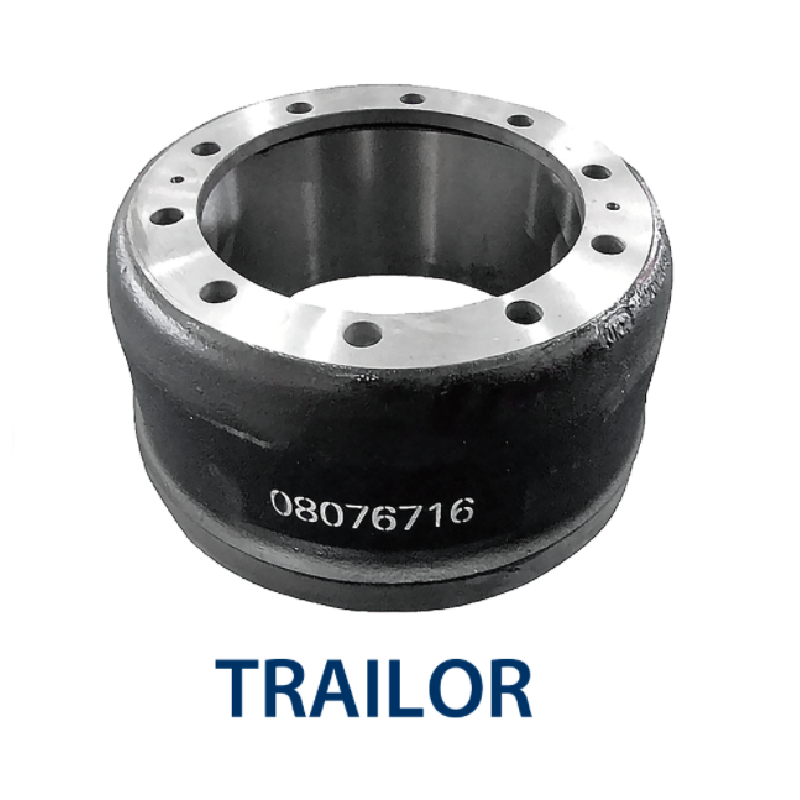
How to Remove Brake Drum from a Trailer
Removing a brake drum from a trailer is a task that may seem daunting to anyone unfamiliar with trailer maintenance. However, with the right tools and steps, it can be accomplished safely and efficiently. This guide will walk you through the entire process, ensuring that you have a clear understanding of how to remove the brake drum with minimal hassle.
Tools and Materials Needed
Before you begin, gather the following tools and materials
1. Socket wrench set 2. Lug nut wrench 3. Screwdrivers (flathead and Phillips) 4. Brake drum puller (if needed) 5. C-clamp or brake tool 6. Pliers 7. Safety glasses 8. Gloves 9. A clean workspace
Step 1 Safety First
Before starting any mechanical work, safety should be your primary concern. Park the trailer on a flat, stable surface and ensure that it’s secured with wheel chocks to prevent any movement. Make sure the parking brake is engaged. Wear safety glasses and gloves to protect yourself from debris and sharp edges.
Step 2 Remove the Wheel
Begin by loosening the lug nuts on the wheel where the brake drum needs to be removed. Loosen them slightly while the wheel is on the ground to prevent it from spinning. Once the lug nuts are loose, lift the trailer using a jack and secure it on jack stands. Carefully remove the lug nuts completely and take off the wheel to expose the brake drum.
Step 3 Inspect the Brake Drum
With the wheel removed, inspect the brake drum for any visual damage. It is important to check for cracks or any unusual wear. If the drum shows signs of damage, it may need to be replaced.
how to remove brake drum from trailer

Step 4 Remove the Brake Drum
The process of removing the brake drum can vary depending on the design of your trailer's braking system. Most brake drums are attached with either a retaining screw or are held in place by the brake shoes themselves
1. Remove Retaining Screws If your drum has retaining screws, use a screw driver to remove them. Be sure to keep these screws safe for reinstallation later. 2. Pull the Drum Off Gently pull the drum away from the hub. If it doesn’t come off easily, the brake shoes may be gripping it. In this case, use a C-clamp or brake tool to compress the brake shoes slightly, allowing the drum to come off without damaging the components.
3. Use a Brake Drum Puller If the drum still won’t budge, a brake drum puller can be used. This tool will apply even pressure to pull the drum off without causing damage. Attach the puller according to the manufacturer's instructions and turn the adjustment knob until the drum loosens.
Step 5 Inspect Components
Once the drum is removed, inspect the brake shoes, springs, and other components for wear and tear. It’s crucial to check these parts for any signs of damage or excessive wear, as they will need to be replaced if they are not functioning properly.
Step 6 Reinstallation
After completing your maintenance or repairs, reinstallation is the reverse process. Slide the drum back onto the hub, secure it with retaining screws if applicable, and reattach the wheel.
Replace and tighten the lug nuts before lowering the trailer from the jack stands. Finally, check everything before taking the trailer back on the road.
Conclusion
Removing a brake drum from a trailer is not overly complicated, but it does require attention to detail and safety. By following these steps, you can ensure that you perform this maintenance task effectively, promoting the longevity and safety of your trailer’s braking system. Always consult your trailer’s owner manual for specific instructions related to your model, as procedures may vary.
-
Explore Japan: Ultimate Travel Guide & Authentic Experiences
NewsAug.19,2025
-
Your Brake Drum Man: Premium & Reliable Brake Drums for Sale
NewsAug.18,2025
-
ROR Web Development: Build Fast, Scalable, Secure Apps
NewsAug.17,2025
-
Scania Brake Drums: OEM Quality for Optimal Safety & Durability
NewsAug.16,2025
-
R.V.I: Advanced Remote Visual Inspection for Precision
NewsAug.15,2025
-
Discover HYUNDA: Innovative Vehicles, Equipment & Solutions
NewsAug.14,2025
