Aug . 17, 2024 02:18 Back to list
Steps for Replacing the Rear Brake Drum on Your Vehicle
Rear Brake Drum Replacement A Step-by-Step Guide
Maintaining your vehicle's braking system is crucial for safety and performance. One essential part of this system is the rear brake drum. If you notice issues like unusual noises, decreased braking efficiency, or a warning light, it may be time to replace your rear brake drum. This article will guide you through the replacement process step-by-step, ensuring you can handle this important task with confidence.
Understanding Brake Drums
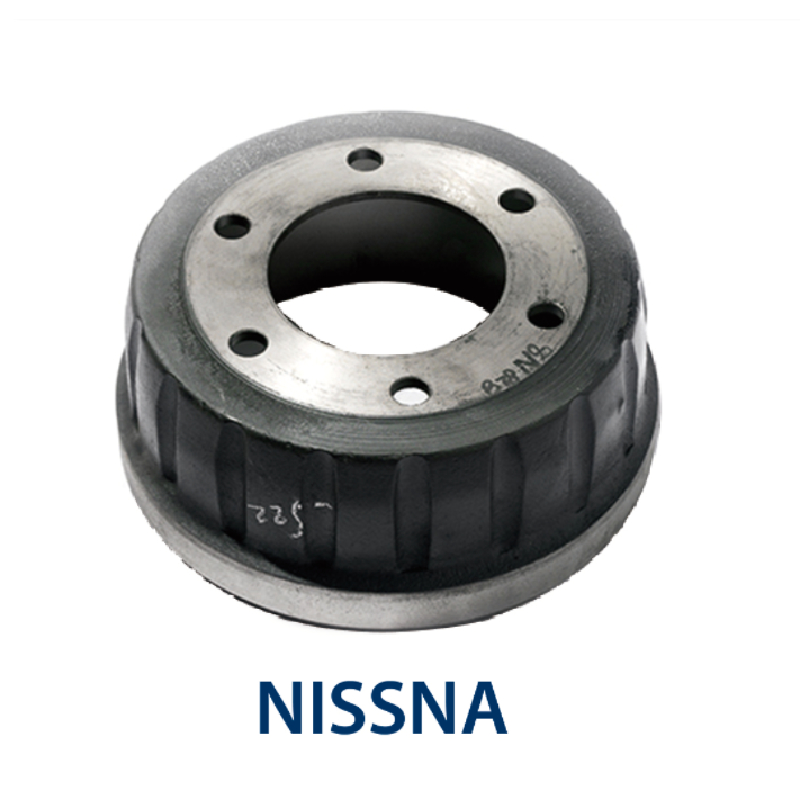
Brake drums are part of the drum braking system, which uses friction to slow down or stop your vehicle. The drum rotates with the wheel and works with brake shoes that press against its inner surface when you apply the brakes. Over time, the drum can wear out, warp, or become damaged, necessitating replacement.
Tools and Materials Needed
Before starting the replacement, gather the necessary tools and materials - A jack and jack stands - A lug wrench - A brake drum puller (if needed) - New brake drums - Brake shoes (if needed) - Brake cleaner - A socket set and ratchet - A screwdriver - Torque wrench - Safety glasses and gloves
Step-by-Step Replacement Process
1. Safety First Before working on your vehicle, ensure you are parked on a flat surface and engage the parking brake. Wear safety glasses and gloves to protect yourself during the process.
2. Loosen Lug Nuts Using a lug wrench, slightly loosen the lug nuts on the rear wheel where you will be replacing the brake drum. Do not fully remove them yet.
3. Lift the Vehicle Using a jack, lift the rear of the vehicle and secure it with jack stands. Ensure it is stable before proceeding.
rear brake drum replacement

4. Remove the Wheel Fully remove the loosened lug nuts and take off the wheel. Set it aside in a safe spot.
5. Inspect the Brake Assembly Before removing the brake drum, inspect the brake assembly. Look for signs of wear or damage on the brake shoes and hardware. If worn, it’s a good idea to replace them.
6. Remove the Brake Drum If the drum doesn’t slide off easily, you may need a brake drum puller to remove it. Once removed, inspect the inner surface for scoring or damage that may have caused issues.
7. Clean the Components Use brake cleaner to clean the brake assembly and the new drum before installation. Removing dust and debris will ensure optimal performance.
8. Install New Brake Drum Slide the new brake drum onto the hub. Ensure it sits flat against the brake shoes. If you replaced the shoes, follow the manufacturer’s instructions for fastening them correctly.
9. Reattach the Wheel Position the wheel back onto the hub and hand-tighten the lug nuts. Ensure that nuts are aligned correctly.
10. Lower the Vehicle Carefully lower the vehicle back to the ground using the jack. Once it's stable, use the torque wrench to tighten the lug nuts to the manufacturer's specified torque.
11. Test the Brakes Before taking your vehicle on the road, pump the brakes a few times to seat the shoes against the drum properly. This will ensure your brakes work effectively when you start driving.
Final Thoughts
Replacing the rear brake drum is a vital maintenance task that can enhance your vehicle’s safety and performance. If you are not comfortable performing this replacement yourself or if you encounter any complexities, do not hesitate to consult a professional mechanic. Regularly inspecting and maintaining your braking system will ensure a safe and smooth driving experience.
-
Explore Japan: Ultimate Travel Guide & Authentic Experiences
NewsAug.19,2025
-
Your Brake Drum Man: Premium & Reliable Brake Drums for Sale
NewsAug.18,2025
-
ROR Web Development: Build Fast, Scalable, Secure Apps
NewsAug.17,2025
-
Scania Brake Drums: OEM Quality for Optimal Safety & Durability
NewsAug.16,2025
-
R.V.I: Advanced Remote Visual Inspection for Precision
NewsAug.15,2025
-
Discover HYUNDA: Innovative Vehicles, Equipment & Solutions
NewsAug.14,2025
