Aug . 21, 2024 19:40 Back to list
Steps for Safely Removing a Brake Drum from Your Vehicle
How to Remove a Brake Drum
Removing a brake drum may seem like a daunting task for many car owners, but with the right tools and a bit of knowledge, it can be a manageable job. Brake drums are crucial components of a vehicle's braking system, and they need occasional inspection and maintenance. Whether you're replacing the brake shoes, inspecting the brakes, or simply changing a wheel, knowing how to properly remove a brake drum is essential. Here’s a step-by-step guide to help you through the process.
Tools You Will Need
Before getting started, it’s important to gather the necessary tools. Typically, you will need
1. A jack and jack stands 2. A tire iron or wrench 3. A screwdriver (flathead and Phillips) 4. Brake cleaner 5. A rubber mallet (optional) 6. A brake drum puller (if necessary)
Steps to Remove the Brake Drum
1. Safety First Begin by parking your vehicle on a flat surface. Engage the parking brake and turn off the ignition. If you are working on the rear brakes, it is a good idea to chock the front wheels to prevent any movement.
2. Loosen the Lug Nuts Using a tire iron, slightly loosen the lug nuts on the wheel that is corresponding to the brake drum you want to remove. Do not fully remove them yet; just ensure they are loosened enough for easy removal once the wheel is off the ground.
3. Raise the Vehicle Use a jack to lift the car off the ground. Ensure you are using jack stands to provide additional support and safety while working underneath the vehicle. Never rely solely on the jack for support.
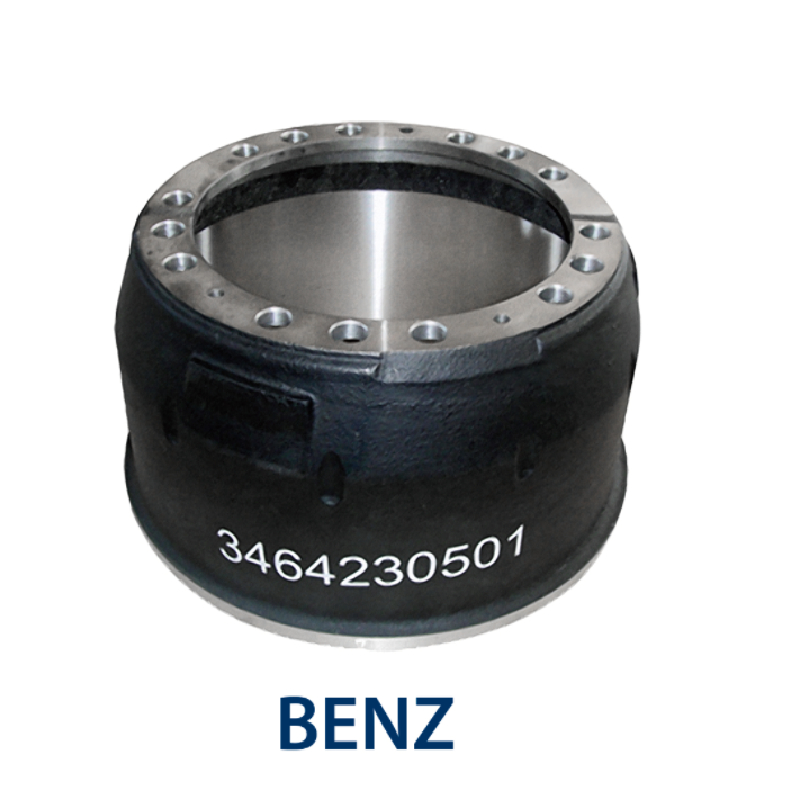
how to remove brake drum

4. Remove the Wheel Now that the vehicle is securely elevated, time to fully remove the lug nuts and take off the wheel to access the brake drum.
5. Inspect for Retaining Screws Depending on your vehicle, there may be retaining screws holding the brake drum in place. If visible, use the appropriate screwdriver to remove these screws before attempting to take off the drum.
6. Remove the Brake Drum In many cases, the brake drum can be easily pulled off. Simply grasp it and gently wiggle it back and forth while pulling it away from the wheel hub. However, if the drum is stuck due to rust or dirt buildup, a rubber mallet can be used to lightly tap around the edge to loosen it.
7. Using a Brake Drum Puller In some situations, if the drum does not budge, a brake drum puller may be necessary. This tool applies even pressure and helps in removing stubborn drums without damaging the assembly. Follow the tool's instructions carefully for safe use.
8. Clean and Inspect Once the brake drum is free, take the time to clean it with brake cleaner, inspecting it for wear or damage. If you find any issues such as excessive scoring, it may be time to replace the drum.
9. Reassembly After inspection or replacement, reassemble the brake components by reversing the removal process. Ensure that all bolts are tightened to the manufacturer’s specifications and that there are no loose parts.
10. Final Steps Replace the wheel, lower the vehicle back to the ground, and tighten the lug nuts in a star pattern for even pressure. Finally, ensure everything is functioning correctly by testing the brakes before driving.
Conclusion
Removing a brake drum is a straightforward task with the right approach and tools. Regular maintenance of the brake system can lead to better performance and enhance safety on the road. If at any point you feel uncertain, consulting a professional mechanic is always a wise choice to ensure the job is done correctly. Always prioritize safety while working on your vehicle.
-
ROR Web Development: Build Fast, Scalable, Secure Apps
NewsAug.17,2025
-
Scania Brake Drums: OEM Quality for Optimal Safety & Durability
NewsAug.16,2025
-
R.V.I: Advanced Remote Visual Inspection for Precision
NewsAug.15,2025
-
Discover HYUNDA: Innovative Vehicles, Equipment & Solutions
NewsAug.14,2025
-
R.V.I: Unlock Advanced Insights & Real-time Performance
NewsAug.13,2025
-
Kamaz Brake Drum: Durable & Reliable for Heavy Duty Trucks
NewsAug.12,2025
