Aug . 14, 2024 09:49 Back to list
Steps for Safely Removing a Trailer Brake Drum and Ensuring Proper Maintenance Practices
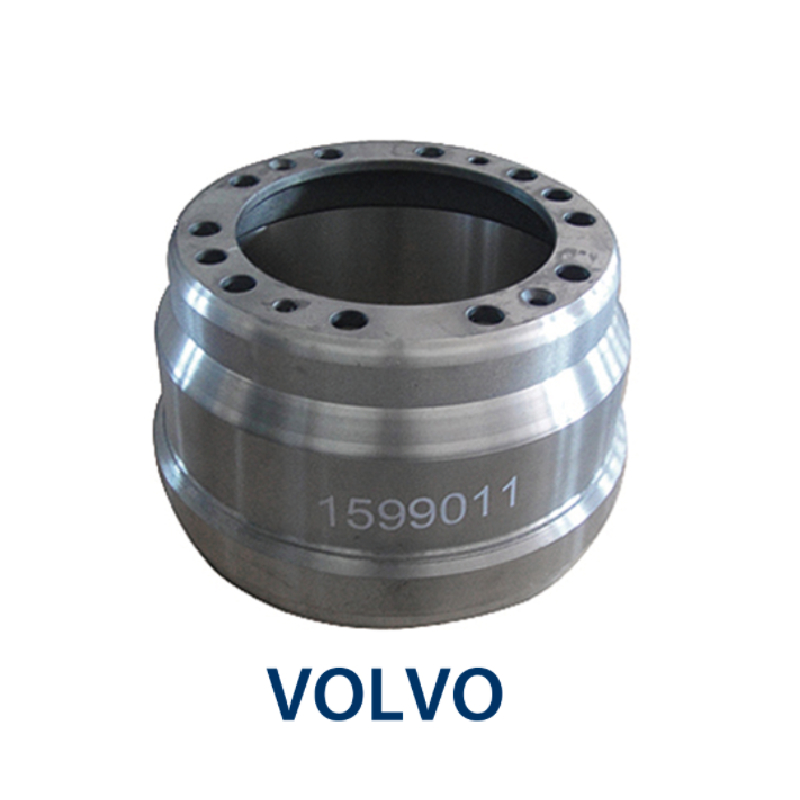
How to Remove a Trailer Brake Drum
Removing a trailer brake drum can seem daunting, especially if you have never done it before. However, with the right tools and a step-by-step approach, you can efficiently tackle this task. Whether you are performing maintenance, replacing brake components, or checking for wear, understanding how to remove a trailer brake drum is essential for any trailer owner.
Tools You Will Need
Before you begin the process, make sure you have the following tools at your disposal
1. Jack and Jack Stands To safely lift the trailer. 2. Lug Wrench For loosening and removing the wheel bolts. 3. Pry Bar or Hammer Useful for loosening stubborn parts. 4. Socket Set Necessary for removing any bolts that may be securing the drum. 5. Brake Cleaner To clean any brake components. 6. Safety Glasses and Gloves For personal protection.
Step-by-Step Guide
1. Preparation - First, ensure that the trailer is parked on a level surface. This will help prevent any slips while you work. - Engage the trailer’s parking brake (if applicable) to further minimize movement.
2. Lift the Trailer - Using a jack, carefully lift the trailer at the axle location that corresponds to the wheel you will be working on. - Once elevated, securely place jack stands underneath the trailer to ensure safety while you work.
how to remove a trailer brake drum

3. Remove the Wheel - Use the lug wrench to loosen the wheel bolts. Start by loosening each bolt in a crisscross pattern to avoid warping the wheel. - Once the bolts are loose, remove them completely and take the wheel off. Set it aside in a safe place.
4. Inspect the Brake Components - Before removing the drum, take a moment to inspect the brake components, including the brake shoes and springs. This will give you an idea of their condition and whether they need replacing.
5. Remove the Brake Drum - The next step is to remove the brake drum. If the drum is stuck due to rust or dirt, you can gently tap it with a hammer or pry bar to loosen it. - If the drum is equipped with retaining screws, use a socket to remove them. Most drums will slide off once the retaining hardware is removed or after tapping them loose. - Carefully pull the drum straight off the hub. This might require some wiggling, especially if the brake shoes are slightly expanded against it.
6. Check for Damage or Wear - After the drum is removed, check for any signs of wear or damage. Inspect the surface of the drum for grooves or cracks, and check the brake shoes for any uneven wear. - Cleaning the drum and backing plate with brake cleaner can also help reveal any issues.
7. Reinstallation - If you are replacing the drum, simply reverse the removal steps slide the new drum onto the hub and secure it with screws or retaining hardware if necessary. - Replace the wheel, tighten the lug bolts in a crisscross pattern, and lower the trailer back to the ground.
8. Final Checks - Once everything is back in place, perform a final walkthrough to ensure all components are secure. Test the brakes before taking the trailer back out on the road.
Conclusion
Removing a trailer brake drum is a manageable task that becomes easier with practice and the right approach. By following these steps, you can ensure that your brake components are well maintained, ultimately enhancing safety during your travels. Always remember to prioritize safety and don protective gear while working on your trailer. With attention to detail and routine maintenance, you can keep your trailer in top condition for years to come.
-
Explore Japan: Ultimate Travel Guide & Authentic Experiences
NewsAug.19,2025
-
Your Brake Drum Man: Premium & Reliable Brake Drums for Sale
NewsAug.18,2025
-
ROR Web Development: Build Fast, Scalable, Secure Apps
NewsAug.17,2025
-
Scania Brake Drums: OEM Quality for Optimal Safety & Durability
NewsAug.16,2025
-
R.V.I: Advanced Remote Visual Inspection for Precision
NewsAug.15,2025
-
Discover HYUNDA: Innovative Vehicles, Equipment & Solutions
NewsAug.14,2025
