Aug . 13, 2024 14:26 Back to list
Steps to Safely Remove a Brake Drum for Vehicle Maintenance and Inspection
Removing a Brake Drum A Step-by-Step Guide
Removing a brake drum can be a necessary task for anyone involved in vehicle maintenance, whether you are a seasoned mechanic or a DIY enthusiast. Brake drums play a crucial role in the braking system of many vehicles, particularly older models, where drum brakes are common. This article will provide a detailed step-by-step guide on how to remove a brake drum safely and efficiently.
Tools and Materials Needed
Before starting, ensure you have the following tools and materials - Jack and jack stands - Lug wrench - Brake drum puller (if necessary) - Screwdrivers (flathead and Phillips) - Pliers - Torque wrench - Brake cleaner - Safety goggles and gloves
Step 1 Safety First
Always prioritize safety when working on your vehicle. Wear safety goggles and gloves to protect yourself from debris and sharp edges. Make sure your vehicle is parked on a flat surface, engage the parking brake, and turn off the engine.
Step 2 Loosen the Lug Nuts
Using a lug wrench, slightly loosen the lug nuts on the wheel that you will be removing the brake drum from. It is best to do this while the wheel is still on the ground to prevent it from spinning during the process.
Step 3 Raise the Vehicle
Utilize the jack to lift the vehicle off the ground. Once elevated, place jack stands under the vehicle to ensure it is secure and stable. Never rely solely on the jack to hold up the vehicle.
Step 4 Remove the Wheel
With the vehicle securely lifted, finish removing the loosened lug nuts and take off the wheel. This will expose the brake drum.
Step 5 Inspect and Prepare
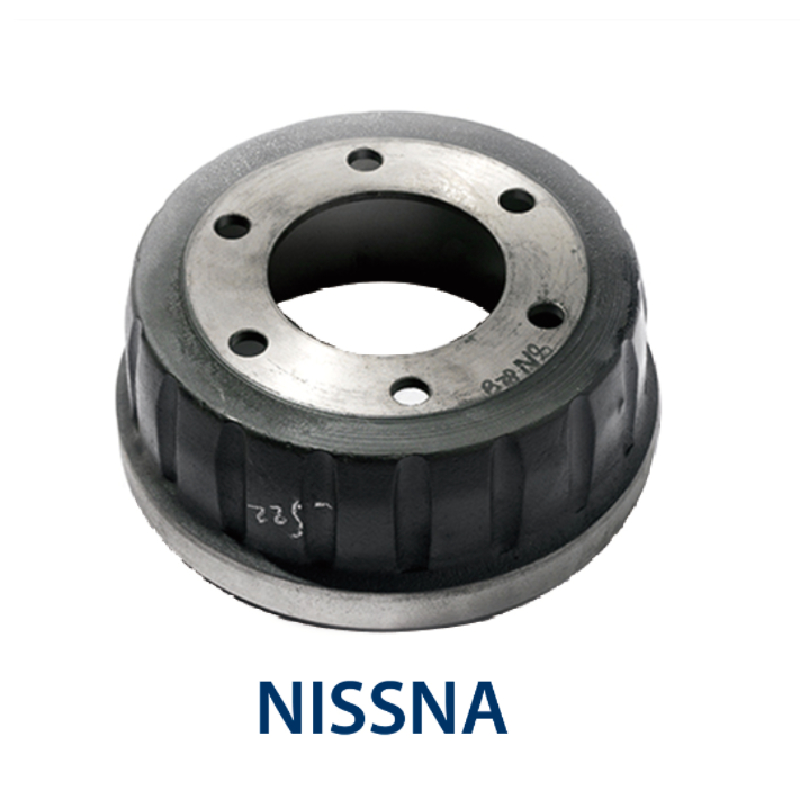
removing a brake drum

Before removing the brake drum, inspect it for any visible signs of damage or wear. If you notice any unusual wear patterns, it may be time to consult a professional. Additionally, check the brake shoes and other components for wear.
Step 6 Remove the Brake Drum
To remove the brake drum, first look for any retaining screws or clips that may hold it in place. If necessary, use a screwdriver to remove them. In some cases, the brake drum may be stuck due to rust or dirt build-up. A gentle tap with a hammer can help dislodge it. If the drum is particularly stubborn, a brake drum puller can be used to apply even force and safely remove it without damaging the drum.
Step 7 Clean the Components
Once the drum is removed, take the opportunity to clean the brake assembly. Use brake cleaner to remove dust and debris from the brake shoes, springs, and other components. This not only prolongs the lifespan of the braking system but also ensures optimal performance.
Step 8 Reinstallation
If you’re planning to install a new brake drum, align it with the wheel hub, ensuring that any locating pins or features fit properly. If you’re reusing the old drum, check for any signs of warping or excessive wear. Secure any retaining screws and clips.
Step 9 Replace the Wheel
With the brake drum securely in place, place the wheel back onto the hub and hand-tighten the lug nuts. Once the wheel is in place, lower the vehicle back to the ground using the jack and remove the jack stands.
Step 10 Final Checks
Once the vehicle is back on the ground, use the torque wrench to tighten the lug nuts to the manufacturer's specified torque. This ensures the wheel is securely attached and ready for operation.
Conclusion
Removing a brake drum can seem daunting, but with the right tools, knowledge, and safety precautions, it can be a straightforward process. Regular maintenance of your braking system is vital for vehicle safety, and understanding how to perform such tasks is beneficial for any vehicle owner. Always consult the vehicle’s repair manual for specific instructions and specifications, and when in doubt, seek professional assistance.
-
Scania Brake Drums: OEM Quality for Optimal Safety & Durability
NewsAug.16,2025
-
R.V.I: Advanced Remote Visual Inspection for Precision
NewsAug.15,2025
-
Discover HYUNDA: Innovative Vehicles, Equipment & Solutions
NewsAug.14,2025
-
R.V.I: Unlock Advanced Insights & Real-time Performance
NewsAug.13,2025
-
Kamaz Brake Drum: Durable & Reliable for Heavy Duty Trucks
NewsAug.12,2025
-
Heavy Duty Iveco Brake Drum - Premium Quality & Safety
NewsAug.11,2025
