Dec . 11, 2024 11:22 Back to list
Initial Step for Removing Brake Drum Explained in Detail
The First Step in Brake Drum Removal An Essential Guide
When it comes to vehicle maintenance, ensuring that your braking system is functioning properly is paramount. Among the many components of the braking system, brake drums play a vital role, particularly in vehicles equipped with drum brakes. Understanding how to safely and effectively remove brake drums is crucial for any DIY mechanic or car enthusiast. This article focuses on the first step in brake drum removal, providing a comprehensive understanding of its significance and execution.
Understanding the Brake Drum
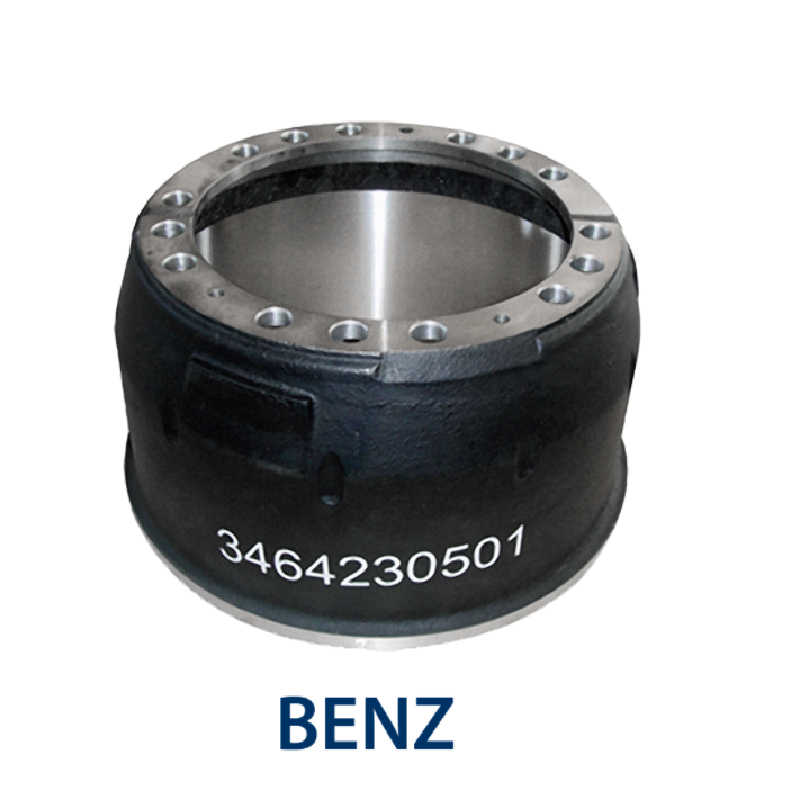
Before delving into the specifics of removal, it's important to understand what a brake drum is. The brake drum is a cylindrical component that houses the brake shoes and is connected to the wheel hub. When you apply the brakes, the brake shoes press against the inner surface of the drum, creating friction and slowing down the vehicle. Over time, brake drums can wear out or become warped, necessitating replacement or adjustment.
Safety First Preparing for Brake Drum Removal
The first step in brake drum removal is to ensure that you are working in a safe environment. Begin by gathering the necessary tools and safety equipment. You will need a jack, jack stands, lug wrench, and possibly a brake drum tool depending on the drum configuration. It’s also vital to wear safety glasses and gloves to protect yourself from debris and sharp edges.
Once you have your tools ready, park your vehicle on a flat, stable surface. Engage the parking brake to prevent any unintended movement. If you’re working on the front wheels, it's a good idea to place wheel chocks behind the rear wheels to provide an additional layer of safety against rolling.
Loosening the Lug Nuts
Now that you have prepared your work area, the first action you should take is to loosen the lug nuts that hold the wheel in place. Before lifting the vehicle with a jack, use the lug wrench to turn each lug nut counterclockwise. It’s important to only loosen them at this stage; do not remove them completely. Breaking the tension on the lug nuts while the wheel is still on the ground helps prevent the wheel from spinning, making it easier to remove the nuts later.
the first step in brake drum removal is to

Lifting the Vehicle
With the lug nuts loosened, the next step is to lift the vehicle off the ground using the jack. Position the jack under the vehicle's designated lifting points, which can typically be found in the owner’s manual or indicated on the vehicle itself. Raise the vehicle until there is sufficient clearance to remove the wheel.
Once the vehicle is elevated, secure it with jack stands. This is a critical safety measure to ensure that the vehicle does not fall while you are working on it. Never rely solely on the jack for support.
Removing the Wheel
Now that the vehicle is safely elevated and secured, you can completely remove the loosened lug nuts and take off the wheel. This gives you access to the brake drum. It’s also a good time to inspect the wheel bearings and the condition of the tire for any signs of wear and tear.
Preparing for Brake Drum Removal
With the wheel off, you are now ready to move on to the actual brake drum removal process. Before beginning this, check for any retaining screws or clips that may be holding the brake drum in place. If present, remove these fasteners carefully.
In conclusion, the first step in brake drum removal is not merely a procedural task; it sets the foundation for a safe and effective brake service. By preparing adequately, loosening lug nuts, lifting the vehicle securely, and removing the wheel, you create an optimal working environment. With the wheel removed, you can proceed with confidence to address any issues with the brake drum, whether it be replacement, resurfacing, or further inspection. Always remember, safety is paramount in any automotive task, and taking the time to follow these initial steps properly will pay dividends in the overall maintenance of your vehicle.
-
Volvo Brake Drum: OEM Quality, Optimal Safety
NewsAug.27,2025
-
Durable Brake Drum MAZ for Heavy Duty Trucks | High Performance
NewsAug.26,2025
-
FUWA: Premium Quality, Reliable Performance & Innovative Solutions
NewsAug.25,2025
-
Liza Brake Drum: Superior Quality & Performance for Safe Driving
NewsAug.24,2025
-
Iveco Brake Drum | Premium OE Quality for Daily & Eurocargo
NewsAug.22,2025
-
Your Brake Drum Man: Quality & Performance Parts
NewsAug.21,2025
