Nov . 30, 2024 23:41 Back to list
Steps for Removing Trailer Brake Drums Efficiently and Safely
How to Remove Trailer Brake Drums A Step-by-Step Guide
Removing the brake drums from a trailer is an essential part of maintenance, especially if you're experiencing issues with braking performance, or if you're simply performing routine maintenance. Brake drums can accumulate dirt, debris, and wear over time, making regular inspections crucial. In this guide, we will cover the key steps to safely and effectively remove trailer brake drums.
Tools and Materials Needed
Before starting the removal process, gather the following tools and materials
- Socket wrench set - Brake drum puller (if necessary) - Screwdriver - Hammer - Brake cleaner - Safety glasses - Gloves - Jack and jack stands - Torque wrench (for reinstallation)
Step 1 Prepare the Trailer
Begin by ensuring the trailer is safely secured. Park the trailer on level ground and engage the parking brake. If the trailer has a wheel chock, place it behind the wheels for additional safety. Before you begin, wear safety glasses and gloves to protect yourself from any debris or sharp edges.
Step 2 Lift the Trailer
Using a jack, lift the trailer from the axle housing to gain access to the brake drums. Once the trailer is elevated, securely place jack stands under the axle for stability. Never rely solely on the hydraulic jack for support, as it can fail and lead to severe injuries.
Step 3 Remove the Wheel
Start by removing the wheel that covers the brake drum. Use a socket wrench to loosen the lug nuts in a crisscross pattern. Once the lug nuts are loosened, remove them completely, and carefully take off the wheel. Place it aside, ensuring it’s out of the work area.
Step 4 Inspect the Brake Assembly
With the wheel removed, you now have a clear view of the brake assembly. Inspect the brake shoes, springs, and other components for wear. If you notice significant wear or damage, it may be time for a complete brake overhaul or replacement.
Step 5 Remove the Brake Drum
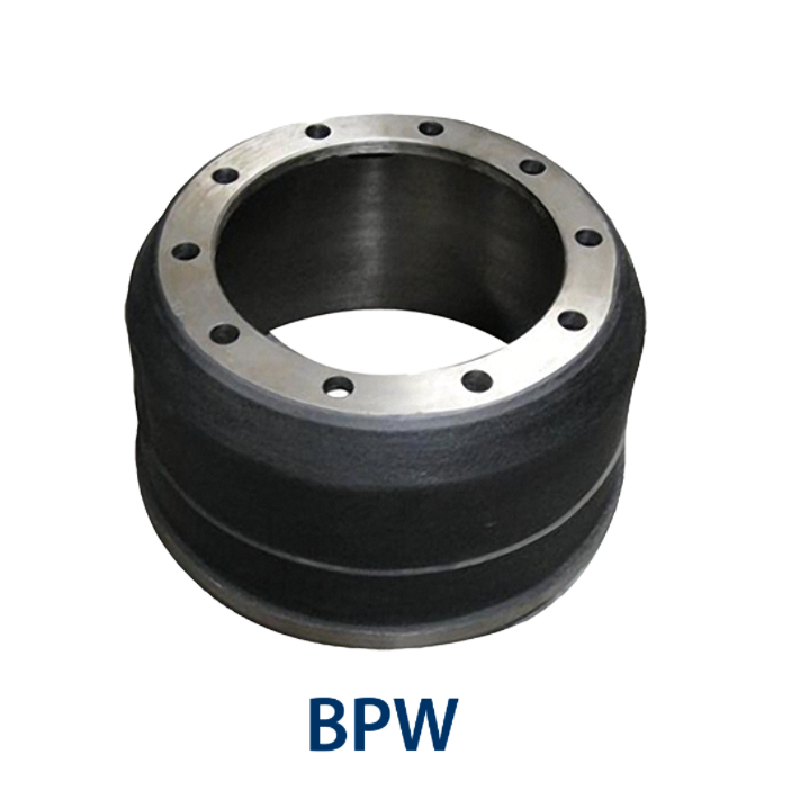
trailer brake drum removal

The next step is to remove the brake drum itself. In most cases, the drum should slide off easily; however, sometimes the drum can become stuck due to rust or debris.
1. Check for Retaining Clips or Screws Some brake drums are held in place by retaining clips or screws. Remove these using the appropriate screwdriver or socket.
2. Pulling the Drum Off If the drum is not easily removable, you may need to use a brake drum puller. Attach the puller to the drum, ensuring that it is fitted securely. Gradually tighten the puller’s bolts until the drum pops off. Make sure to apply steady pressure to avoid damaging the drum or the brake assembly.
3. If it’s Stuck If the drum is stubborn, lightly tap around the edge with a hammer to break any rust seal. Be gentle—excessive force can damage the drum.
Step 6 Clean the Brachi Dynamics
Once the drum is removed, use brake cleaner to wipe down the brake shoes, backing plate, and the inside of the drum. This step ensures that any dust or grime is cleared away, allowing for better braking performance and longevity of the components.
Step 7 Inspect and Replace (if necessary)
After cleaning, inspect both the brake drum and the shoes for any signs of excessive wear. If the brakes are worn down or the drum is out of specification, gather replacement parts for your trailer.
Step 8 Reinstallation
To reassemble the brake assembly, reverse the removal steps. Place the drum back onto the hub, ensuring it sits flush. Reattach any retaining clips or screws as necessary. Slide on the wheel and hand-tighten the lug nuts.
Finally, use a torque wrench to tighten the lug nuts to the specification outlined in the trailer's manual to ensure the wheel is securely in place.
Conclusion
Removing trailer brake drums is a straightforward process that you can perform with the right tools and knowledge. Regular maintenance and inspections help ensure your trailer is safe for use on the road. If you're unsure about any aspect of the process, consult with a professional mechanic to ensure your safety and the reliability of your trailer's braking system. By following these steps, you can ensure that your trailer remains in excellent condition for your next adventure.
-
Scania Brake Drums: OEM Quality for Optimal Safety & Durability
NewsAug.16,2025
-
R.V.I: Advanced Remote Visual Inspection for Precision
NewsAug.15,2025
-
Discover HYUNDA: Innovative Vehicles, Equipment & Solutions
NewsAug.14,2025
-
R.V.I: Unlock Advanced Insights & Real-time Performance
NewsAug.13,2025
-
Kamaz Brake Drum: Durable & Reliable for Heavy Duty Trucks
NewsAug.12,2025
-
Heavy Duty Iveco Brake Drum - Premium Quality & Safety
NewsAug.11,2025
