Oct . 22, 2024 06:42 Back to list
Step-by-Step Guide to Safely Remove a Brake Drum from Your Vehicle
How to Remove a Brake Drum A Step-by-Step Guide
Removing a brake drum may seem like a daunting task for someone who has never worked on a vehicle's braking system, but with the right tools and a bit of knowledge, it can be an achievable DIY project. Whether you're looking to replace worn-out brake shoes, inspect the brake components, or perform routine maintenance, understanding how to safely and effectively remove a brake drum is essential. This guide will walk you through the process step-by-step.
Tools and Materials Needed
Before you begin, gather the necessary tools and materials
1. Safety Equipment - Safety goggles - Gloves
2. Tools - Jack and jack stands - Lug wrench - Screwdriver (flathead or Phillips, depending on the fasteners) - Brake drum puller (optional, for stubborn drums) - Pliers
3. Materials - Brake cleaner - New brake shoes (if needed) - Anti-seize compound (for reassembly)
Step 1 Prepare the Vehicle
1. Park on a Level Surface Ensure your vehicle is parked on a flat surface and engage the parking brake.
2. Loosen the Lug Nuts Using a lug wrench, slightly loosen the lug nuts on the wheel that covers the brake drum. Do not remove them completely at this stage.
3. Raise the Vehicle Use a jack to lift the vehicle, and secure it with jack stands to ensure stability.
Step 2 Remove the Wheel
1. Take Off the Lug Nuts Now that the vehicle is raised securely, remove the lug nuts completely and take off the wheel. Set it aside.
Step 3 Inspect the Brake Drum
1. Check for Access Most brake drums will have a small access hole or panel. Check to see if you can access the brake shoes and adjuster without removing the drum. If needed, remove any retaining screws.
Step 4 Remove the Brake Drum
how to remove a brake drum

1. Inspect for Attachments Look for any retaining clips or bolts that may be securing the brake drum to the hub. If present, remove these with a screwdriver or wrench.
2. Gently Tap the Drum If the drum feels stuck, use a rubber mallet to gently tap around the outer edge of the drum. This can help break any rust or corrosion that may be binding it to the hub.
3. Use a Brake Drum Puller (if necessary) If the drum remains stuck, consider using a brake drum puller. This tool applies even pressure and can effectively remove the drum without damaging it. Follow the tool's instructions carefully.
4. Remove the Drum Once loose, carefully slide the drum off the wheel hub. Be cautious, as some brake dust may come loose. Always wear your safety goggles and mask if needed.
Step 5 Inspect and Replace Components
1. Inspect Brake Shoes With the drum removed, check the condition of the brake shoes. Look for wear, cracks, or tears.
2. Check the Wheel Cylinder Examine the wheel cylinder for leaks or damage. If the cylinder shows signs of wear, it should be replaced.
3. Clean the Drum Use brake cleaner to clean the inside of the drum and remove any debris or dust.
Step 6 Reassemble
1. Install New Brake Shoes (if needed) If you’re replacing the brake shoes, follow the manufacturer’s instructions for installation. Make sure any springs are correctly placed.
2. Reattach the Drum Slide the drum back onto the hub. Ensure that it moves freely but is snug against the shoes.
3. Reinstall Any Retaining Clips or Screws If there were any clips or screws removed, be sure to reinstall them.
4. Put the Wheel Back On Place the wheel back on the hub, hand-tighten the lug nuts, and lower the vehicle to the ground.
5. Tighten the Lug Nuts Once on the ground, use the lug wrench to tighten the lug nuts in a star pattern to ensure even pressure.
Conclusion
Removing a brake drum is a straightforward process that can save you time and money when maintaining your vehicle. By following these steps carefully, you can ensure a job well done. Always remember to prioritize safety and consult your vehicle's manual for any specific instructions related to your make and model. With patience and the right approach, you’ll have your brakes functioning as they should in no time.
-
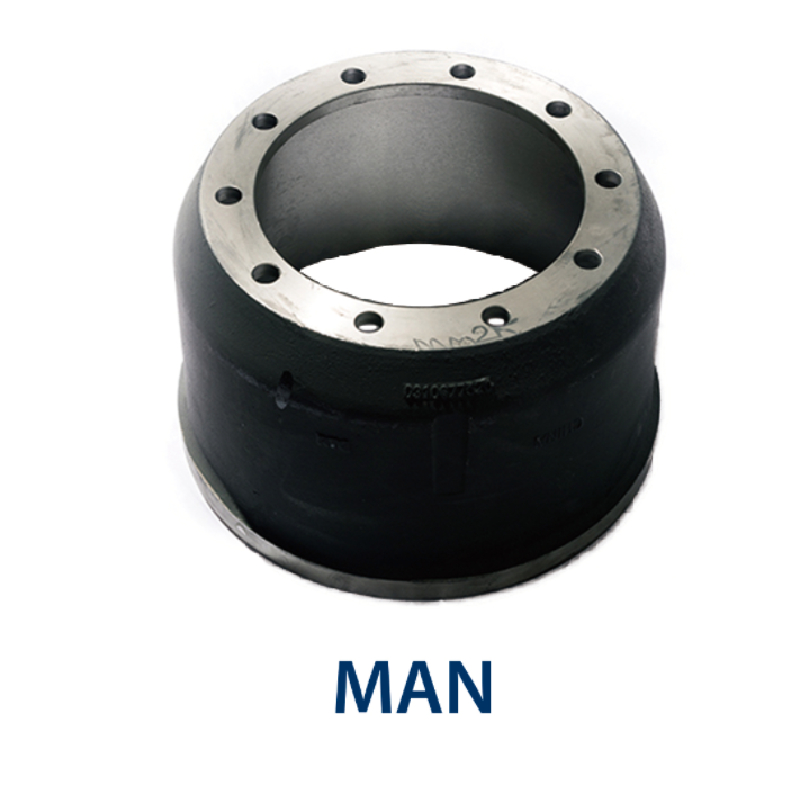
Brake Drum Man - High-Quality Drum Brake Drums & Brake Shoes for Reliable Performance
NewsJun.24,2025
-
High-Quality Brake Drum Kamaz – Durable Drum Brake Drum & Brake Shoe Replacement
NewsJun.10,2025
-
High-Quality Brake Drum Liza for Drum Brake Systems - Superior Durability and Performance
NewsJun.10,2025
-
High-Quality Brake Drum Kamaz – Durable Drum Brake Drum & Brake Shoe Solutions
NewsJun.10,2025
-
Durable Kamaz Brake Drums High-Performance Truck Parts
NewsJun.09,2025
-
Premium Brake Drum Maz Kit with Shoes Enhanced Braking
NewsJun.09,2025
