Dec . 30, 2024 18:32 Back to list
Steps to Remove the Rear Brake Drum Effectively and Safely
How to Get Rear Brake Drum Off A Step-by-Step Guide
Removing the rear brake drum from a vehicle is a task that many DIY car enthusiasts may attempt. While it may seem daunting at first, understanding the process and having the right tools can greatly simplify the task. In this article, we will guide you through the steps necessary to safely remove the rear brake drum, ensuring you can perform brake maintenance or replacements effectively.
Tools and Materials Needed
Before you begin, gather the following tools and materials
- Socket wrench and ratchet - Brake drum puller (if necessary) - Screwdriver (flathead and Phillips) - Pliers - Jack and jack stands - Wheel chocks - Brake cleaner - Lubricant (anti-seize)
Safety First
Before you start working on your vehicle, safety should be your top priority. Ensure the car is parked on a flat surface and engage the parking brake. Use wheel chocks on the front tires to prevent any movement. Always wear safety glasses and gloves to protect yourself.
Step 1 Remove the Wheel
Begin by using a socket wrench to loosen the lug nuts on the wheel where you will be removing the brake drum. It is usually easier to loosen the lug nuts while the wheel is still on the ground. Once loosened, use a jack to lift the vehicle and then secure it with jack stands. Remove the lug nuts completely and take off the wheel to expose the brake drum.
Step 2 Inspect the Brake Drum
With the wheel removed, you can see the brake assembly and the brake drum. Before attempting to remove the drum, inspect it for any visible damage, such as cracks or rust buildup. If the drum seems excessively corroded, it might be best to replace it.
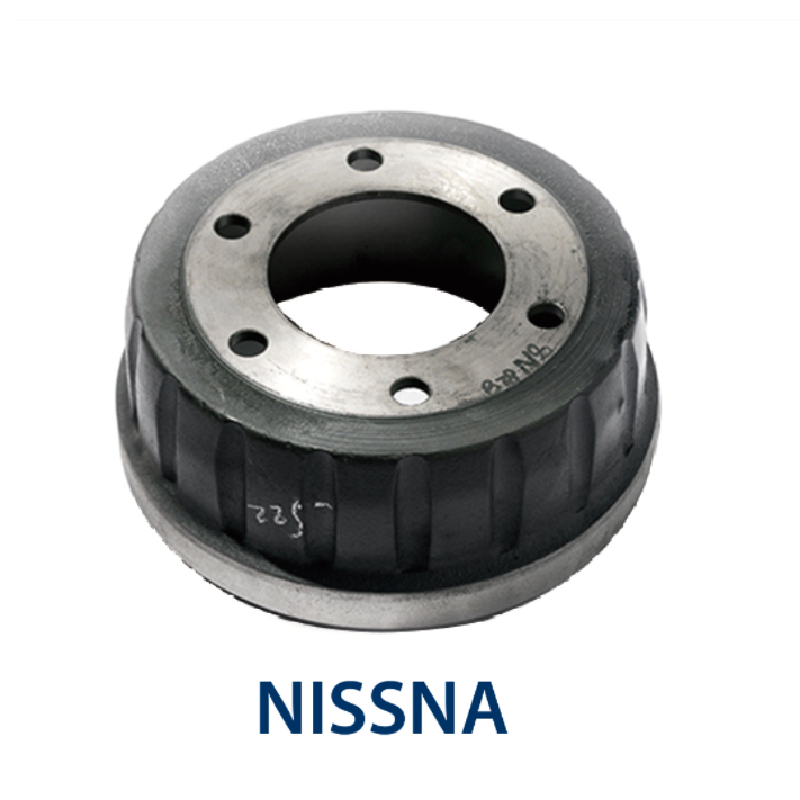
how to get rear brake drum off

Step 3 Remove the Brake Drum
In most cases, the brake drum can be removed simply by pulling it straight off the hub. However, if it appears stuck, there are a few techniques you can try. First, look for any retaining screws that may need to be removed. Use a screwdriver to take these out.
Next, if the drum is still stuck, you may need to tap it gently with a rubber mallet around the edges to help loosen it. Be cautious not to hit too hard, as you could damage the drum or the brake components.
If these methods do not work, you may need to use a brake drum puller. This tool is designed to apply even pressure to the drum, helping to avoid any damage that may occur from tapping with a mallet. Follow the instructions that come with the puller to position it correctly and gently pull the drum off.
Step 4 Clean and Inspect
Once the drum is removed, take the time to clean it and inspect the brake shoes and hardware. Use brake cleaner to remove any dust or debris. Check the thickness of the brake shoes; if they are worn down, it might be time for a replacement. Also, look for signs of rust or damage on the drum itself.
Step 5 Reinstalling the Drum
If you are planning to replace or service the brake components, complete that process before reinstalling the drum. To put the drum back on, simply reverse the steps slide it back onto the hub, making sure it aligns correctly. Reattach any retaining screws, if applicable.
Finally, put the wheel back on, tighten the lug nuts, lower the car from the jack stands, and perform a final tightening of the lug nuts on the ground.
Conclusion
Removing the rear brake drum can be a straightforward task with the right approach and tools. Always remember to prioritize safety and take the time to inspect all components for wear and tear. By following these steps, you can ensure your vehicle's braking system is in excellent condition. Whether you're performing maintenance or tackling a full brake replacement, understanding the process will help you gain confidence in your automotive skills.
-
BPW Axles & Suspensions | Quality Running Gear for Trailers
NewsAug.06,2025
-
Premium Iveco Brake Drum - Durable & Reliable Performance
NewsAug.05,2025
-
High-Performance Nissan Brake Drum | Durable Braking
NewsAug.03,2025
-
2014 Mitsubishi Mirage Rear Brake Drums | Durable & Precise
NewsJul.31,2025
-
High-Quality Trailers for Towing Needs | Shop Now
NewsJul.25,2025
-
Premium MAN Shaving Kit for Effortless Comfort
NewsJul.25,2025
