Dec . 15, 2024 22:25 Back to list
how to replace brake drums
How to Replace Brake Drums
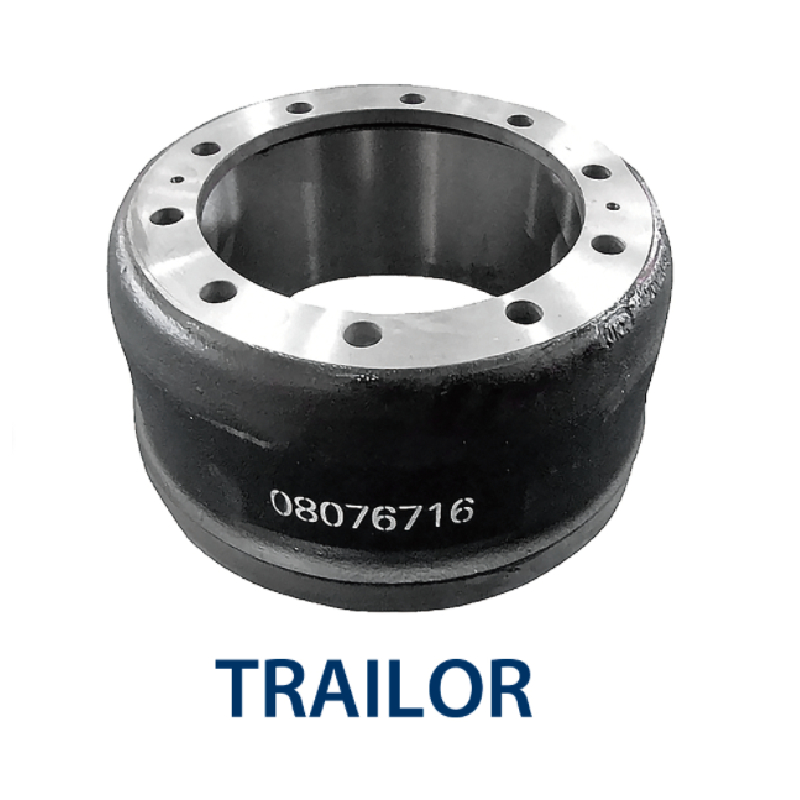
Brake drums play a vital role in the braking system of many vehicles, particularly older models and some modern ones equipped with drum brakes on the rear wheels. Over time, these components can become worn, leading to reduced braking efficiency and potentially hazardous driving conditions. If you notice signs of brake problems—such as a grinding noise when braking, a pulsating brake pedal, or reduced stopping power—it may be time to replace your brake drums. Here’s a comprehensive guide on how to do it yourself.
Tools and Materials Needed
Before starting, ensure you have the following tools and materials
- Jack and jack stands - Lug wrench - Brake drum puller (if necessary) - Socket set - Torque wrench - Brake cleaner - New brake drums - New brake shoes (recommended) - Anti-seize compound - Safety goggles and gloves
Step 1 Preparation
1. Safety First Park your vehicle on a level surface, apply the parking brake, and wear your safety goggles and gloves. 2. Loosen the Lug Nuts Using the lug wrench, slightly loosen the lug nuts on the rear wheels but do not remove them yet.
Step 2 Lifting the Vehicle
1. Jack Up the Vehicle Place the jack under the vehicle’s designated lift point and raise it until the wheels are off the ground. 2. Secure the Vehicle Place jack stands under the vehicle to ensure it is stable and secure. Never rely solely on a jack for support. 3. Remove the Wheels Once the vehicle is secure, fully remove the loosened lug nuts and take off the rear wheels.
Step 3 Remove the Brake Drums
how to replace brake drums

1. Inspect the Brake Assembly Before removing the drums, inspect the brake assembly for any visible wear or damage. 2. Remove the Brake Drum If the drum doesn't come off easily, you may need a brake drum puller. Attach the puller and carefully turn the screws to remove the drum. 3. Inspect the Brake Shoes Before proceeding, it’s wise to check the condition of the brake shoes. If they are worn, consider replacing them along with the drums.
Step 4 Install New Brake Drums
1. Clean the Components Use brake cleaner to remove dust and debris from the backing plate and other components. 2. Apply Anti-Seize Compound Apply a small amount of anti-seize compound to the hub to prevent the drum from sticking in the future. 3. Install New Brake Drums Align the new brake drum over the hub and push it into place. Ensure it rotates freely without any obstruction. 4. Reassemble the Brake Assembly If you replaced the brake shoes, follow the manufacturer's instructions for reassembly. Make any necessary adjustments to the shoe tension.
Step 5 Reinstall Tires and Lower the Vehicle
1. Reattach the Wheels Place the wheel back onto the hub and hand-tighten the lug nuts. 2. Lower the Vehicle Remove the jack stands and carefully lower the vehicle back to the ground. 3. Tighten Lug Nuts With the vehicle on the ground, use the torque wrench to tighten the lug nuts to the manufacturer’s specifications in a criss-cross pattern to ensure even tightness.
Step 6 Test Drive
Before hitting the highway, it’s crucial to test the new drum brakes. Slowly drive the vehicle in a safe area, applying the brakes gently at first to allow the shoes to seat properly against the new drums. Test the braking efficiency and listen for any unusual noises.
Conclusion
Replacing brake drums may seem daunting, but with the right tools, materials, and careful attention to detail, it is a manageable task for anyone willing to do a bit of DIY work. Maintaining your braking system is essential for vehicle safety, and regular checks can save you time and money in the long run. Always consult your vehicle’s manual for specific instructions and safety guidelines. Happy wrenching!
-
Iveco Brake Drum | Premium OE Quality for Daily & Eurocargo
NewsAug.22,2025
-
Your Brake Drum Man: Quality & Performance Parts
NewsAug.21,2025
-
Explore Japan: Ultimate Travel Guide & Authentic Experiences
NewsAug.19,2025
-
Your Brake Drum Man: Premium & Reliable Brake Drums for Sale
NewsAug.18,2025
-
ROR Web Development: Build Fast, Scalable, Secure Apps
NewsAug.17,2025
-
Scania Brake Drums: OEM Quality for Optimal Safety & Durability
NewsAug.16,2025
