Aug . 06, 2024 14:46 Back to list
Tips for Properly Adjusting Rear Brake Drums for Optimal Performance and Safety
Adjusting Rear Brake Drums A Comprehensive Guide
Maintaining a vehicle's braking system is crucial for safety, and one often-overlooked aspect is the adjustment of rear brake drums. Unlike disc brakes, which are more common in front brakes, drum brakes operate using a different mechanism and require specific attention to ensure optimal performance. This article will guide you through the process of adjusting rear brake drums, ensuring your vehicle remains safe and roadworthy.
Understanding Brake Drums
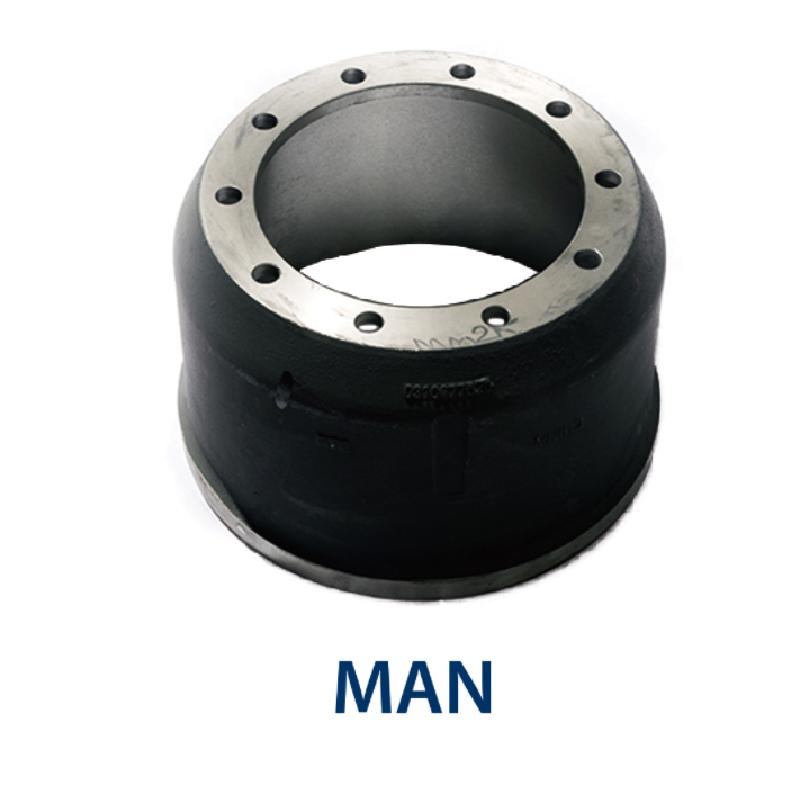
Brake drums are cylindrical components attached to the vehicle's wheel hub. Inside each drum, brake shoes are positioned against the inner surface. When the brake pedal is pressed, hydraulic pressure causes the shoes to expand against the drum, resulting in friction that slows the vehicle. Over time, brake shoes wear down, and the drums can also become misaligned or out of adjustment, leading to reduced braking effectiveness.
Signs Your Brake Drums Need Adjusting
Before diving into the adjustment process, it’s crucial to recognize the signs that your rear brake drums might need attention. Common symptoms include
1. Poor braking performance - If your vehicle takes longer to stop or the brakes feel spongy, it may be an indication that the brake shoes are not properly adjusted. 2. Uneven brake wear - If you notice that one side of the rear brake shoes wears out faster than the other, it could signal a need for adjustment. 3. Unusual noises - Grinding, squeaking, or clicking sounds when braking can indicate that the brake shoes have excessive play and require adjustment.
Tools You'll Need
Before you start the adjustment process, gather the necessary tools - Jack and jack stands - Lug wrench - Brake cleaner - Adjusting tool (commonly a flathead screwdriver or a specialty brake tool) - Safety goggles and gloves
Step-by-Step Adjustment Process
adjusting rear brake drums

1. Prepare your vehicle Park the vehicle on a level surface, engage the parking brake, and place wheel chocks around the front wheels. Loosen the lug nuts on the rear wheels before raising the vehicle.
2. Lift the vehicle Use a jack to lift the back of the vehicle and secure it with jack stands. Remove the rear wheels to access the brake drums.
3. Inspect the drums Visually inspect the brake drums and shoes for wear and damage. Clean the surface of the drums with brake cleaner to remove any dust and debris.
4. Locate the adjuster Depending on the brake design, you will typically find an adjusting mechanism either at the top or bottom of the brake assembly. It often consists of a star wheel.
5. Adjust the brake shoes Using your adjusting tool, turn the star wheel to either expand or retract the brake shoes. Aim for a snug fit, where the shoes lightly contact the drum but do not drag. You should still be able to spin the drum freely with slight resistance.
6. Check the adjustment After making the adjustments, rotate the drum to ensure smooth operation. If the shoes are properly adjusted, you should feel minimal drag.
7. Reassemble the components Replace the rear wheels, ensuring the lug nuts are tightened to the manufacturer’s specifications. Lower the vehicle and recheck the wheel torque after a short drive.
8. Test the brakes Finally, conduct a brake test in a safe area to assess functionality. Ensure that the brakes engage smoothly and effectively.
Conclusion
Regular maintenance of your rear brake drums is essential for safe driving. By following these steps to adjust your brakes, you can improve your vehicle’s braking performance and extend the lifespan of your braking components. Always consult your vehicle’s owner manual for specific instructions related to your model, and when in doubt, seek professional assistance. Safety on the road should always be your top priority!
-
IVEKO High-Performance Brake Drums Durable & Precision-Engineered
NewsMay.17,2025
-
Brake Drum Man High-Quality Drum Brake & Shoe Solutions
NewsMay.17,2025
-
Brake Drum Man Premium Drum Brake & Shoe Solutions OEM-Compliant
NewsMay.16,2025
-
Brake Drum Man High-Quality Drum Brake & Shoe Kits for Vehicles
NewsMay.16,2025
-
Brake Drum Man High-Quality Drum Brake Parts & Expert Solutions
NewsMay.16,2025
-
Brake Drum Man High-Quality Drum Brake & Shoe Solutions
NewsMay.15,2025
