Jul . 27, 2024 14:42 Back to list
Effective Methods for Safely Removing a Jammed Brake Drum Without Causing Damage
Removing a Stuck Brake Drum A Step-by-Step Guide
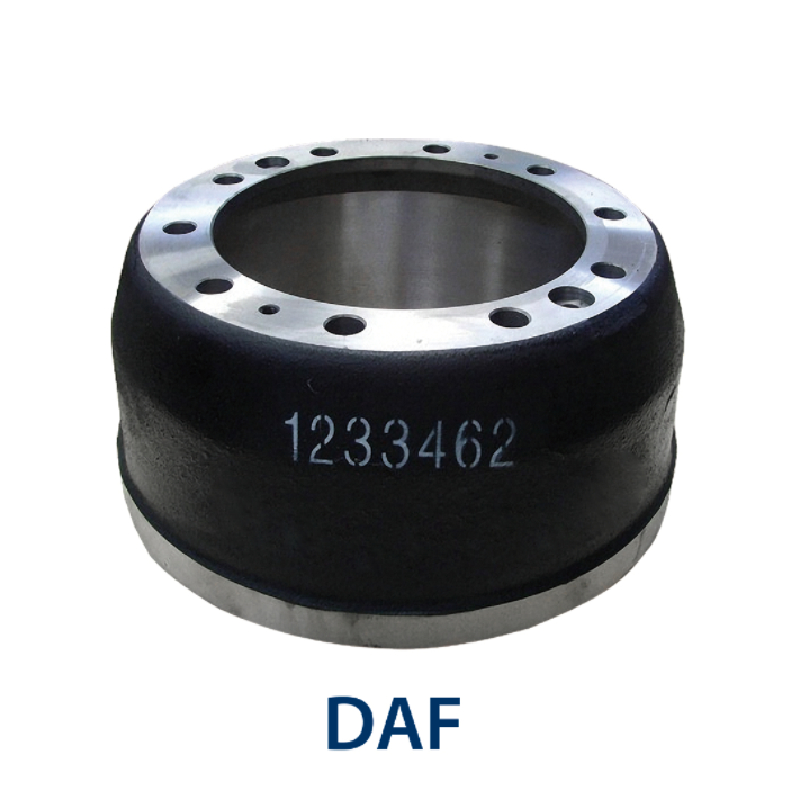
Brake drums are a crucial component of the braking system in many vehicles, particularly those with rear drum brakes. Over time, brake drums can become stuck due to rust, corrosion, or dirt buildup, making removal a challenging task. If you're facing a stubborn brake drum, fear not—this guide will walk you through the step-by-step process of safely and effectively removing a stuck brake drum.
Tools and Materials You’ll Need
Before you begin, it’s essential to gather the necessary tools and materials. You will need
- A lug wrench - A jack and jack stands - A rubber mallet or hammer - A brake drum puller (optional but recommended) - Penetrating oil (like WD-40) - Safety goggles and gloves
Safety First
Safety should always be your priority. Start by wearing safety goggles and gloves to protect your eyes and hands from debris and sharp parts. Make sure the car is parked on a flat surface, and engage the parking brake to prevent any movement.
Step 1 Loosen the Lug Nuts
Using the lug wrench, loosen but do not completely remove the lug nuts on the wheel that holds the brake drum. This is easier to do while the vehicle is still on the ground.
Step 2 Lift the Vehicle
Use the jack to lift the vehicle off the ground. Once elevated, secure it using jack stands to prevent any accidental falls. Now you can completely remove the lug nuts and take off the wheel to expose the brake drum.
removing a stuck brake drum

Step 3 Inspect the Brake Drum
Before attempting to remove the drum, inspect it for obvious signs of rust or damage. If the drum appears to be corroded, spraying it with penetrating oil can help loosen it. Allow the oil to soak for a few minutes to effectively penetrate the rust.
Step 4 Remove the Brake Drum
If the drum is still stuck after applying penetrating oil, you can use a rubber mallet to gently tap around the edges of the drum. This may help to break any corrosion or debris that might be holding it in place.
Should the drum still not budge, a brake drum puller can be utilized. This tool, which can be rented or purchased at an auto parts store, attaches to the drum and applies even pressure, assisting in its removal. Tighten the puller evenly until the drum starts to release.
Step 5 Check the Components
Once the drum is removed, take this opportunity to inspect the brake shoes, springs, and hardware for wear or damage. If components appear worn, it may be time to replace them. Clean any dirt or debris from the area, and apply grease to the components as needed, ensuring a smooth operation for the new drum.
Step 6 Reinstalling the Drum
To reinstall the drum, simply reverse the steps outlined above. Before putting everything back together, make sure to adjust the brake shoes appropriately to ensure proper contact with the new drum.
Final Thoughts
Removing a stuck brake drum may seem daunting, but with patience and the right tools, it can be accomplished successfully. Always remember that if you are uncomfortable performing this task or if complications arise, consulting a professional mechanic is the safest option. Regular maintenance and inspections can help prevent drums from becoming stuck in the first place, ensuring a smoother and safer driving experience.
-
Brake Drum Man - High-Quality Drum Brake Drums & Brake Shoes for Reliable Performance
NewsJun.24,2025
-
High-Quality Brake Drum Kamaz – Durable Drum Brake Drum & Brake Shoe Replacement
NewsJun.10,2025
-
High-Quality Brake Drum Liza for Drum Brake Systems - Superior Durability and Performance
NewsJun.10,2025
-
High-Quality Brake Drum Kamaz – Durable Drum Brake Drum & Brake Shoe Solutions
NewsJun.10,2025
-
Durable Kamaz Brake Drums High-Performance Truck Parts
NewsJun.09,2025
-
Premium Brake Drum Maz Kit with Shoes Enhanced Braking
NewsJun.09,2025
