
feb . 13, 2025 15:29 Back to list
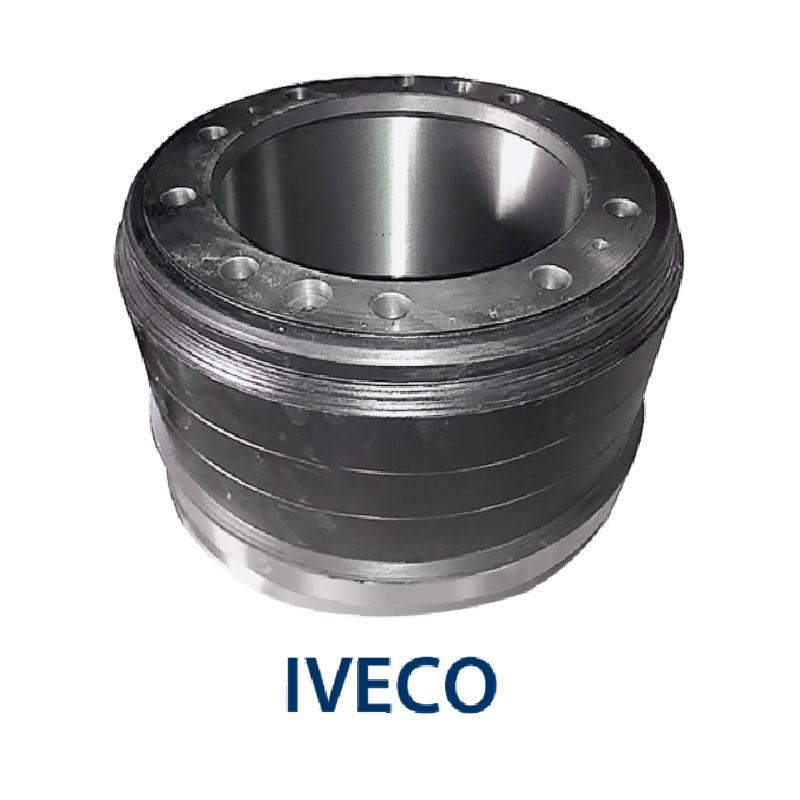
2014 mitsubishi mirage rear brake drums
Changing brake drums is a critical task for maintaining vehicle safety and optimal performance. Over time, brake drums can wear out, leading to decreased braking efficiency. This guide provides a comprehensive overview of the process, emphasizing safety, expertise, and trustworthy practices.
5. Replacing the Brake Drum When installing a new drum, clean the hub surface to ensure there's no rust or debris that could impair the drum’s alignment. Position the new drum onto the hub carefully. It should fit snugly but might require gentle persuasion with the rubber mallet to seat fully. 6. Adjustment and Reassembly Once the drum is fitted, the brake shoes must be adjusted correctly to ensure they just barely contact the drum surface. This typically involves turning an adjuster wheel accessible through a slot on the back of the brake assembly. Proper adjustment avoids both dragging and excessive free play. 7. Reattaching the Wheel Place the wheel back onto the hub and hand-tighten the lug nuts. Remove the vehicle from the jack stands and lower it to the ground gently. Torque the lug nuts to the manufacturer's specifications in a star pattern to ensure even pressure distribution. 8. Testing for Safety and Performance Testing is crucial after completing the installation. Before driving, depress the brake pedal several times to set the shoes against the drum surface. Conduct a series of tests at low speeds to ensure the brakes engage smoothly and predictably. 9. Monitoring and Maintenance Regularly inspect the brakes in the first few weeks to catch any unforeseen issues early. Verify for unusual noises, vibrations, or performance issues. This proactive approach helps in maintaining safety and prolonging the lifespan of your vehicle’s braking system. The process of changing brake drums, while technical, is an achievable task with attention to detail and adherence to safety protocols. It enhances personal expertise and ensures a reliable braking system, fostering confidence and authority in vehicle maintenance. Following these structured steps not only ensures the job is done correctly but also upholds the vehicle's performance and safety on the roads.

5. Replacing the Brake Drum When installing a new drum, clean the hub surface to ensure there's no rust or debris that could impair the drum’s alignment. Position the new drum onto the hub carefully. It should fit snugly but might require gentle persuasion with the rubber mallet to seat fully. 6. Adjustment and Reassembly Once the drum is fitted, the brake shoes must be adjusted correctly to ensure they just barely contact the drum surface. This typically involves turning an adjuster wheel accessible through a slot on the back of the brake assembly. Proper adjustment avoids both dragging and excessive free play. 7. Reattaching the Wheel Place the wheel back onto the hub and hand-tighten the lug nuts. Remove the vehicle from the jack stands and lower it to the ground gently. Torque the lug nuts to the manufacturer's specifications in a star pattern to ensure even pressure distribution. 8. Testing for Safety and Performance Testing is crucial after completing the installation. Before driving, depress the brake pedal several times to set the shoes against the drum surface. Conduct a series of tests at low speeds to ensure the brakes engage smoothly and predictably. 9. Monitoring and Maintenance Regularly inspect the brakes in the first few weeks to catch any unforeseen issues early. Verify for unusual noises, vibrations, or performance issues. This proactive approach helps in maintaining safety and prolonging the lifespan of your vehicle’s braking system. The process of changing brake drums, while technical, is an achievable task with attention to detail and adherence to safety protocols. It enhances personal expertise and ensures a reliable braking system, fostering confidence and authority in vehicle maintenance. Following these structured steps not only ensures the job is done correctly but also upholds the vehicle's performance and safety on the roads.
Latest news
-
High-Quality Trailers for Towing Needs | Shop Now
NewsJul.25,2025
-
Premium MAN Shaving Kit for Effortless Comfort
NewsJul.25,2025
-
HINO Advanced Machinery Solutions - LONGYAO COUNTY YIHANG MACHINERY | Industrial Efficiency&Customization
NewsJul.21,2025
-
HINO Machinery Solutions - LONGYAO COUNTY YIHANG MACHINERY MANUFACTURING CO.LTD | Precision Engineering, Customizable Configurations
NewsJul.21,2025
-
HINO Machinery Solutions - LONGYAO COUNTY YIHANG MACHINERY MANUFACTURING CO.LTD | Precision Engineering, Customizable Configurations
NewsJul.21,2025
-
HINO Machinery Solutions - LONGYAO COUNTY YIHANG MACHINERY MANUFACTURING CO.LTD | Precision Engineering, Customizable Configurations
NewsJul.21,2025