
Feb . 14, 2025 21:31 Back to list
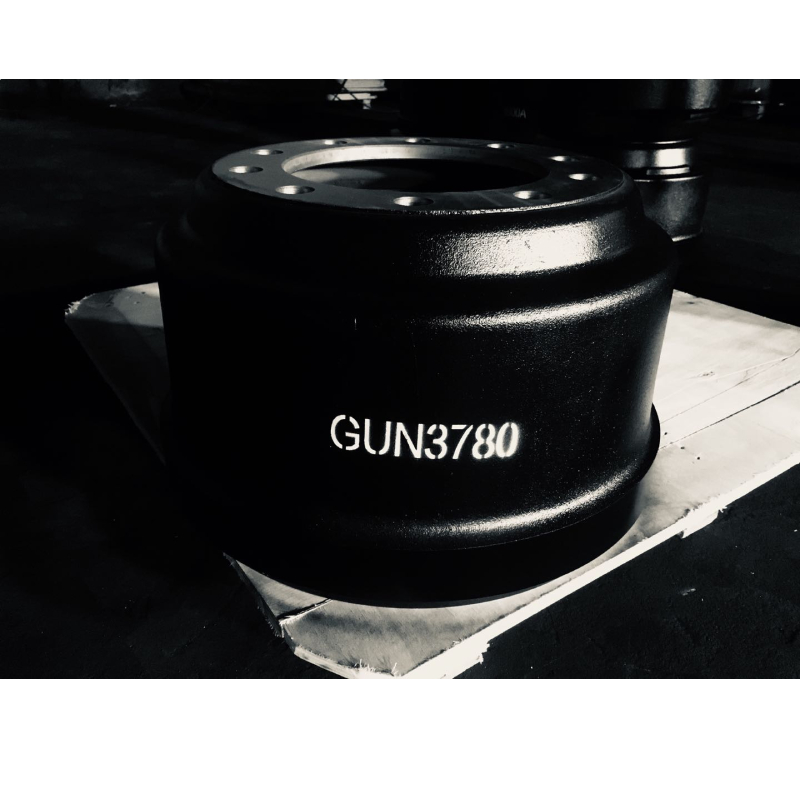
Mitsubishi Lancer Rear Drum Brakes
Removing a brake drum is a task that may seem daunting, but with a little expertise and the right tools, you can accomplish it with confidence. This guide aims to provide you with comprehensive and unique steps to remove a brake drum, ensuring safety and precision along the way.
If the drum seems stuck, do not resort to excessive force, which can cause damage. Instead, employ a rubber mallet to gently tap around the drum's edge. This action can help break any bonds formed by rust. If necessary, apply a rust penetrant and allow it to sit for several minutes. Step 5 Adjust the Brake Shoes Brake shoes can sometimes hold the drum in place. Access the adjuster wheel through a small hole on the backplate of the assembly. Insert a flathead screwdriver to turn the adjuster wheel, which will retract the brake shoes and potentially release the drum. Step 6 Remove the Brake Drum Once loosened, the brake drum should slide off the wheel hub with minimal resistance. If it remains stubborn, repeat the process of tapping with the mallet and adjusting the brake shoes. Patience is key here to avoid damaging any parts. Post-Removal Inspection Inspect the brake shoes and other components such as the wheel cylinder and springs once the drum is removed. This inspection is crucial for understanding the overall condition and deciding if replacements are necessary. Why Expertise Matters This process requires expertise not just in handling tools, but in assessing the condition of brake components. Regular maintenance can prevent costly repairs and ensure safety on the road. Understanding the intricacies of brake system operations can significantly enhance the lifespan of the components, offering peace of mind to every vehicle owner. Conclusion Armed with these steps and caution, removing a brake drum becomes a manageable task. It highlights the importance of preparation, methodical execution, and expertise in ensuring both the safety of the vehicle and those involved in the removal process. Ensure you're informed about your specific vehicle model as procedures may vary slightly. Trustworthy and authoritative guidance can make all the difference in how confidently you approach vehicle maintenance tasks.

If the drum seems stuck, do not resort to excessive force, which can cause damage. Instead, employ a rubber mallet to gently tap around the drum's edge. This action can help break any bonds formed by rust. If necessary, apply a rust penetrant and allow it to sit for several minutes. Step 5 Adjust the Brake Shoes Brake shoes can sometimes hold the drum in place. Access the adjuster wheel through a small hole on the backplate of the assembly. Insert a flathead screwdriver to turn the adjuster wheel, which will retract the brake shoes and potentially release the drum. Step 6 Remove the Brake Drum Once loosened, the brake drum should slide off the wheel hub with minimal resistance. If it remains stubborn, repeat the process of tapping with the mallet and adjusting the brake shoes. Patience is key here to avoid damaging any parts. Post-Removal Inspection Inspect the brake shoes and other components such as the wheel cylinder and springs once the drum is removed. This inspection is crucial for understanding the overall condition and deciding if replacements are necessary. Why Expertise Matters This process requires expertise not just in handling tools, but in assessing the condition of brake components. Regular maintenance can prevent costly repairs and ensure safety on the road. Understanding the intricacies of brake system operations can significantly enhance the lifespan of the components, offering peace of mind to every vehicle owner. Conclusion Armed with these steps and caution, removing a brake drum becomes a manageable task. It highlights the importance of preparation, methodical execution, and expertise in ensuring both the safety of the vehicle and those involved in the removal process. Ensure you're informed about your specific vehicle model as procedures may vary slightly. Trustworthy and authoritative guidance can make all the difference in how confidently you approach vehicle maintenance tasks.
Latest news
-
High-Quality Trailers for Towing Needs | Shop Now
NewsJul.25,2025
-
Premium MAN Shaving Kit for Effortless Comfort
NewsJul.25,2025
-
HINO Advanced Machinery Solutions - LONGYAO COUNTY YIHANG MACHINERY | Industrial Efficiency&Customization
NewsJul.21,2025
-
HINO Machinery Solutions - LONGYAO COUNTY YIHANG MACHINERY MANUFACTURING CO.LTD | Precision Engineering, Customizable Configurations
NewsJul.21,2025
-
HINO Machinery Solutions - LONGYAO COUNTY YIHANG MACHINERY MANUFACTURING CO.LTD | Precision Engineering, Customizable Configurations
NewsJul.21,2025
-
HINO Machinery Solutions - LONGYAO COUNTY YIHANG MACHINERY MANUFACTURING CO.LTD | Precision Engineering, Customizable Configurations
NewsJul.21,2025