
Feb . 11, 2025 21:54 Back to list
how to get rear brake drum off
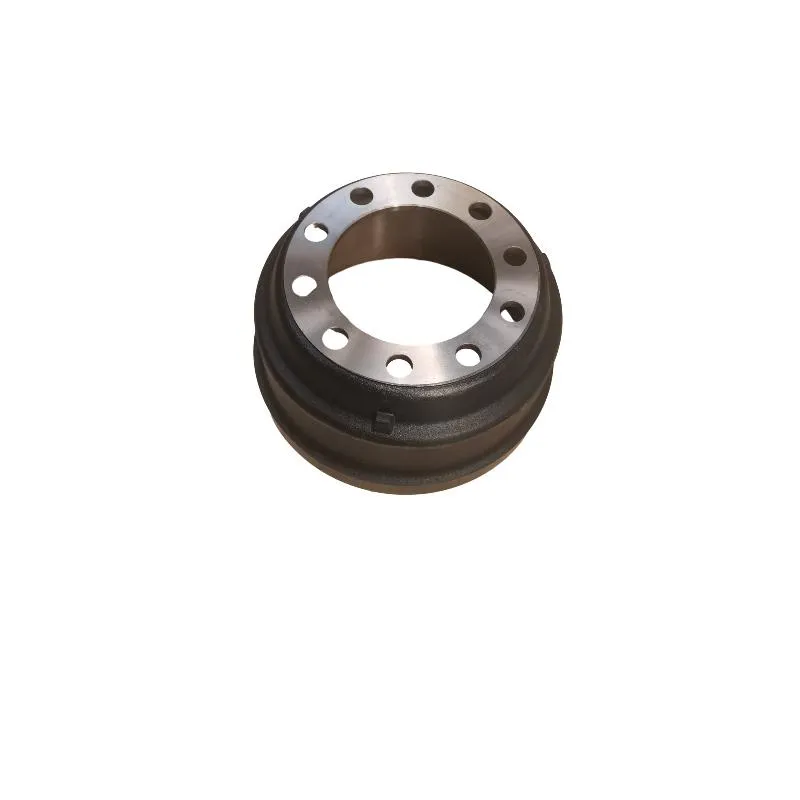
Removing rear brake drums can often be an intimidating task, especially for those who do not have extensive mechanical experience. However, with the right approach and tools, this can be performed efficiently and safely. Here’s a step-by-step guide on how to get the rear brake drum off, infused with practical advice and expert insights to enhance your automotive DIY experience.
In scenarios where the drum remains stubborn, consider adjusting the brake shoes. Locate the rubber adjustment hole on the back plate and remove its cover. Using the flathead screwdriver, turn the star wheel adjuster to release tension from the pads against the drum. This often frees up any residual resistance. Once the drum is off, inspect the brake assembly. This is an opportunity to check for any worn-out components like shoes, springs, or the wheel cylinder. If replacements or repairs exceed your expertise, seeking professional mechanical advice is recommended. Reassembly should be done with precision. Ensure that all components are correctly aligned and evaluate the new setup after replacing the drum by spinning it by hand. It should rotate freely without any unusual noise or resistance. Lastly, reinstall the wheel, tighten the lug nuts in a crisscross pattern, and lower the vehicle carefully. Once on the ground, re-tighten the nuts to specified torque recommendations. Arming yourself with the right information and methods makes the task of removing rear brake drums much simpler. Through practical experience and attention to detail, the confidence to perform such maintenance tasks will grow significantly, leading to greater autonomy in car care and potentially substantial savings on professional service costs.

In scenarios where the drum remains stubborn, consider adjusting the brake shoes. Locate the rubber adjustment hole on the back plate and remove its cover. Using the flathead screwdriver, turn the star wheel adjuster to release tension from the pads against the drum. This often frees up any residual resistance. Once the drum is off, inspect the brake assembly. This is an opportunity to check for any worn-out components like shoes, springs, or the wheel cylinder. If replacements or repairs exceed your expertise, seeking professional mechanical advice is recommended. Reassembly should be done with precision. Ensure that all components are correctly aligned and evaluate the new setup after replacing the drum by spinning it by hand. It should rotate freely without any unusual noise or resistance. Lastly, reinstall the wheel, tighten the lug nuts in a crisscross pattern, and lower the vehicle carefully. Once on the ground, re-tighten the nuts to specified torque recommendations. Arming yourself with the right information and methods makes the task of removing rear brake drums much simpler. Through practical experience and attention to detail, the confidence to perform such maintenance tasks will grow significantly, leading to greater autonomy in car care and potentially substantial savings on professional service costs.
Latest news
-
High-Quality Trailers for Towing Needs | Shop Now
NewsJul.25,2025
-
Premium MAN Shaving Kit for Effortless Comfort
NewsJul.25,2025
-
HINO Advanced Machinery Solutions - LONGYAO COUNTY YIHANG MACHINERY | Industrial Efficiency&Customization
NewsJul.21,2025
-
HINO Machinery Solutions - LONGYAO COUNTY YIHANG MACHINERY MANUFACTURING CO.LTD | Precision Engineering, Customizable Configurations
NewsJul.21,2025
-
HINO Machinery Solutions - LONGYAO COUNTY YIHANG MACHINERY MANUFACTURING CO.LTD | Precision Engineering, Customizable Configurations
NewsJul.21,2025
-
HINO Machinery Solutions - LONGYAO COUNTY YIHANG MACHINERY MANUFACTURING CO.LTD | Precision Engineering, Customizable Configurations
NewsJul.21,2025