Dec . 22, 2024 12:23 Back to list
removing stuck rear brake drums
Removing Stuck Rear Brake Drums A Step-by-Step Guide
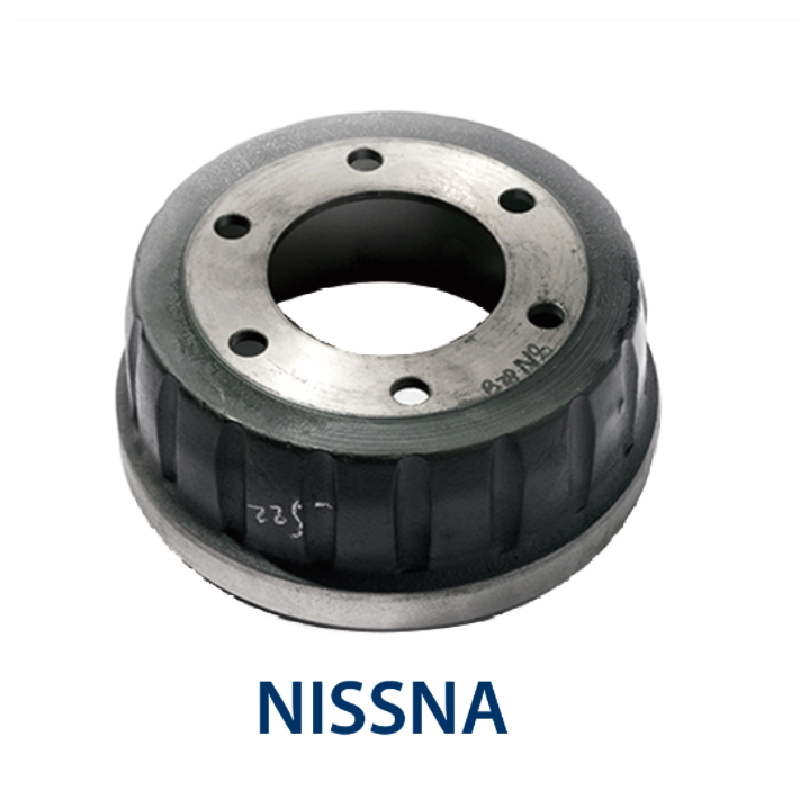
Removing stuck rear brake drums can be a frustrating task for many vehicle owners and mechanics alike. Brake drums can become stubbornly attached due to rust, corrosion, or simply lack of maintenance, making it challenging to perform essential brake repairs or replacements. However, with the right tools, techniques, and a bit of patience, you can successfully remove those stuck drums. This guide will walk you through the process step-by-step.
Tools and Materials Needed
- Safety goggles and gloves - Jack and jack stands - Lug wrench - Brake drum puller (if necessary) - Hammer - Penetrating oil (WD-40 or similar) - Screwdriver (flathead) - Wire brush - Brake cleaner
Step 1 Safety First
Before getting started, safety should always be your top priority. Make sure to wear safety goggles and gloves to protect yourself from brake dust and metal shavings. Begin by parking your vehicle on a flat surface, engage the parking brake, and turn off the engine.
Step 2 Lift the Vehicle
Using a jack, lift the rear of the vehicle and secure it with jack stands. This will provide stability while you work on removing the brake drums. Don’t rely on the jack alone for safety.
Step 3 Remove the Wheel
Use the lug wrench to remove the lug nuts and take off the rear wheel. This will expose the brake drum, which is essential for the next step.
Step 4 Assess the Situation
Before attempting to remove the brake drum, take a close look at its condition. If you see rust or corrosion around the edges, this may indicate the cause of the drum being stuck. A little prep work can help.
removing stuck rear brake drums

Step 5 Apply Penetrating Oil
Spray penetrating oil around the hub of the drum where it meets the axle. Allow it to soak for a few minutes. This can greatly assist in loosening any rust or debris that may be inhibiting the drum's removal.
Step 6 Tap the Drum
Using a hammer, gently tap around the edges of the brake drum. Avoid hitting it too hard, as you don’t want to damage it or the brake assembly. The taps will help to break any rust bond between the drum and the hub.
Step 7 Use a Brake Drum Puller
If the drum still does not budge after tapping, consider using a brake drum puller. This tool can apply even pressure to remove the drum without causing damage. Follow the tool’s instructions closely to avoid any mishaps.
Step 8 Inspect and Clean
Once the drum is removed, inspect the brake shoes and hardware for wear or damage. Use a wire brush to clean away any rust or debris on the drum and the surrounding components. After cleaning, use brake cleaner to ensure all parts are free of dust and grease.
Step 9 Repeat for the Other Side
If needed, move to the other rear wheel and repeat the process to maintain balanced braking performance.
Conclusion
Successfully removing stuck rear brake drums takes patience and the right techniques. By following these steps, you can avoid unnecessary frustration and ensure that your brake system is functioning optimally. Regular maintenance, such as periodic inspections and addressing rust issues, can help prevent brake drums from sticking in the first place. Always remember, if you're unsure about any part of the process, consult a professional mechanic to assist you. Your safety on the road depends on your brakes, so always prioritize proper care and maintenance.
-
Volvo Brake Drum: OEM Quality, Optimal Safety
NewsAug.27,2025
-
Durable Brake Drum MAZ for Heavy Duty Trucks | High Performance
NewsAug.26,2025
-
FUWA: Premium Quality, Reliable Performance & Innovative Solutions
NewsAug.25,2025
-
Liza Brake Drum: Superior Quality & Performance for Safe Driving
NewsAug.24,2025
-
Iveco Brake Drum | Premium OE Quality for Daily & Eurocargo
NewsAug.22,2025
-
Your Brake Drum Man: Quality & Performance Parts
NewsAug.21,2025
