Aug . 14, 2024 10:21 Back to list
Step-by-step Guide to Safely Remove Brake Drums from Your Vehicle with Expert Tips
How to Remove a Brake Drum A Step-by-Step Guide
Removing a brake drum is an essential skill for any DIY mechanic or car enthusiast. Understanding the process not only helps in performing brake replacements but also contributes to regular maintenance, ensuring your vehicle operates safely. In this guide, we'll walk you through the steps of brake drum removal, providing you with critical tips and precautions.
Tools and Materials Needed
Before you start the job, make sure you have the following tools and materials on hand
- Lug wrench - Jack and jack stands - Brake drum puller (if necessary) - Screwdriver (flathead and Phillips) - Socket set and ratchet - Adjusting tool for the brake shoes - Brake cleaner - Safety glasses and gloves
Step 1 Prepare Your Vehicle
1. Safety First Ensure the vehicle is parked on a level surface. Engage the parking brake to prevent any movement. It's also vital to wear safety glasses and gloves to protect yourself from dust and debris. 2. Loosen the Lug Nuts Use a lug wrench to slightly loosen the lug nuts on the wheel of the brake drum you wish to remove. Do not remove them completely yet.
3. Lift the Vehicle Use a jack to lift the car. Once elevated, place jack stands securely under the vehicle to support it. This step is critical for safety while you work underneath.
Step 2 Remove the Wheel
Step 3 Inspect the Brake Drum
1. Examine for Damage Before removal, inspect the brake drum for cracks, grooves, or excessive wear. If it's damaged, replacement may be necessary.
Step 4 Remove the Brake Drum
1. Check the Adjuster Look behind the brake drum for the adjustment mechanism of the brake shoes. Using the adjusting tool, turn it to retract the shoes slightly, which will make it easier to remove the drum.
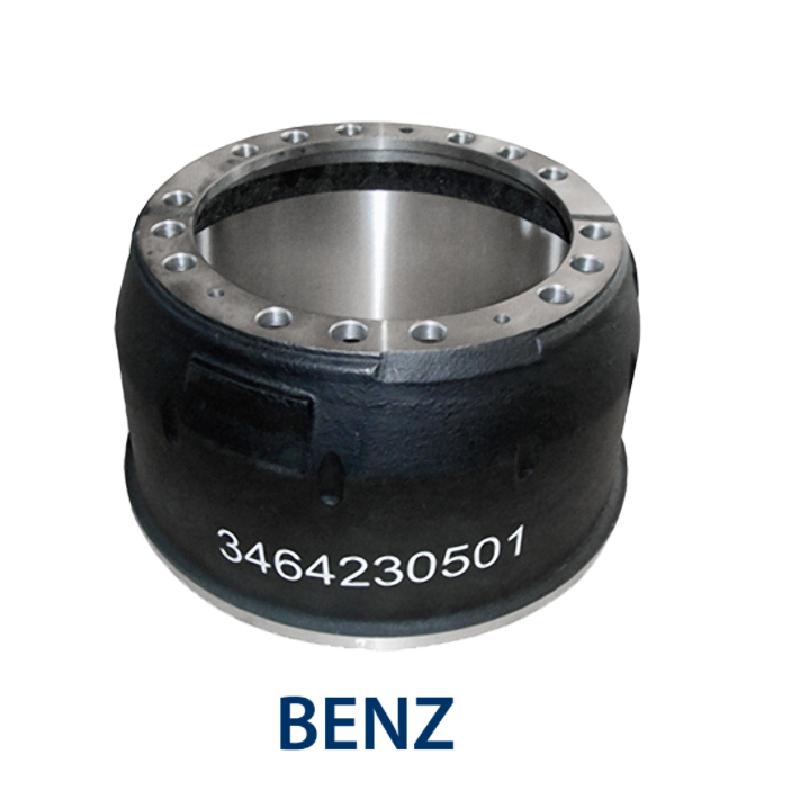
brake drum removal

2. Remove the Brake Drum If the drum doesn’t slide off easily, it may be stuck due to corrosion or debris. Gently tap around the circumference of the drum with a soft hammer to loosen it. If it remains stuck, a brake drum puller may be necessary for leverage.
3. Detach the Drum Once it’s free, pull the drum straight off. Be mindful of the brake shoes and any springs that may be attached. If they remain on the drum, carefully detach them and note their placement for reinstallation.
Step 5 Clean and Inspect
1. Clean the Brake Components Use brake cleaner to remove dust and debris from the brake assembly. This is crucial for optimal brake performance.
2. Inspect Brake Shoes and Hardware Check the condition of the brake shoes, springs, and other hardware. If they are worn down or damaged, consider replacing them.
Step 6 Reinstallation (if needed)
1. Install New Shoes and Hardware If you’re replacing parts, install the new brake shoes and reconnect any hardware as per the manufacturer’s instructions.
2. Reattach the Brake Drum Align the drum with the shoes and push it back in place. Make sure it rotates freely without binding.
3. Put the Wheel Back On Reinstall the wheel and tighten the lug nuts by hand initially.
Step 7 Lower the Vehicle
1. Carefully Lower Your Vehicle Remove the jack stands and lower the vehicle back to the ground. Once on the ground, tighten the lug nuts to the manufacturer’s specifications using a star pattern.
Conclusion
Removing a brake drum can seem challenging, but with the right tools and steps, it becomes a manageable task. Always ensure safety measures are in place, and don’t hesitate to consult a professional if you’re unsure at any stage. Regular maintenance of your brake system will not only enhance vehicle performance but also ensure safety on the road.
-
Brake Drum Man - High-Quality Drum Brake Drums & Brake Shoes for Reliable Performance
NewsJun.24,2025
-
High-Quality Brake Drum Kamaz – Durable Drum Brake Drum & Brake Shoe Replacement
NewsJun.10,2025
-
High-Quality Brake Drum Liza for Drum Brake Systems - Superior Durability and Performance
NewsJun.10,2025
-
High-Quality Brake Drum Kamaz – Durable Drum Brake Drum & Brake Shoe Solutions
NewsJun.10,2025
-
Durable Kamaz Brake Drums High-Performance Truck Parts
NewsJun.09,2025
-
Premium Brake Drum Maz Kit with Shoes Enhanced Braking
NewsJun.09,2025
