செப் . 19, 2024 13:56 Back to list
how to replace brake drums
How to Replace Brake Drums A Step-by-Step Guide
Replacing brake drums might seem like a daunting task, but with the right tools and a bit of patience, you can accomplish this important maintenance task yourself. Brake drums are crucial components of a vehicle's braking system, and keeping them in good condition is essential for safety. Here’s a comprehensive guide on how to replace brake drums.
Tools and Materials Needed 1. Jack and jack stands 2. Lug wrench 3. Brake drum puller (if necessary) 4. New brake drums 5. Brake shoes (if also replacing) 6. Socket set 7. Screwdriver 8. Brake cleaner 9. Safety goggles and gloves
Step 1 Preparation Before starting the replacement process, ensure that your vehicle is parked on a level surface and that the parking brake is engaged. Assemble all the tools and materials you will need for the job.
Step 2 Remove the Wheel Using the lug wrench, loosen the lug nuts on the wheel covering the brake drum. Once they are loosened, jack up the vehicle and securely place it on jack stands. Remove the lug nuts and take off the wheel to expose the brake drum.
Step 3 Remove the Brake Drum In many cases, the brake drum may slide off easily. However, if it’s stuck due to rust or debris, you may need to use a brake drum puller to help remove it. Carefully follow the instructions for the puller if needed.
how to replace brake drums

Step 4 Inspect and Replace Once the drum is off, inspect the brake shoes and drum for wear and tear. If the brake shoes are worn down, it’s advisable to replace them alongside the drums. Clean the old drum and the surrounding area with brake cleaner to remove dust and debris.
Step 5 Install the New Drum Align the new brake drum onto the wheel hub, ensuring it fits snugly. If you've decided to replace the brake shoes, install them according to the manufacturer’s guidelines before placing the drum back on.
Step 6 Reattach the Wheel Carefully reattach the wheel by placing it back onto the hub and securing it with the lug nuts. Tighten them in a crisscross pattern to ensure even pressure, and then lower the vehicle back to the ground.
Step 7 Final Check Once everything is reassembled, pump the brake pedal a few times before driving. This helps seat the brake shoes against the new drum. Finally, test drive the vehicle at a low speed to ensure that everything is functioning correctly.
Conclusion Replacing brake drums is a manageable task for those willing to take the time to follow instructions carefully. Regular maintenance of your vehicle's braking system not only enhances safety but can also extend the life of your braking components. Always consult your vehicle’s manual for specific instructions and safety precautions.
-
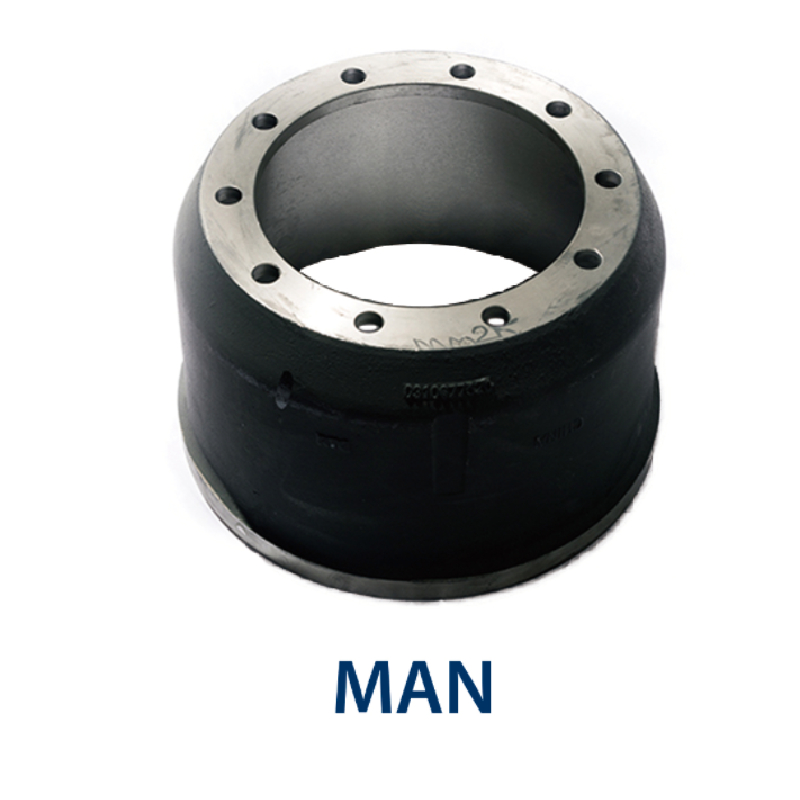
Brake Drum Man - High-Quality Drum Brake Drums & Brake Shoes for Reliable Performance
NewsJun.24,2025
-
High-Quality Brake Drum Kamaz – Durable Drum Brake Drum & Brake Shoe Replacement
NewsJun.10,2025
-
High-Quality Brake Drum Liza for Drum Brake Systems - Superior Durability and Performance
NewsJun.10,2025
-
High-Quality Brake Drum Kamaz – Durable Drum Brake Drum & Brake Shoe Solutions
NewsJun.10,2025
-
Durable Kamaz Brake Drums High-Performance Truck Parts
NewsJun.09,2025
-
Premium Brake Drum Maz Kit with Shoes Enhanced Braking
NewsJun.09,2025
