సెప్టెం . 25, 2024 17:57 Back to list
how to deglaze brake drums
How to Deglaze Brake Drums A Step-by-Step Guide
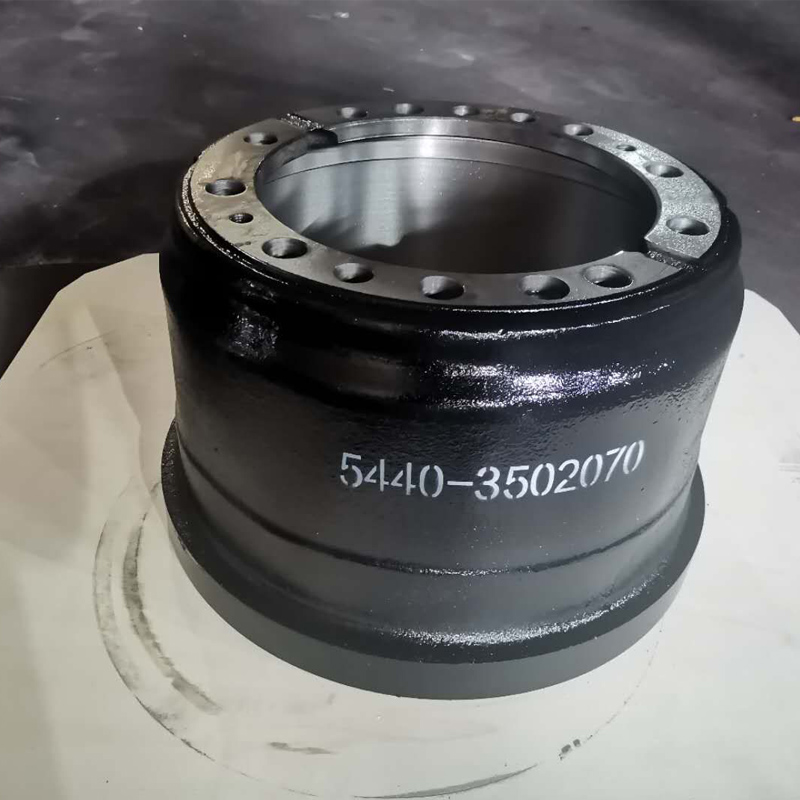
Deglazing brake drums is an essential maintenance task that ensures your vehicle's braking system functions effectively. Over time, brake drums can accumulate a layer of glaze, which is a hard, shiny surface that forms due to excessive heat and wear. This glaze can lead to reduced braking performance, longer stopping distances, and increased noise. Here’s a comprehensive guide on how to degrease brake drums safely and effectively.
Tools and Materials Needed
1. Safety goggles and gloves 2. Jack and jack stands 3. Lug wrench 4. Brake cleaner 5. Sandpaper or a brake drum hone 6. Wire brush or scraper 7. Clean rags 8. Torque wrench (optional)
Step 1 Safety First
Before you begin, ensure you’re wearing safety goggles and gloves to protect yourself from dust and debris. Park your vehicle on a flat surface, turn off the engine, and engage the parking brake.
Step 2 Lift the Vehicle
Using a lug wrench, loosen the lug nuts on the wheel where you plan to degrease the brake drums. Then, lift the vehicle with a jack and support it securely with jack stands. Once the vehicle is stable, remove the wheel entirely.
Step 3 Remove the Brake Drum
Locate the brake drum on the wheel hub. Depending on your vehicle, you may need to remove retaining screws or clips. Carefully slide the drum off the hub; you might need to gently tap it if it’s stuck due to rust or grime.
Step 4 Inspect and Clean
how to deglaze brake drums

Once you’ve removed the drum, inspect it for wear and damage. Use a wire brush or scraper to remove any loose debris or rust on the drum's surface.
Step 5 Deglaze the Brake Drum
To remove the glaze, you have two options using sandpaper or a brake drum hone. Sand the surface gently across the drum’s circumference using medium-grit sandpaper (around 120 to 180 grit) until the shiny surface is removed. If using a brake hone, slide it into the drum and follow the manufacturer's instructions. Make sure to keep the drum cool by frequently checking for heat buildup.
Step 6 Clean the Drum
After deglazing, thoroughly clean the drum using brake cleaner and a clean rag. Ensure all debris and cleaning products are wiped off, as contaminants can affect brake performance.
Step 7 Reassemble
Once completed, reattach the drum to the wheel hub, ensuring any retaining screws or clips are securely fastened. Reinstall the wheel, lower the vehicle, and tighten the lug nuts in a crisscross pattern to ensure even pressure.
Step 8 Test Drive
Finally, take your vehicle for a short test drive to ensure the brakes are functioning properly. Listen for unusual noises that could indicate further issues.
By following these steps, you can effectively deglaze your brake drums, improving your vehicle’s braking performance and extending the lifespan of your brakes. Regular maintenance will keep your vehicle safe and road-ready.
-
IVEKO High-Performance Brake Drums Durable & Precision-Engineered
NewsMay.17,2025
-
Brake Drum Man High-Quality Drum Brake & Shoe Solutions
NewsMay.17,2025
-
Brake Drum Man Premium Drum Brake & Shoe Solutions OEM-Compliant
NewsMay.16,2025
-
Brake Drum Man High-Quality Drum Brake & Shoe Kits for Vehicles
NewsMay.16,2025
-
Brake Drum Man High-Quality Drum Brake Parts & Expert Solutions
NewsMay.16,2025
-
Brake Drum Man High-Quality Drum Brake & Shoe Solutions
NewsMay.15,2025
