డిసెం . 16, 2024 03:25 Back to list
Steps to Effectively Remove a Brake Drum for Vehicle Maintenance
Removing Brake Drum A Comprehensive Guide
The braking system of any vehicle is essential for ensuring safety and performance on the road. One critical component of this system is the brake drum, which plays a vital role in the effective operation of drum brakes. Over time, brake drums may wear out or become damaged, requiring removal for inspection, maintenance, or replacement. This article will walk you through the essential steps for safely and effectively removing brake drums.
Understanding Brake Drums
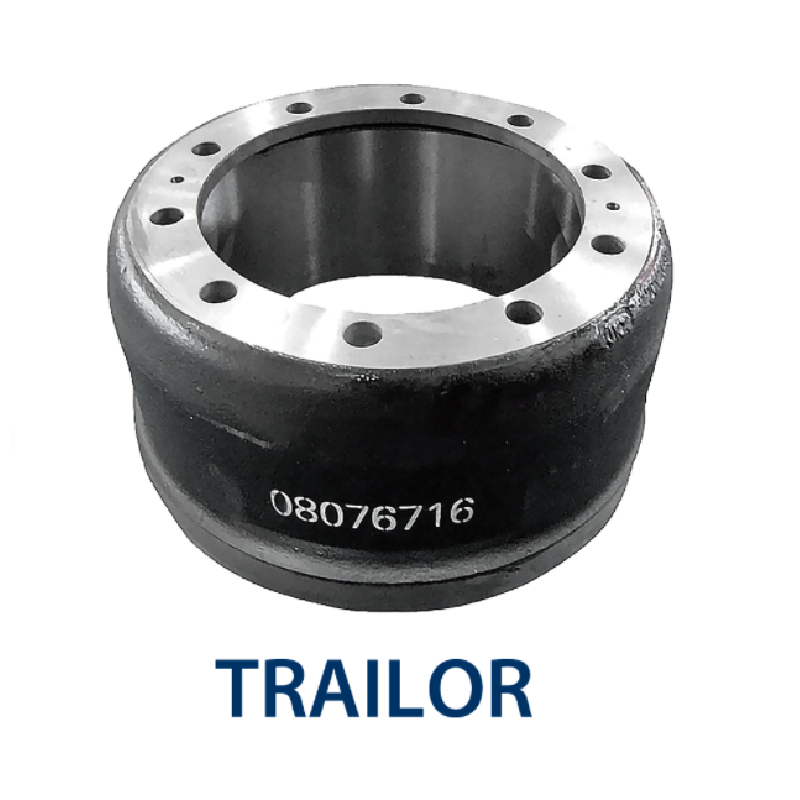
Before diving into the removal process, it's important to understand what a brake drum is and how it functions. A brake drum is a cylindrical component that houses the brake shoes inside. When the driver presses the brake pedal, hydraulic pressure forces the brake shoes against the inner surface of the drum, generating friction that slows down or stops the vehicle. Proper maintenance of brake drums is crucial for optimal braking performance and safety.
Safety First
Before performing any work on your vehicle's braking system, ensure you have taken the necessary safety precautions. Begin by parking the vehicle on a level surface and engaging the parking brake. Wearing protective gloves and eyewear is also advisable to safeguard against brake dust and debris.
Tools Required
To remove the brake drum, you will need the following tools
- Jack and jack stands - Lug wrench - Brake cleaner - Screwdriver (flat head) - Hammer - Torque wrench (for reinstallation) - Replacement brake drum (if necessary)
Step-by-Step Guide to Remove Brake Drum
Step 1 Loosen the Wheel Lug Nuts
Start by loosening the lug nuts on the wheel that you will be working on. Use a lug wrench to turn the nuts counterclockwise just enough to break their initial tightness. Do not completely remove them yet.
Step 2 Lift the Vehicle
Using a jack, lift the vehicle at the designated jacking point. Once the vehicle is securely elevated, place jack stands under the vehicle for added support. Ensure that the vehicle is stable before proceeding.
removing brake drum

Step 3 Remove the Wheel
With the vehicle secured, completely remove the loosened lug nuts and take the wheel off. Set the wheel aside in a safe area.
Step 4 Inspect the Brake Assembly
Before removing the brake drum, take a moment to inspect the brake assembly for any visible wear or damage. Look for signs of leaking brake fluid, worn brake shoes, or cracked drum surfaces. Address any concerns before proceeding.
Step 5 Remove the Brake Drum
In most cases, the brake drum can be removed by simply sliding it off the wheel hub. However, if the drum is stuck due to rust or debris, you may need to tap it gently with a hammer around the circumference to break the bond. Be careful not to damage any surrounding components. If the drum still does not budge, check for any retaining clips or screws that may need to be removed first.
Step 6 Clean and Inspect
Once the drum is removed, use brake cleaner to clean both the inner surface of the drum and the brake shoes. This will help eliminate any dust and debris that could affect the braking performance. Inspect the drum for signs of wear, such as deep grooves, scoring, or discoloration. If the drum is excessively worn, it may need to be resurfaced or replaced.
Step 7 Reinstallation
If you are simply inspecting and cleaning the drum, reinstall it by sliding it back onto the hub. Ensure that it fits snugly and is properly aligned. If you are replacing the drum, position the new drum in the same manner after ensuring that all components are clean and functional. Reattach the wheel, hand-tightening the lug nuts in a crisscross pattern.
Step 8 Lower the Vehicle and Test
Carefully lower the vehicle back to the ground and remove the jack stands. Once on the ground, use a torque wrench to tighten the lug nuts to the manufacturer’s specified torque setting. Before driving, pump the brake pedal a few times to ensure that the brake shoes are properly seated against the drum.
Conclusion
Removing a brake drum is a straightforward task that can be accomplished with the right tools and knowledge. Regular inspection and maintenance of the braking system are vital to ensure vehicle safety and performance. Should you encounter any complications during the process, consider consulting a professional mechanic for assistance. By understanding and maintaining the key components of your vehicle, you can enhance both your driving experience and safety on the road.
-
Iveco Brake Drum | Premium OE Quality for Daily & Eurocargo
NewsAug.22,2025
-
Your Brake Drum Man: Quality & Performance Parts
NewsAug.21,2025
-
Explore Japan: Ultimate Travel Guide & Authentic Experiences
NewsAug.19,2025
-
Your Brake Drum Man: Premium & Reliable Brake Drums for Sale
NewsAug.18,2025
-
ROR Web Development: Build Fast, Scalable, Secure Apps
NewsAug.17,2025
-
Scania Brake Drums: OEM Quality for Optimal Safety & Durability
NewsAug.16,2025
