พ.ย. . 15, 2024 12:06 Back to list
removing a brake drum
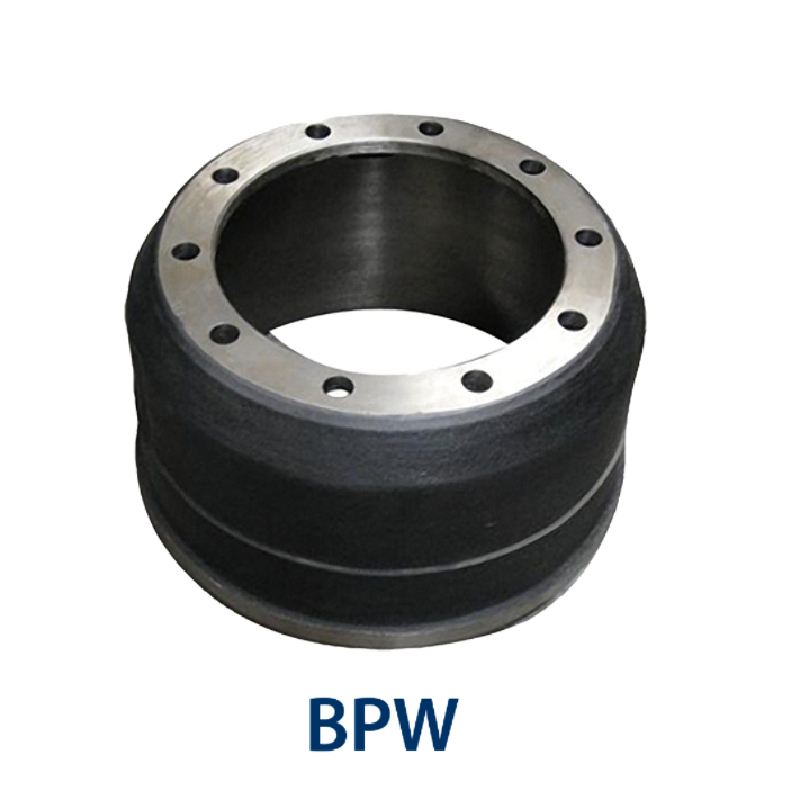
Removing a Brake Drum A Step-by-Step Guide
Brake drums play a crucial role in a vehicle's braking system, providing the necessary friction to slow down or stop the wheels. Over time, these components can wear out, become contaminated, or experience other issues that necessitate their removal for inspection or replacement. Whether you’re a seasoned mechanic or a DIY enthusiast, knowing how to remove a brake drum safely and efficiently is an essential skill. This guide will walk you through the necessary steps to remove a brake drum from a vehicle.
Tools and Materials Needed
Before you begin the process, gather the following tools and materials
- Jack and jack stands - Lug wrench - Brake drum removal tool (if necessary) - Screwdriver (flathead and Phillips) - Hammer (rubber or plastic) - Clean rag - Brake cleaner - Safety gloves and goggles
Step 1 Preparation
1. Safety First Ensure the vehicle is parked on a level surface and the parking brake is engaged. Wear safety gloves and goggles for protection. 2. Loosen the Lug Nuts Use the lug wrench to slightly loosen the lug nuts on the wheel corresponding to the brake drum you intend to remove. Do not remove them entirely; just break the initial tension.
Step 2 Lifting the Vehicle
3. Jack Up the Vehicle Use the jack to lift the vehicle off the ground. Make sure to reference the owner's manual for proper lifting points to avoid damaging the vehicle’s undercarriage.
4. Secure with Jack Stands Once elevated, place jack stands under the vehicle to secure it. Never rely solely on the jack for support.
Step 3 Remove the Wheel
5. Remove the Lug Nuts Fully remove the lug nuts you loosened earlier, and take off the wheel to expose the brake drum.
Step 4 Assessing the Brake Drum
removing a brake drum

6. Inspect the Brake Drum Before removal, take a moment to inspect the brake drum for any signs of damage or excessive wear. Look for grooves, cracks, or warping which may indicate the need for replacement.
Step 5 Removing the Brake Drum
7. Check for Retaining Screws Some brake drums are held in place by retaining screws. If your drum has these, use a screwdriver to remove them before attempting to pull off the drum.
8. Apply Brake Cleaner Clean around the drum area with brake cleaner to remove any dirt or debris that may impede removal.
9. Gently Tap the Drum If the drum appears stuck, gently tap around the edge with a rubber or plastic hammer. This can help break any corrosion or debris that may be holding it in place.
10. Use a Brake Drum Removal Tool If the drum still does not budge, a brake drum removal tool may be necessary. Position the tool according to the manufacturer’s instructions and follow the procedure to detach the drum.
11. Remove the Drum Once loosened, carefully pull the brake drum straight off the wheel assembly. Be mindful of any brake shoes that may require adjustment or attention during this process.
Step 6 Post-Removal
12. Inspect Components After removing the brake drum, take the opportunity to inspect the brake shoes, springs, and other associated hardware. Look for wear and replace any components that may be damaged.
13. Reinstallation If you are replacing or repairing the components, reverse the steps to reinstall the new brake drum and associated parts.
Conclusion
Removing a brake drum may seem daunting at first, but with the proper tools and approach, it can be accomplished effectively. Always remember to prioritize safety and consult your vehicle’s manual for specific instructions related to your make and model. By following these steps, you can ensure that your braking system remains in optimal condition for safe driving.
-
R.V.I: Advanced Remote Visual Inspection for Precision
NewsAug.15,2025
-
Discover HYUNDA: Innovative Vehicles, Equipment & Solutions
NewsAug.14,2025
-
R.V.I: Unlock Advanced Insights & Real-time Performance
NewsAug.13,2025
-
Kamaz Brake Drum: Durable & Reliable for Heavy Duty Trucks
NewsAug.12,2025
-
Heavy Duty Iveco Brake Drum - Premium Quality & Safety
NewsAug.11,2025
-
DAF Water Treatment Solutions: Efficient Solids & Oil Removal
NewsAug.10,2025
