
Aug . 22, 2024 03:20 Back to list
Guide to Removing ATV Brake Drum Effectively and Safely
How to Remove ATV Brake Drums A Step-by-Step Guide
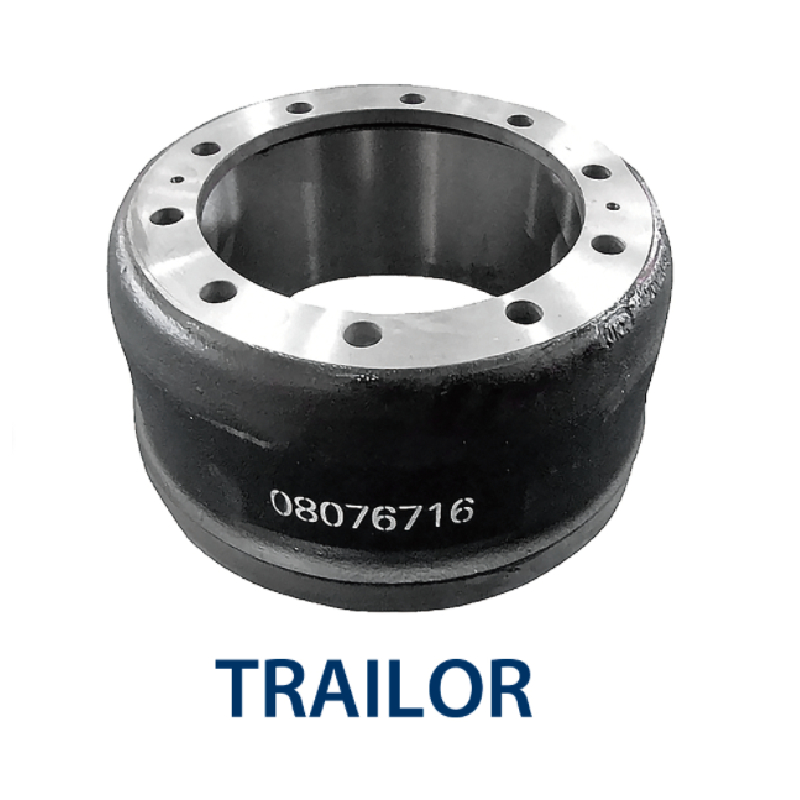
When it comes to maintaining your All-Terrain Vehicle (ATV), one of the critical tasks is ensuring that your brake system is operating efficiently. Brake drums, which house the brake shoes and facilitate the stopping process, can become worn or damaged over time, leading to decreased performance. Understanding how to remove and replace your ATV brake drums is an essential skill for any ATV enthusiast. In this article, we will guide you through the process of removing brake drums from your ATV safely and efficiently.
Tools and Materials Needed
Before starting the removal process, ensure you have the following tools and materials
1. Ratchet and Socket Set Various sizes, typically 10mm to 19mm. 2. Pliers For removing clips and springs. 3. Brake Drum Puller This specialized tool will help in removing stubborn brake drums. 4. Rubber Mallet Helpful for tapping out drums if they are stuck. 5. Brake Cleaner For cleaning components during the process. 6. Rags or Towels To wipe off excess brake cleaner and dust. 7. Safety Gear Gloves and goggles to protect yourself.
Step-by-Step Removal Process
1. Safety First Begin by parking your ATV on a flat surface. Turn off the engine and engage the parking brake. For additional safety, consider using wheel chocks to prevent unintended movement.
2. Loosen the Lug Nuts Using your ratchet and socket, slightly loosen the lug nuts on the rear wheels while the ATV is on the ground. Do not remove them completely yet.
3. Lift the ATV Using a hydraulic jack, lift the rear of the ATV off the ground. Secure it with jack stands to ensure stability during the removal process.
atv brake drum removal
4. Remove the Wheels Now that the ATV is elevated and stable, finish removing the lug nuts and take off the rear wheels to access the brake drums.
5. Inspect the Brake Assembly Before proceeding, take a moment to inspect the brake assembly for any visible damage or excessive wear. This will give you a clearer picture of what needs to be replaced.
6. Remove the Brake Drum Carefully inspect the brake drum and locate the retaining screws or clips that hold it in place. If they are present, use pliers to remove these components. In some models, you may need to adjust the brake shoes inward to release the drum.
If the drum is stuck due to corrosion or debris, gently tap around the drum's edge with a rubber mallet to break it free. If necessary, employ a brake drum puller to evenly distribute pressure and pull it off the axle.
7. Clean and Inspect Once the drum is removed, take the opportunity to clean the brake components with brake cleaner. Inspect the brake shoes and wheel cylinder for wear or leaking fluid. This is also a good time to clean or replace any parts that show signs of damage.
8. Reinstallation When the old drum is off and you have made necessary inspections or replacements, the installation process is essentially the reverse of removal. Place the new drum onto the hub, securing it in place with the previously removed screws and clips. Reattach the wheels, tighten the lug nuts, and lower the ATV.
9. Final Checks After everything is back together, take a moment to double-check all connections and mechanical parts. Test the brakes before going for a ride to ensure everything is functioning correctly.
Conclusion
Removing and replacing ATV brake drums can seem daunting, but with the right tools and a methodical approach, it becomes a manageable task. Regular maintenance of your brake system will not only enhance your ATV’s performance but also ensure your safety while riding. Always refer to your ATV’s owner manual for specific instructions and torque specifications for your model. Happy riding!
-
IVEKO High-Performance Brake Drums Durable & Precision-Engineered
NewsMay.17,2025
-
Brake Drum Man High-Quality Drum Brake & Shoe Solutions
NewsMay.17,2025
-
Brake Drum Man Premium Drum Brake & Shoe Solutions OEM-Compliant
NewsMay.16,2025
-
Brake Drum Man High-Quality Drum Brake & Shoe Kits for Vehicles
NewsMay.16,2025
-
Brake Drum Man High-Quality Drum Brake Parts & Expert Solutions
NewsMay.16,2025
-
Brake Drum Man High-Quality Drum Brake & Shoe Solutions
NewsMay.15,2025